Running a Shopify shop is exciting, but manually sending every order to your printer can quickly become time-consuming. That’s why Papello makes it simple to fully automate your store. With just a one-time setup, any new orders from your Shopify shop can be submitted automatically to Papello for fulfilment.
Before you begin, ensure you have installed the Papello Shopify App.
Connecting your Shopify store to Papello
Step 1. Go to Your Stores Page
Head over to https://dash.papello.com/dashboard/stores.
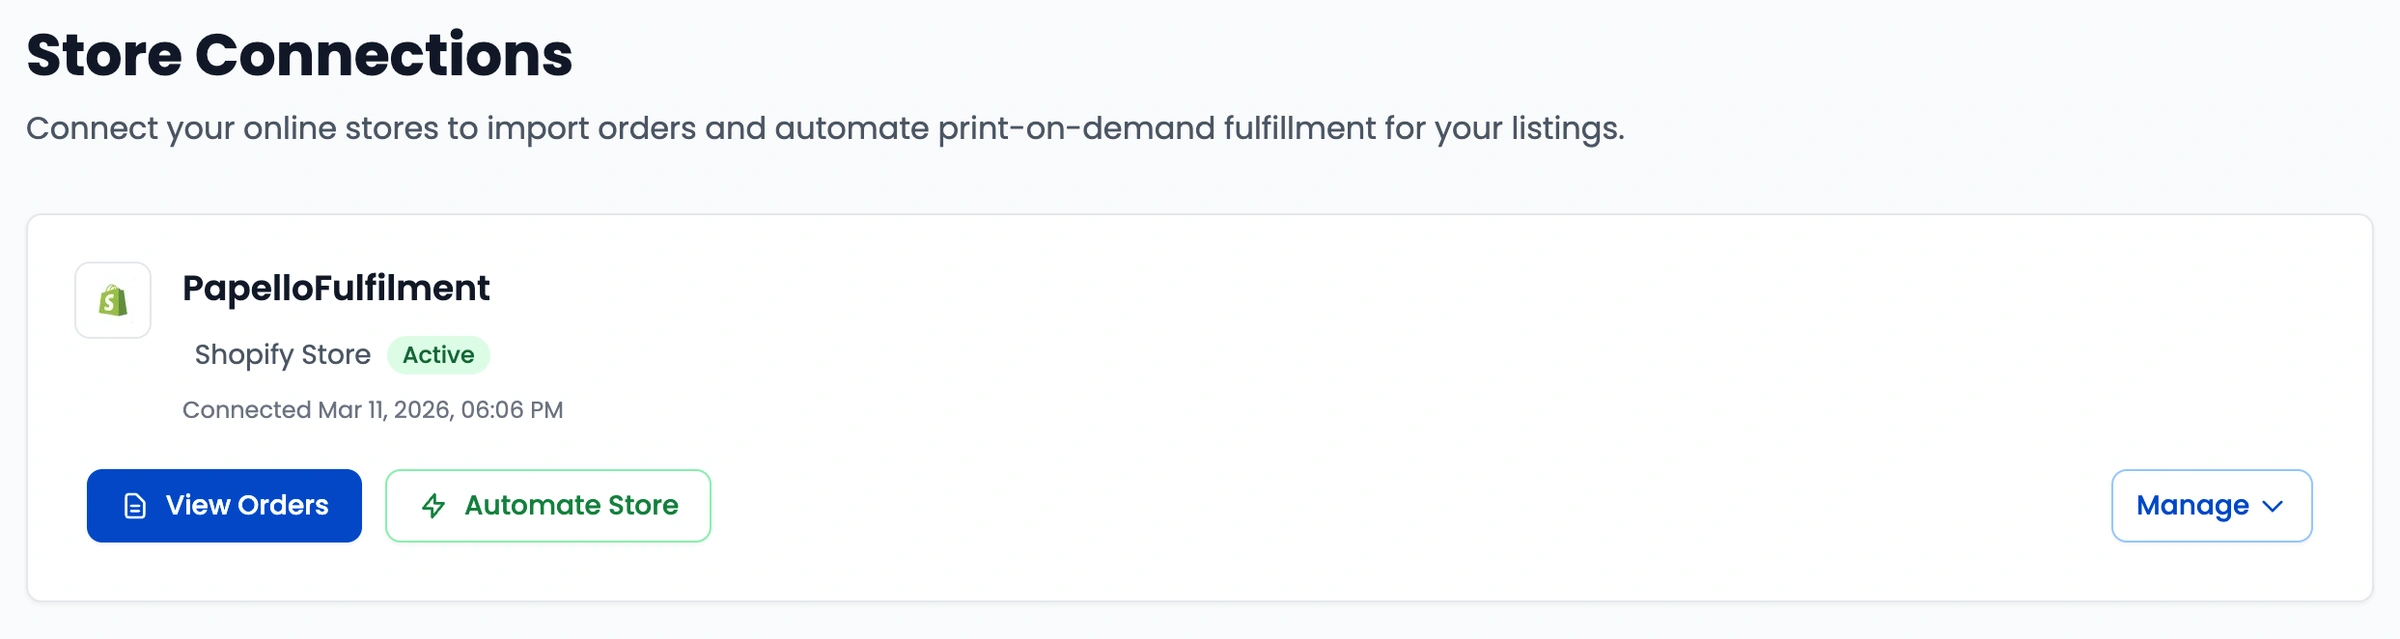
You’ll see a list of all the stores you’ve connected.
Step 2. Select a Store to Automate
Find your Shopify store in the list and click “Automate Store.”
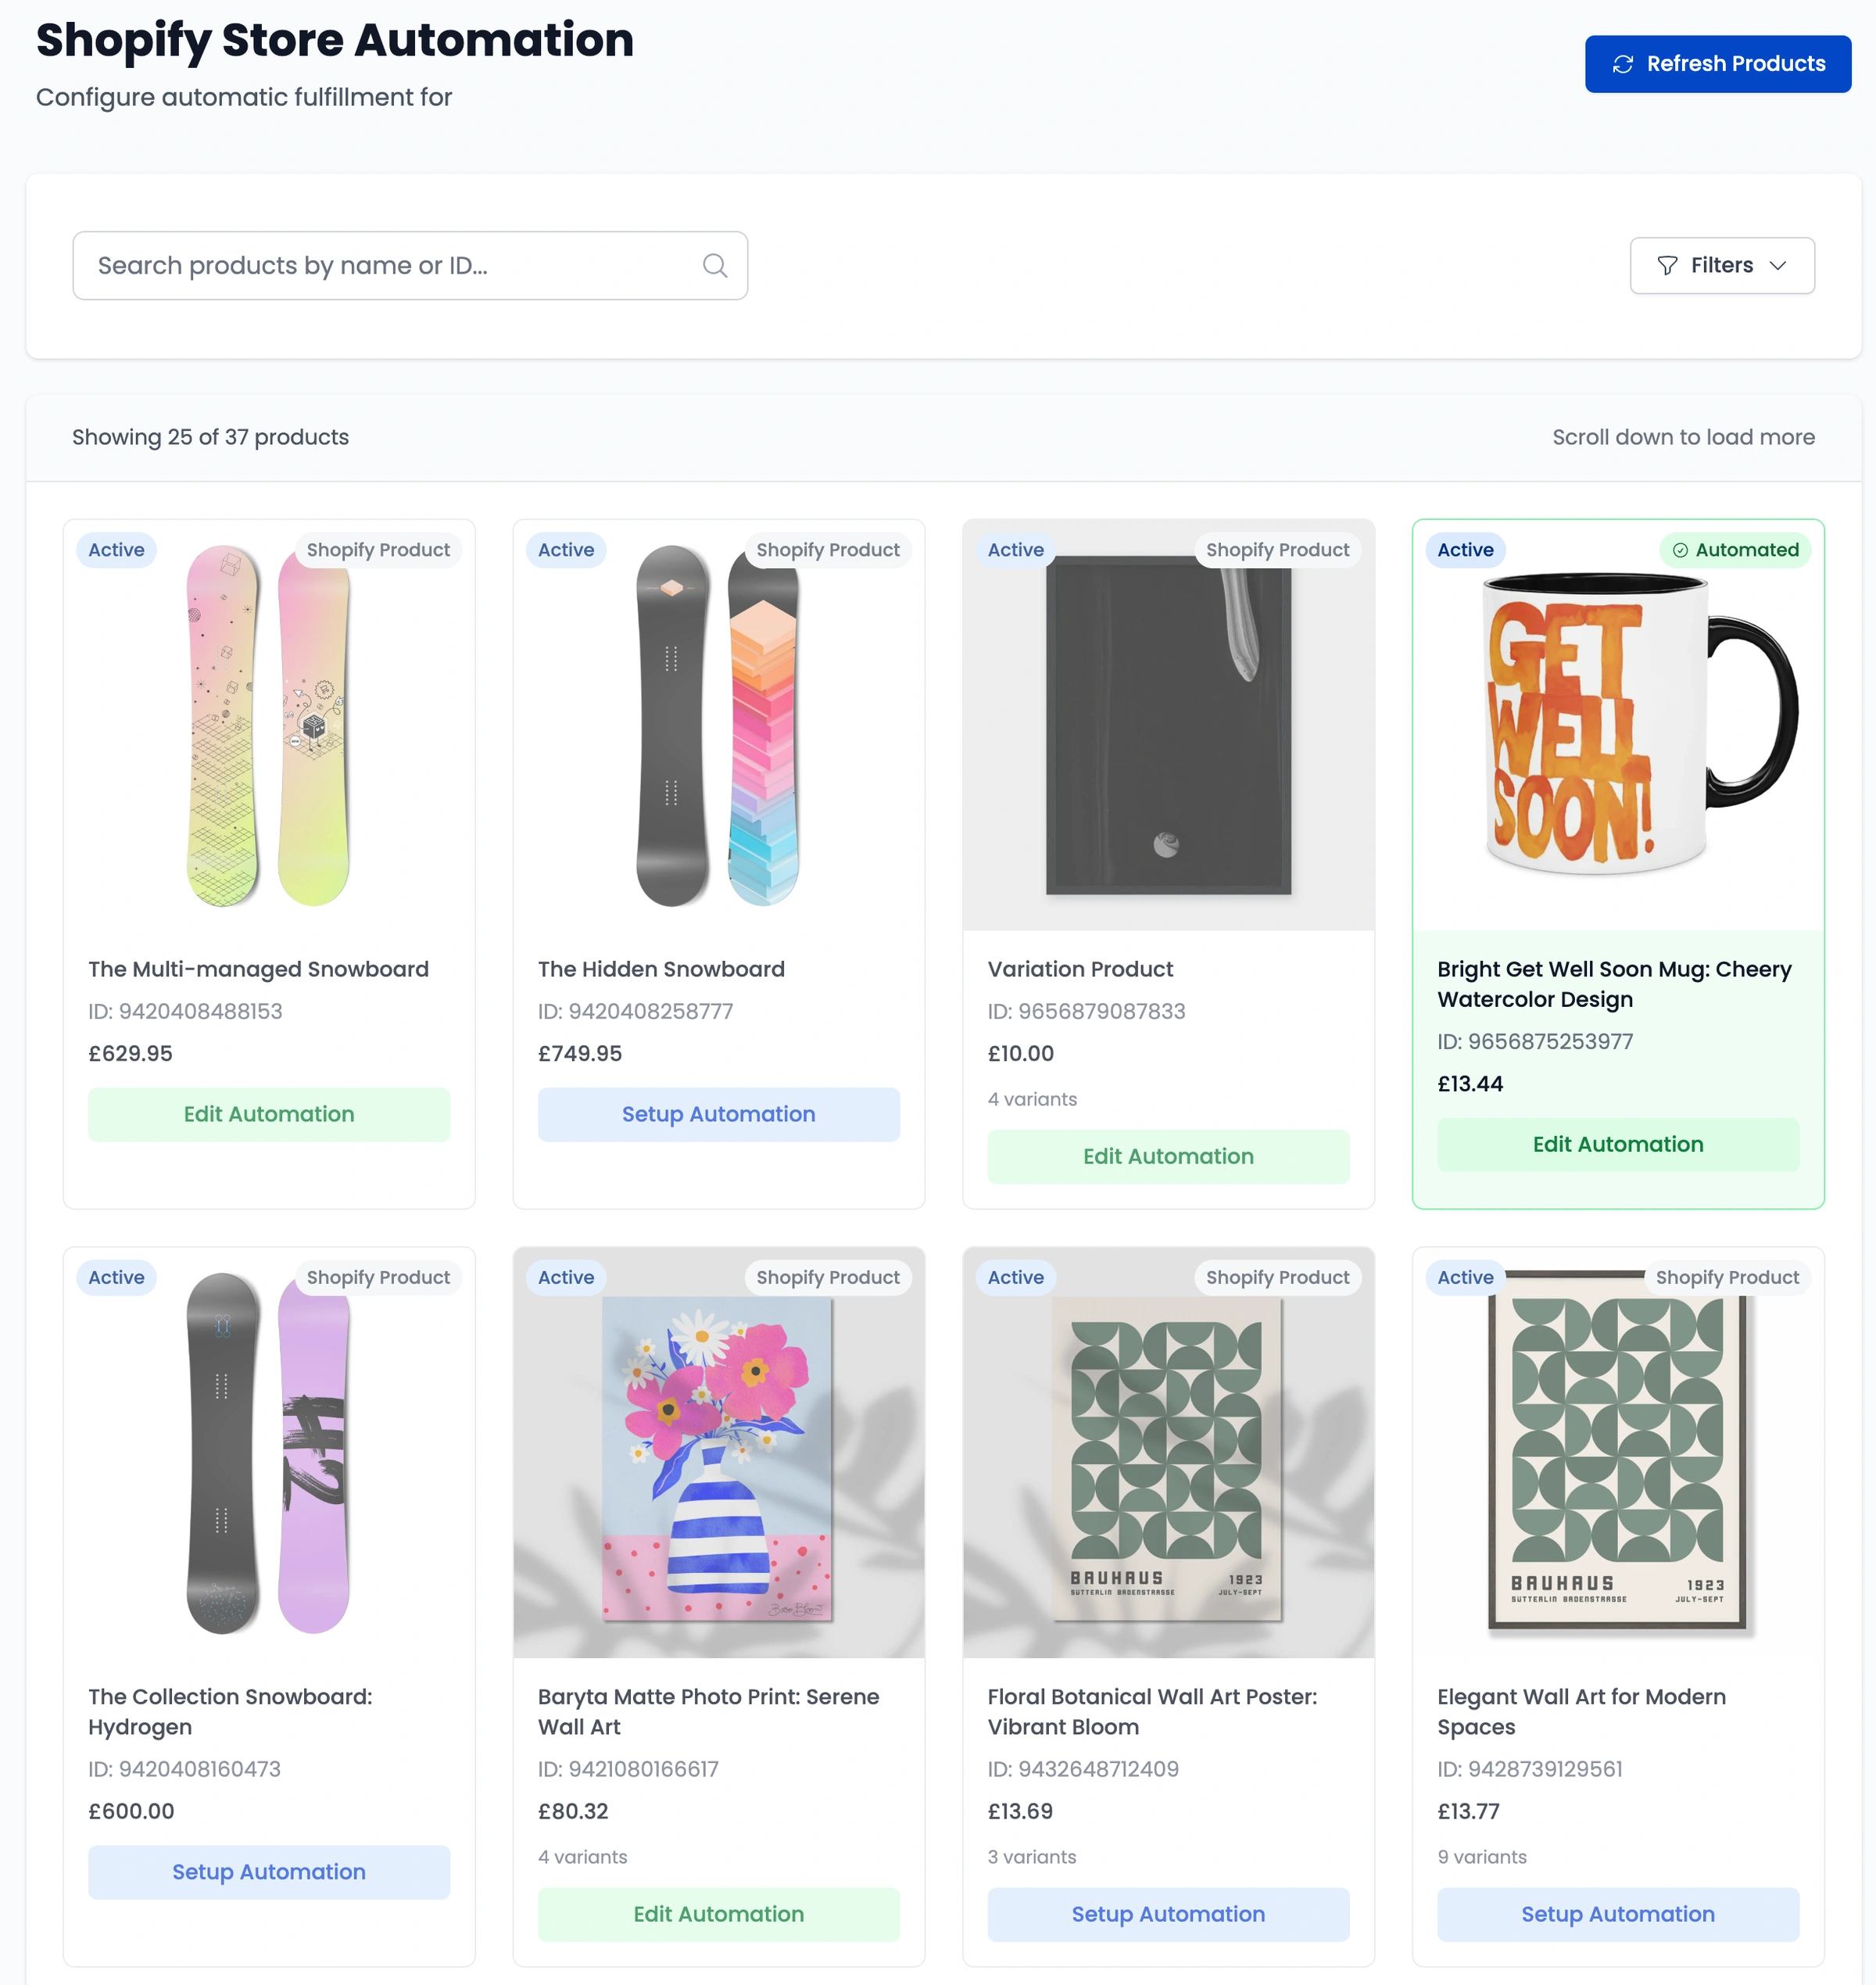
Step 3. View Your Listings
You’ll now see all of your store’s listings displayed. Click “Setup Automation” next to the listing you’d like to automate.
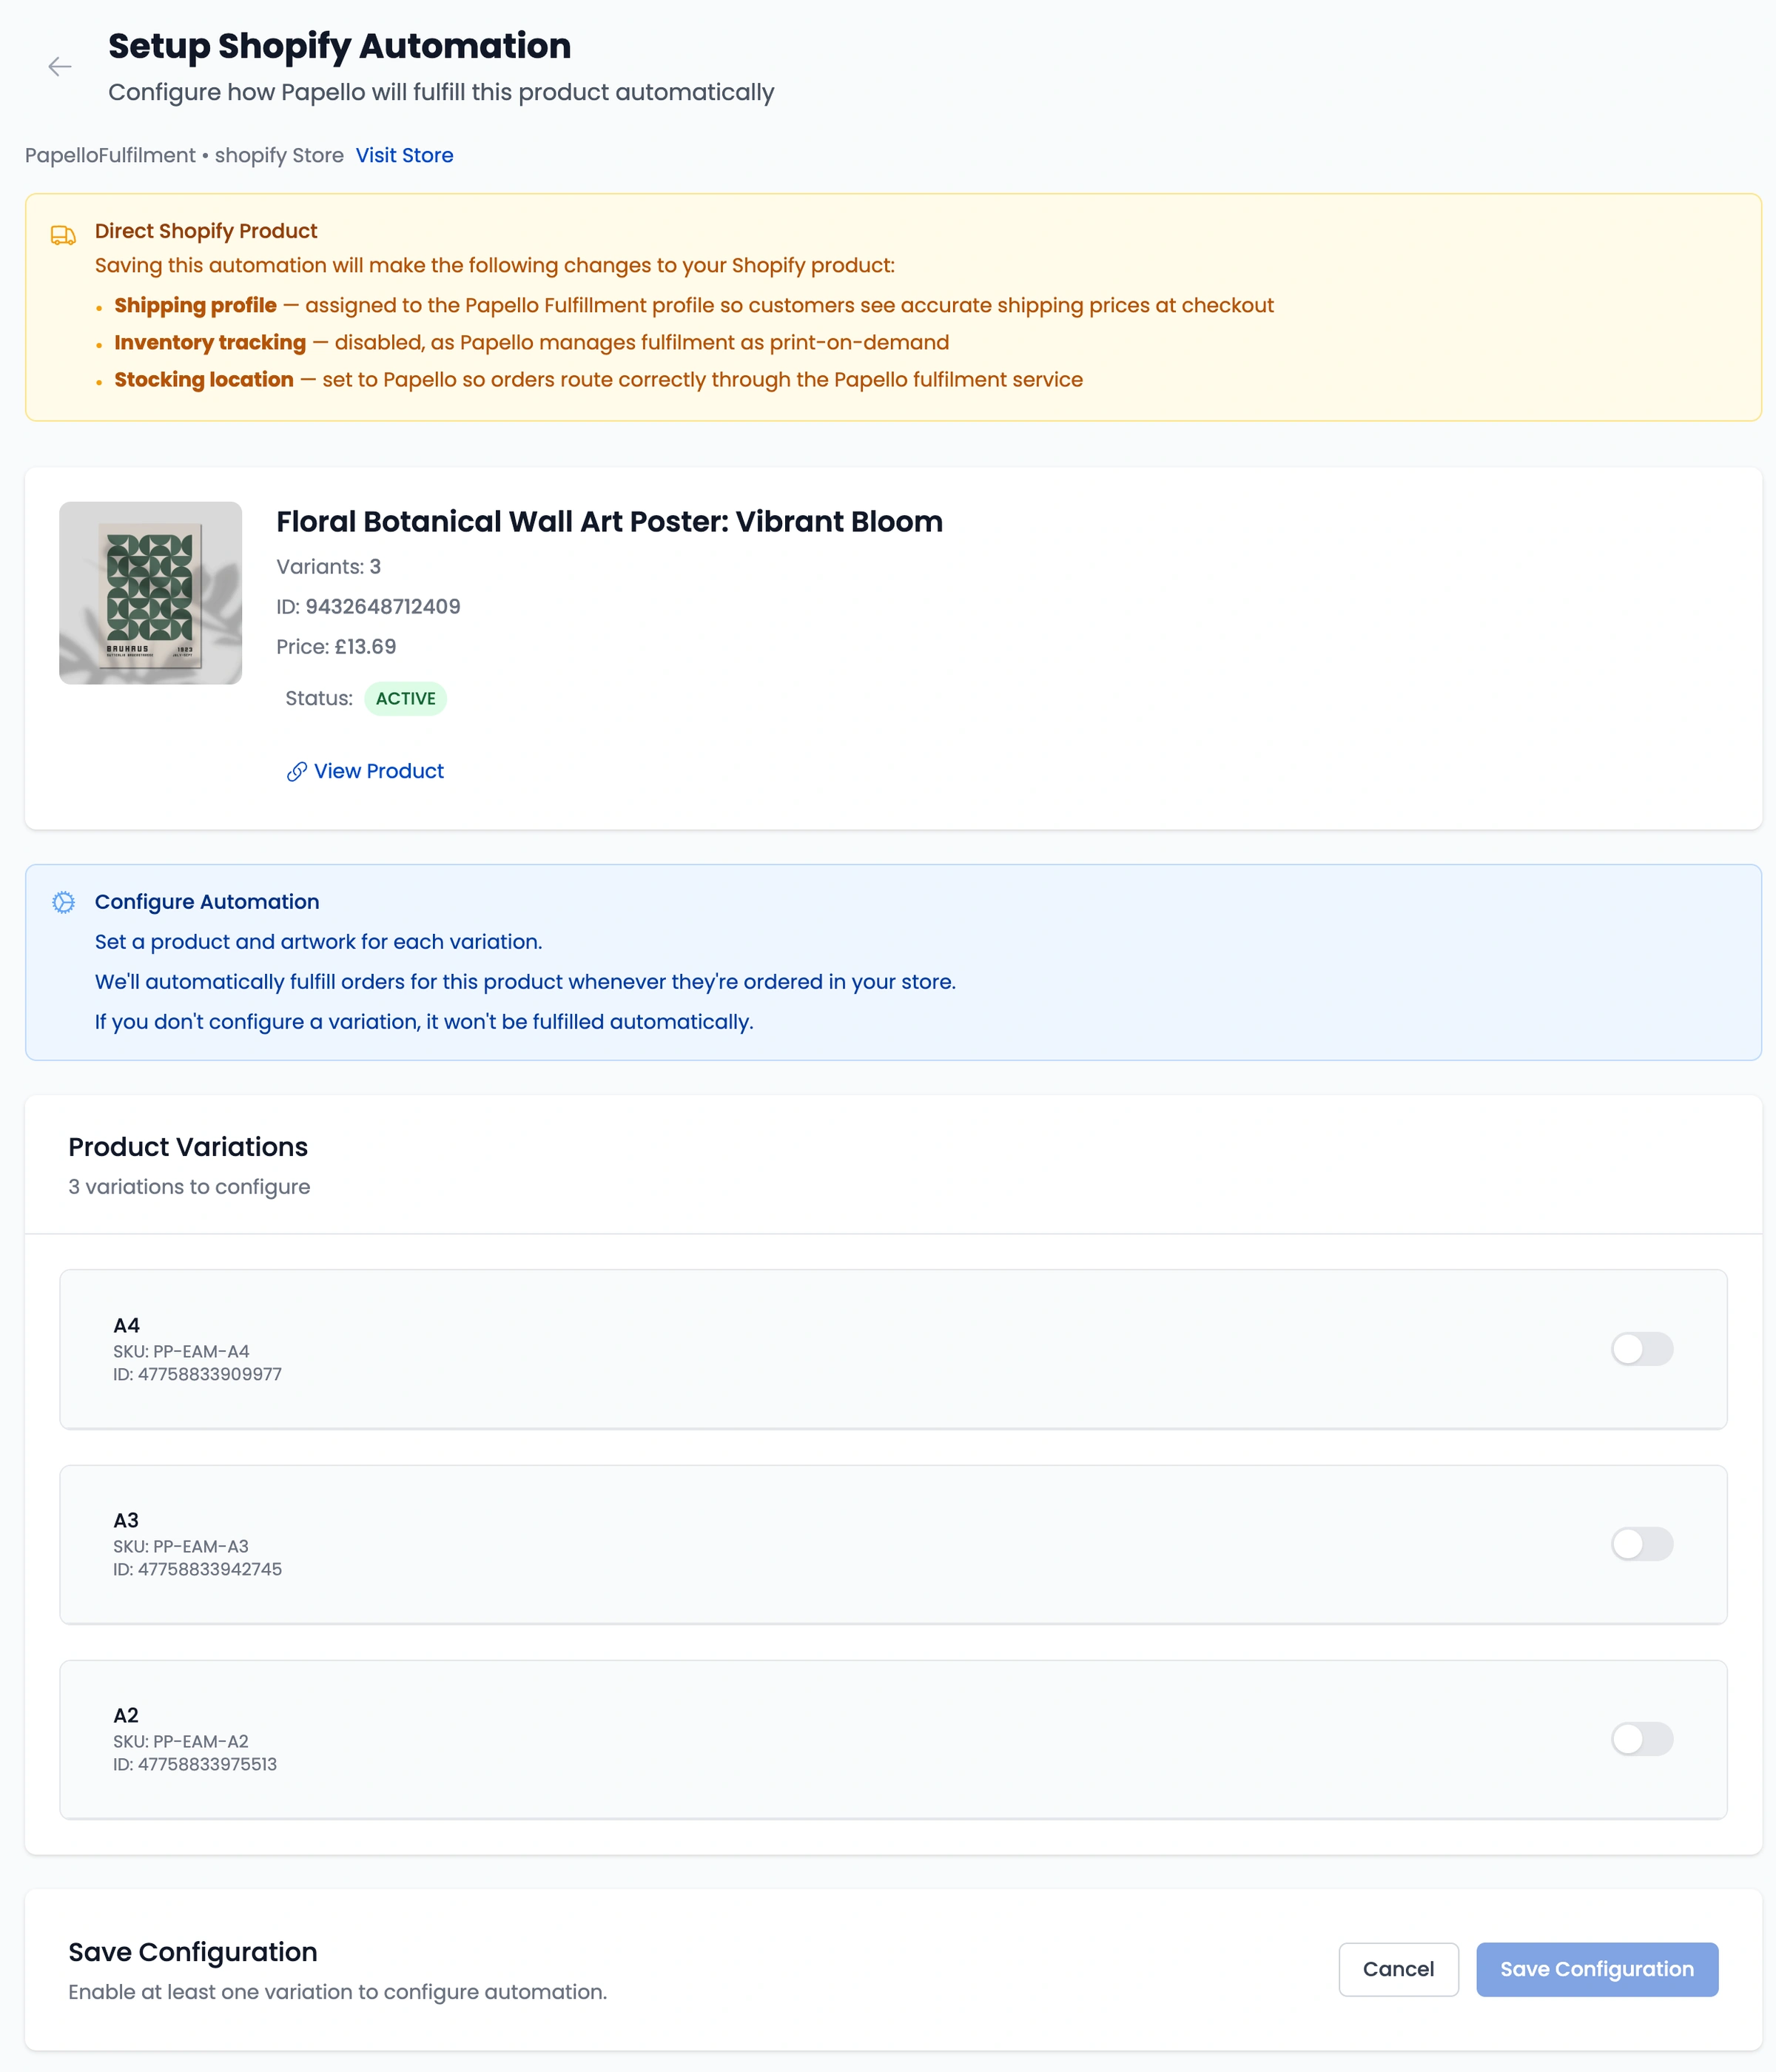
Step 4. Review Variations
The listing will open and display all available variations (e.g. different sizes, colours, or formats).
Use the toggles to enable the variations you’d like Papello to automate
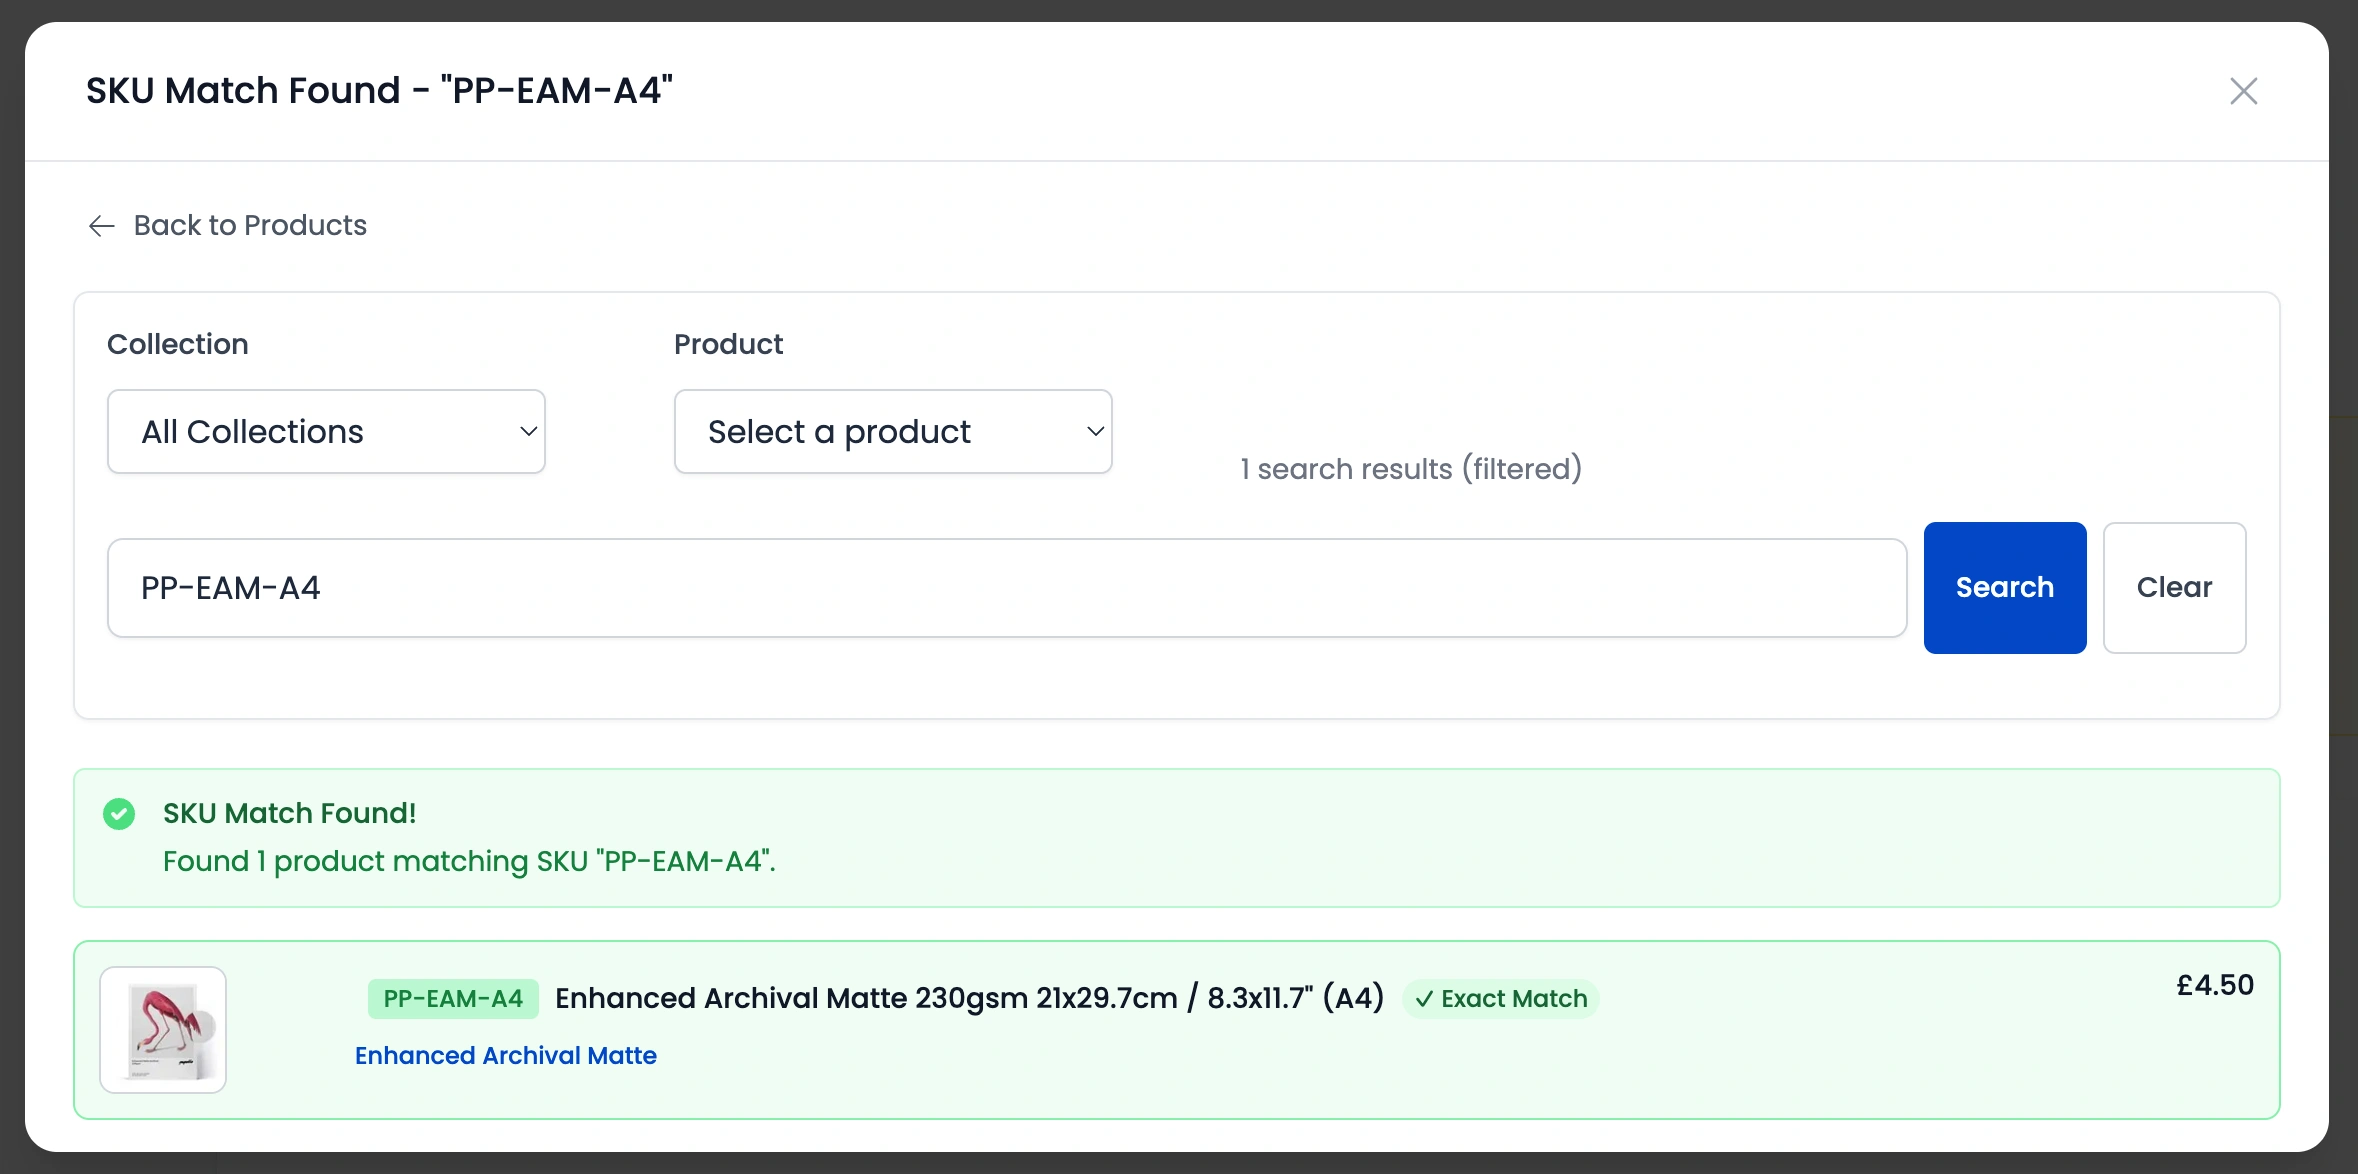
Step 5. Assign Papello Product Variations
For each store variation, choose the matching Papello product variation.
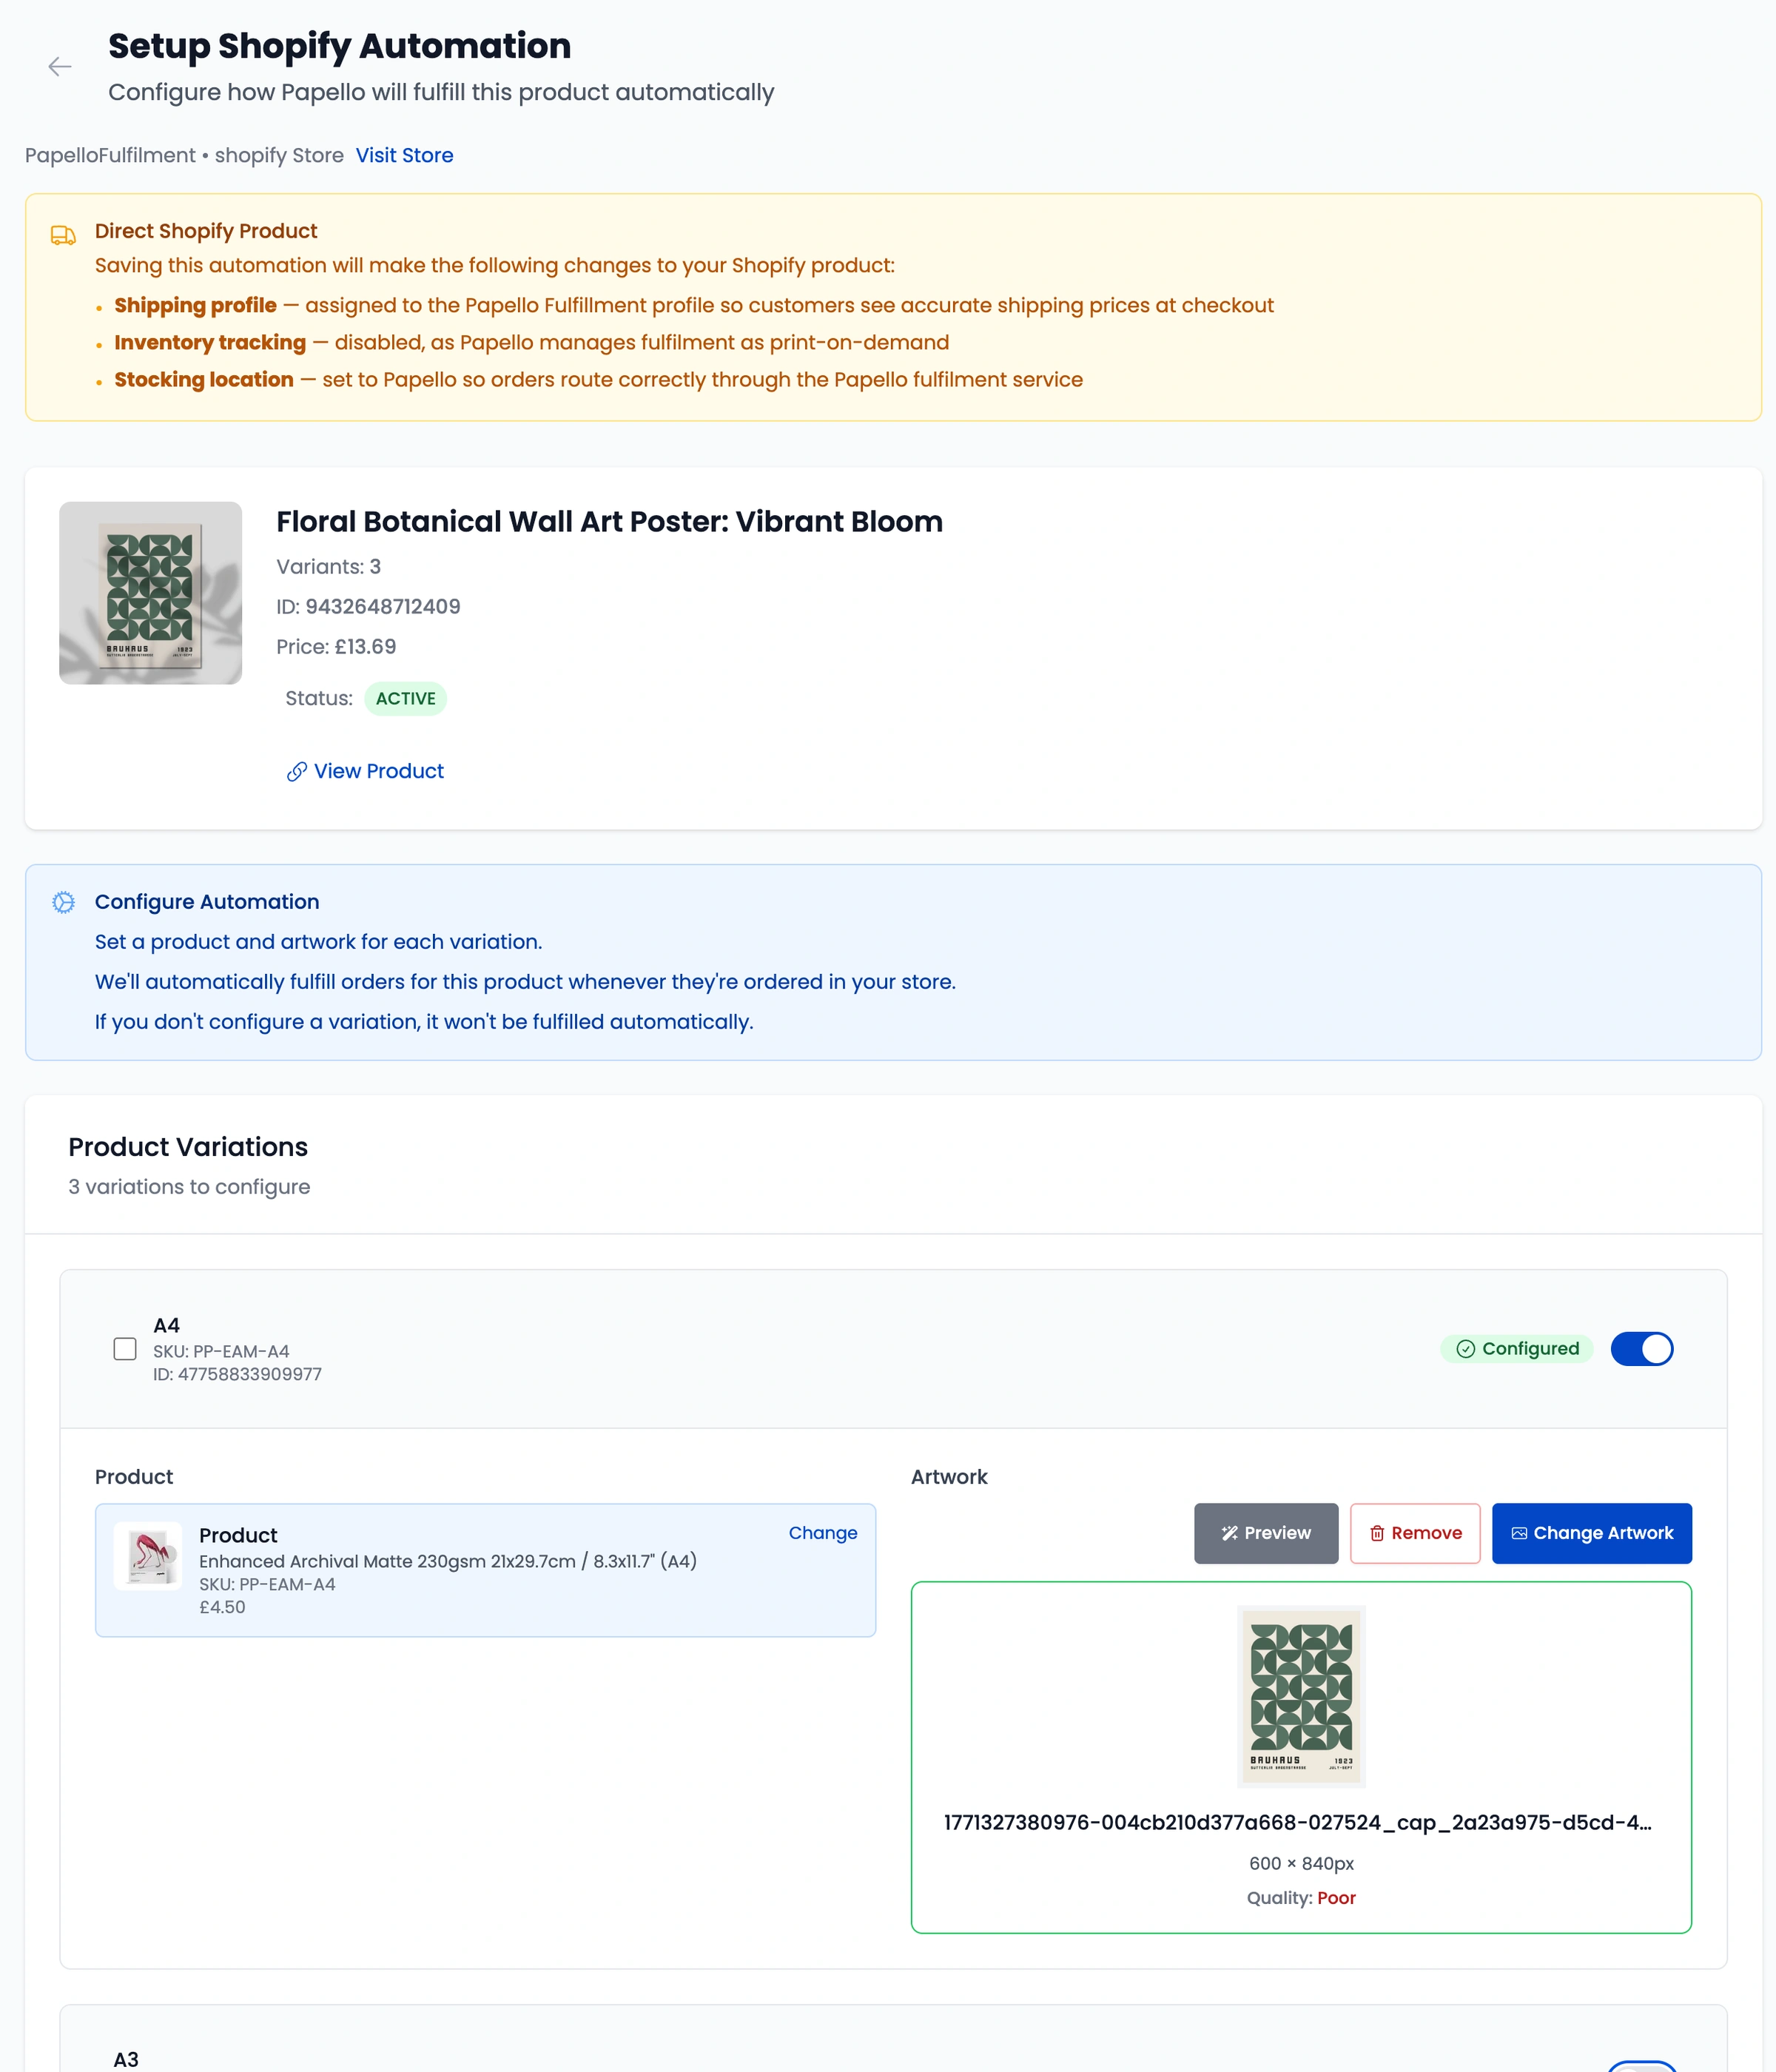
Step 6. Add Your Artwork
Each variation also needs artwork.
If your artwork is the same across multiple variations, you can save time with the bulk edit tool:
Select all the variations you want.
Click “Assign Artwork” to apply the file to each one.
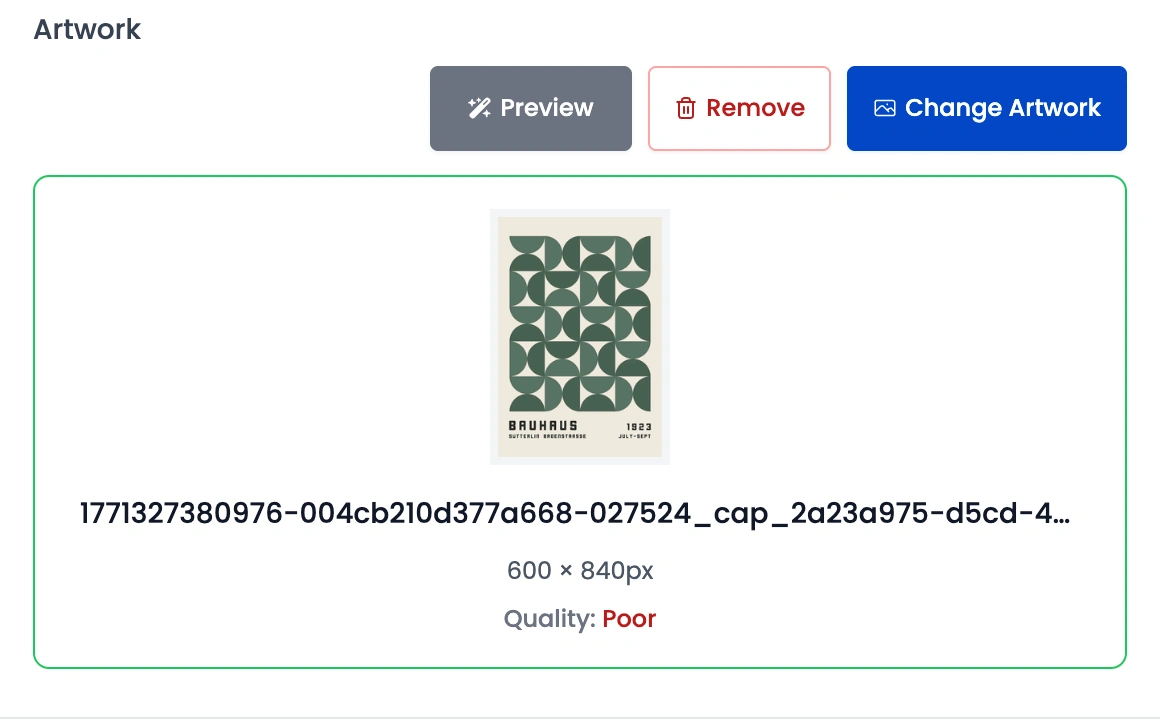
You can Preview the product, as well view the quality indicator when assigning artwork. This helps you to ensure the artwork matches the product dimensions.
Step 7. Shopify inventory settings
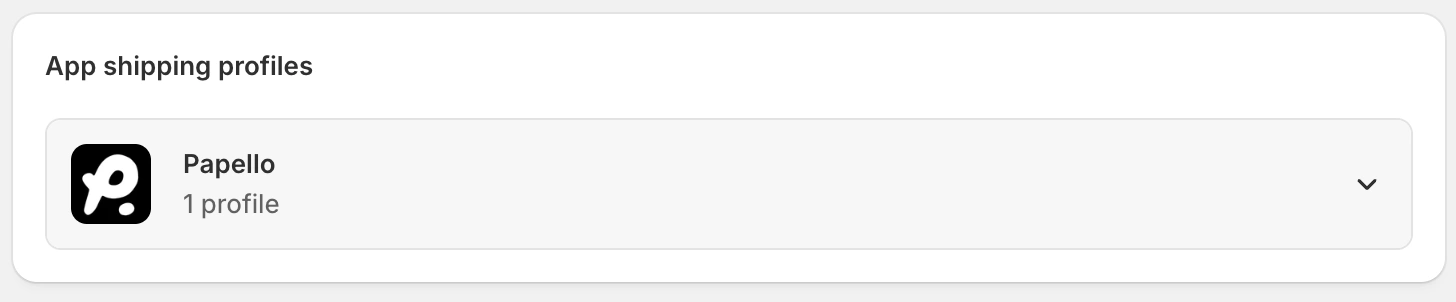
When you installed the Papello Shopify App, a Papello fulfilment location and Shipping Profile is added to your store.
The shipping profile contains Papello's standard and express shipping methods, product weights and shipping prices. When your customers purchase a product that is assigned to the Papello shipping profile, they will be charged the same prices as you will be charged by Papello.
Shipping prices are exclusive of VAT/Tax - you should consider charging your customers VAT/Tax at checkout if also registered in a taxable country on the Papello dashboard.
You can view this in your Shopify admin settings under Settings > Shipping and delivery > App shipping profiles.
. When you save the automation, the following will be updated in our Shopify store:
Shipping profile — assigned to the Papello Fulfillment profile so customers see accurate shipping prices at checkout
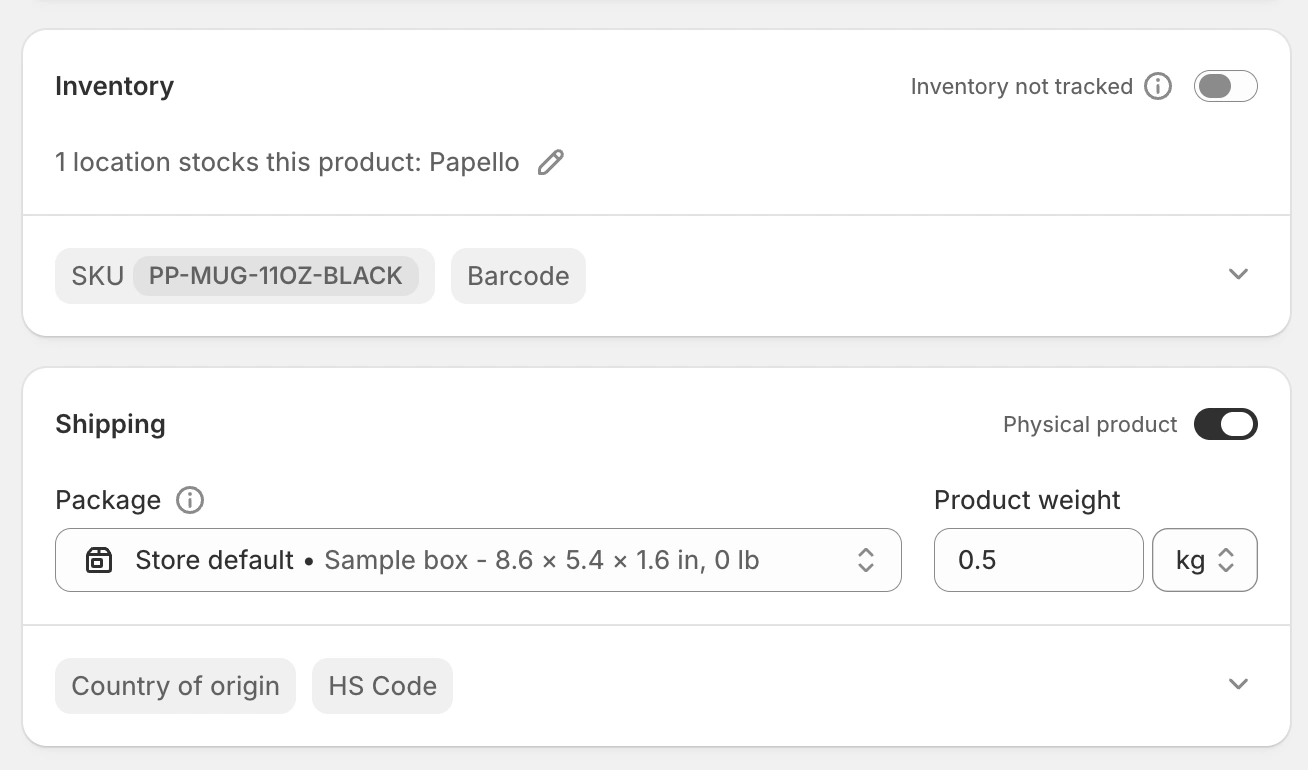
Inventory tracking — disabled, as Papello manages fulfilment as print-on-demand
Stocking location — set to Papello so orders route correctly through the Papello fulfilment service
Product SKU — your product SKU will be updates to match Papello's product SKUs.
You will see these updates in your products inventory and shipping settings:
Step 8. Save Your Configuration
Once everything is set, click “Save Configuration.”
Your automation is now live! 🎉