You can create product listings directly in the Papello dashboard and publish them to your connected marketplace stores.
Currently, Papello supports publishing listings to:
- Etsy
- WooCommerce
- Shopify
When a product is published from Papello to your store, automation is set up automatically. This means that when the product sells on your marketplace:
- A Papello order is created automatically
- Your saved payment method is charged
- The item is printed and shipped directly to your customer
- No manual action is required from you
This allows for fully automated, “no-touch” fulfilment.
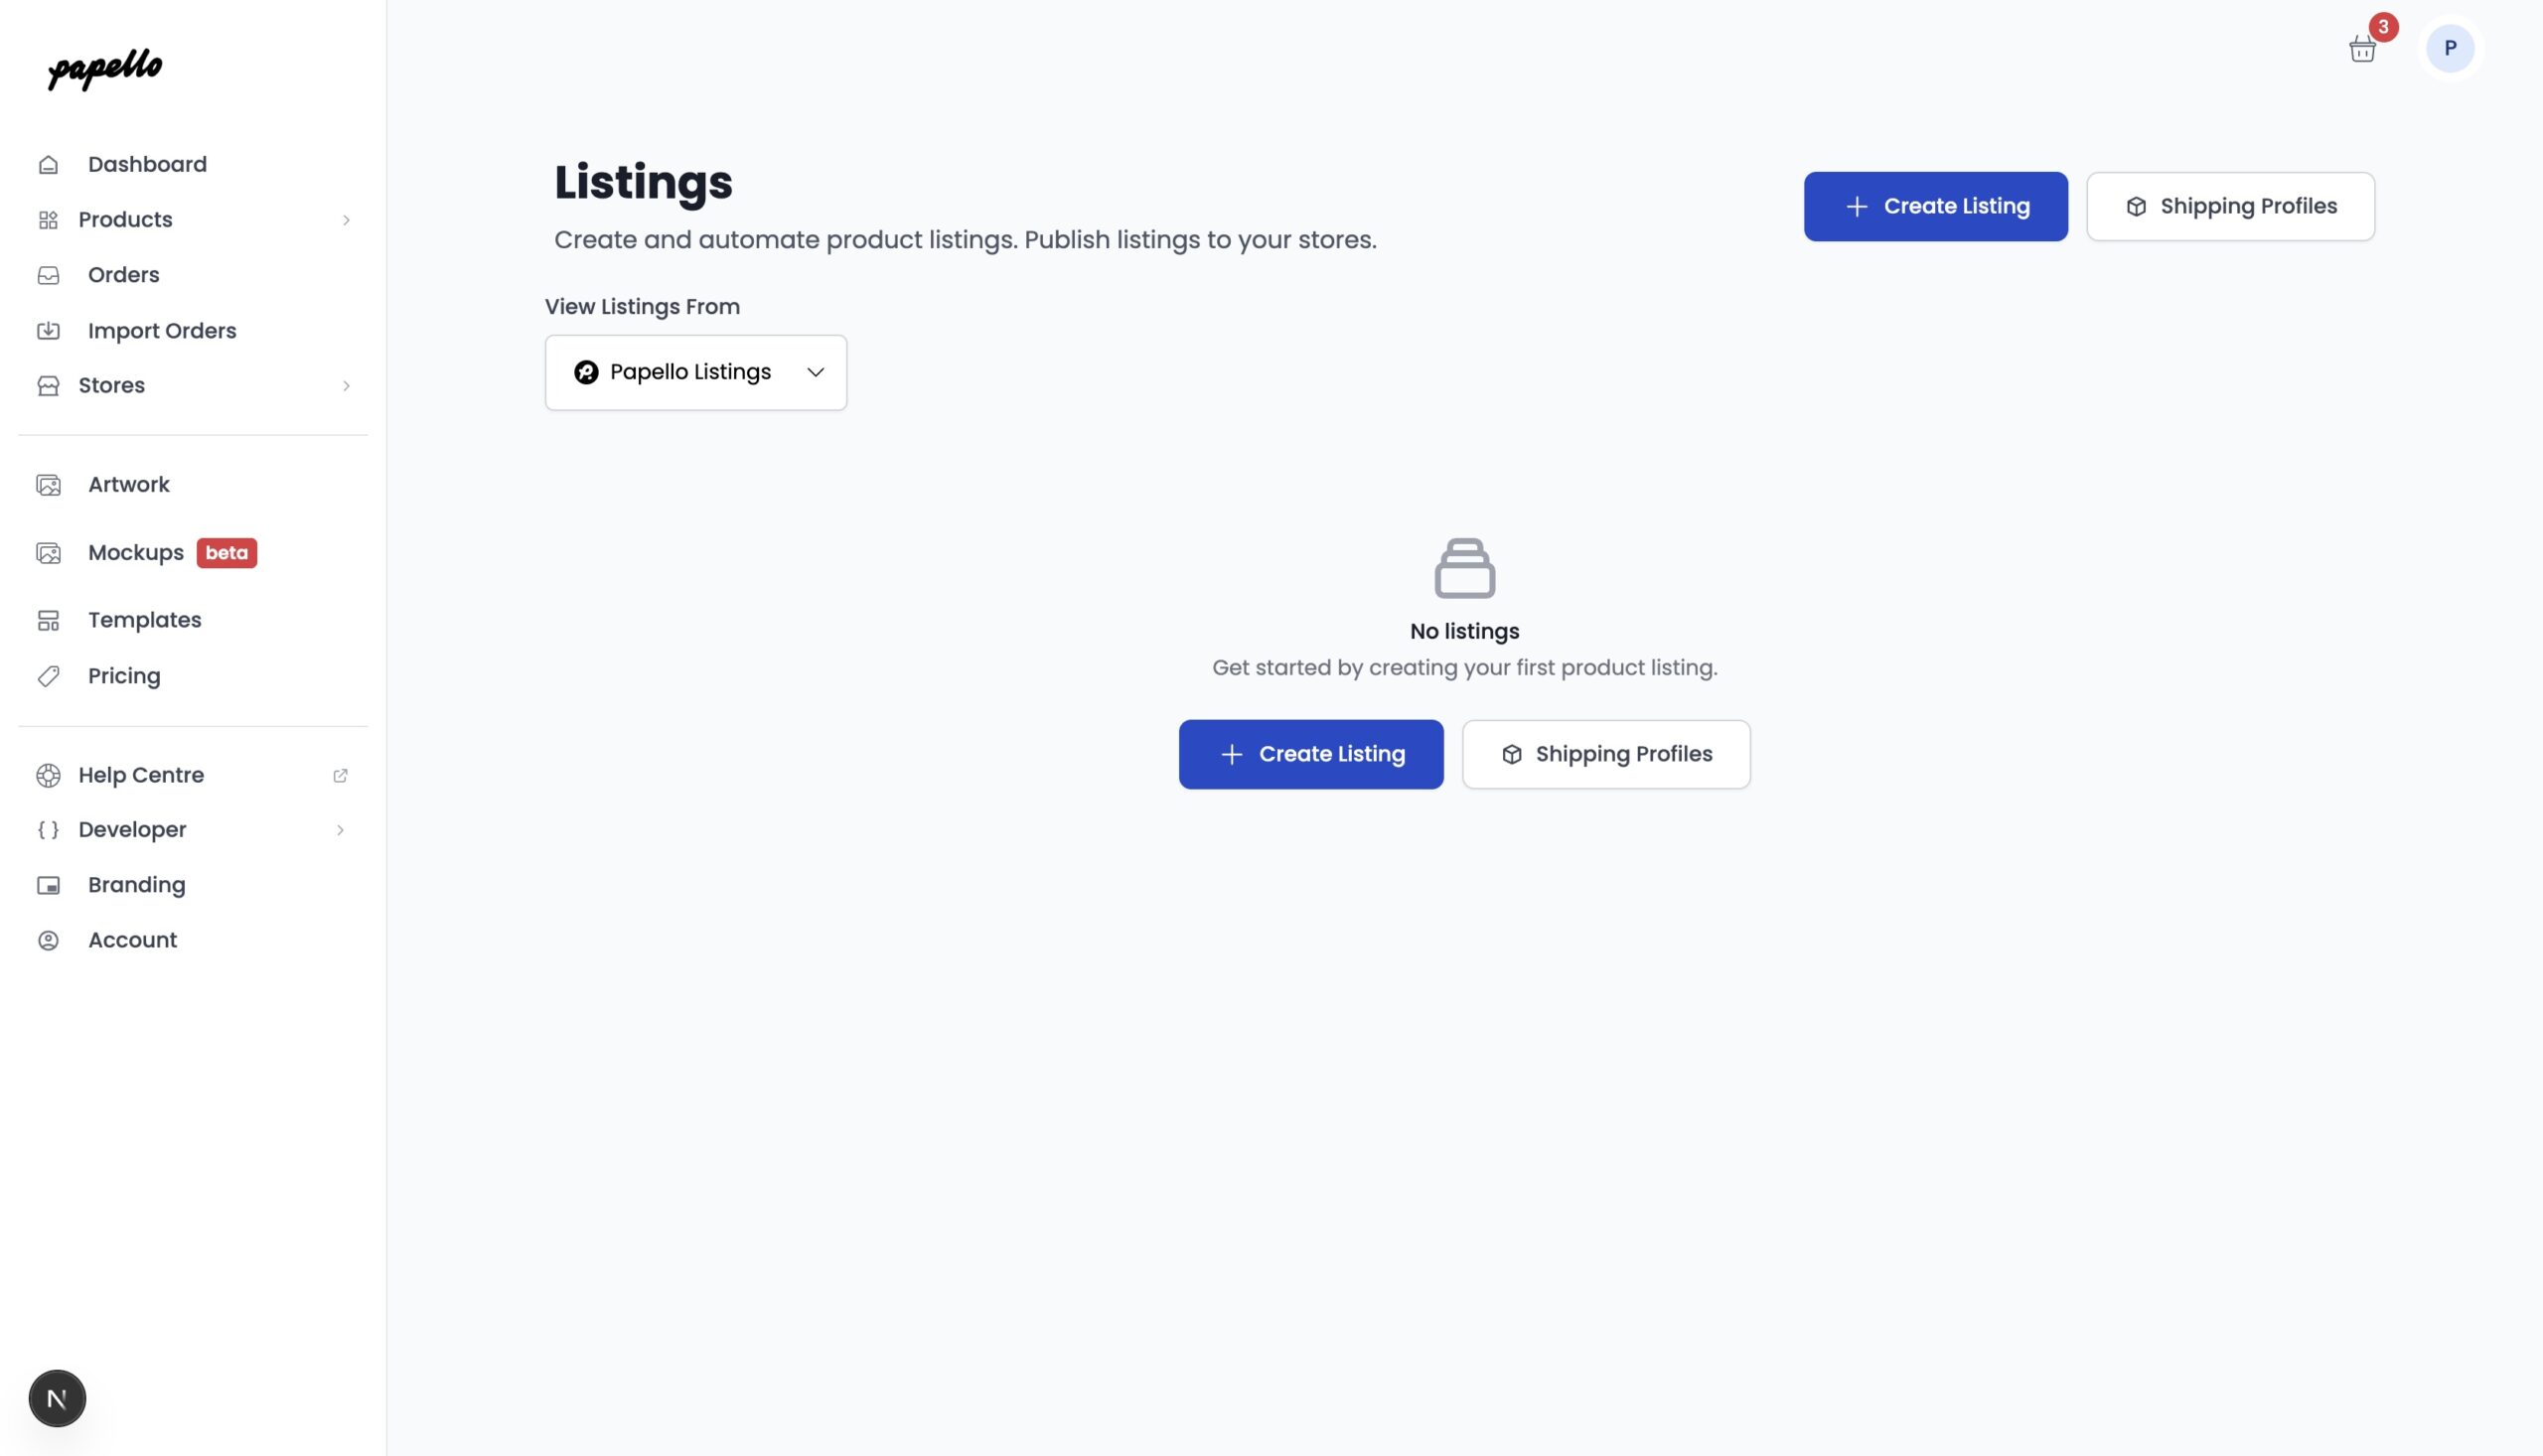
Create a New Listing
From the dashboard sidebar, go to Listings:
https://dash.papello.com/dashboard/listings
Click Create Listing to begin.
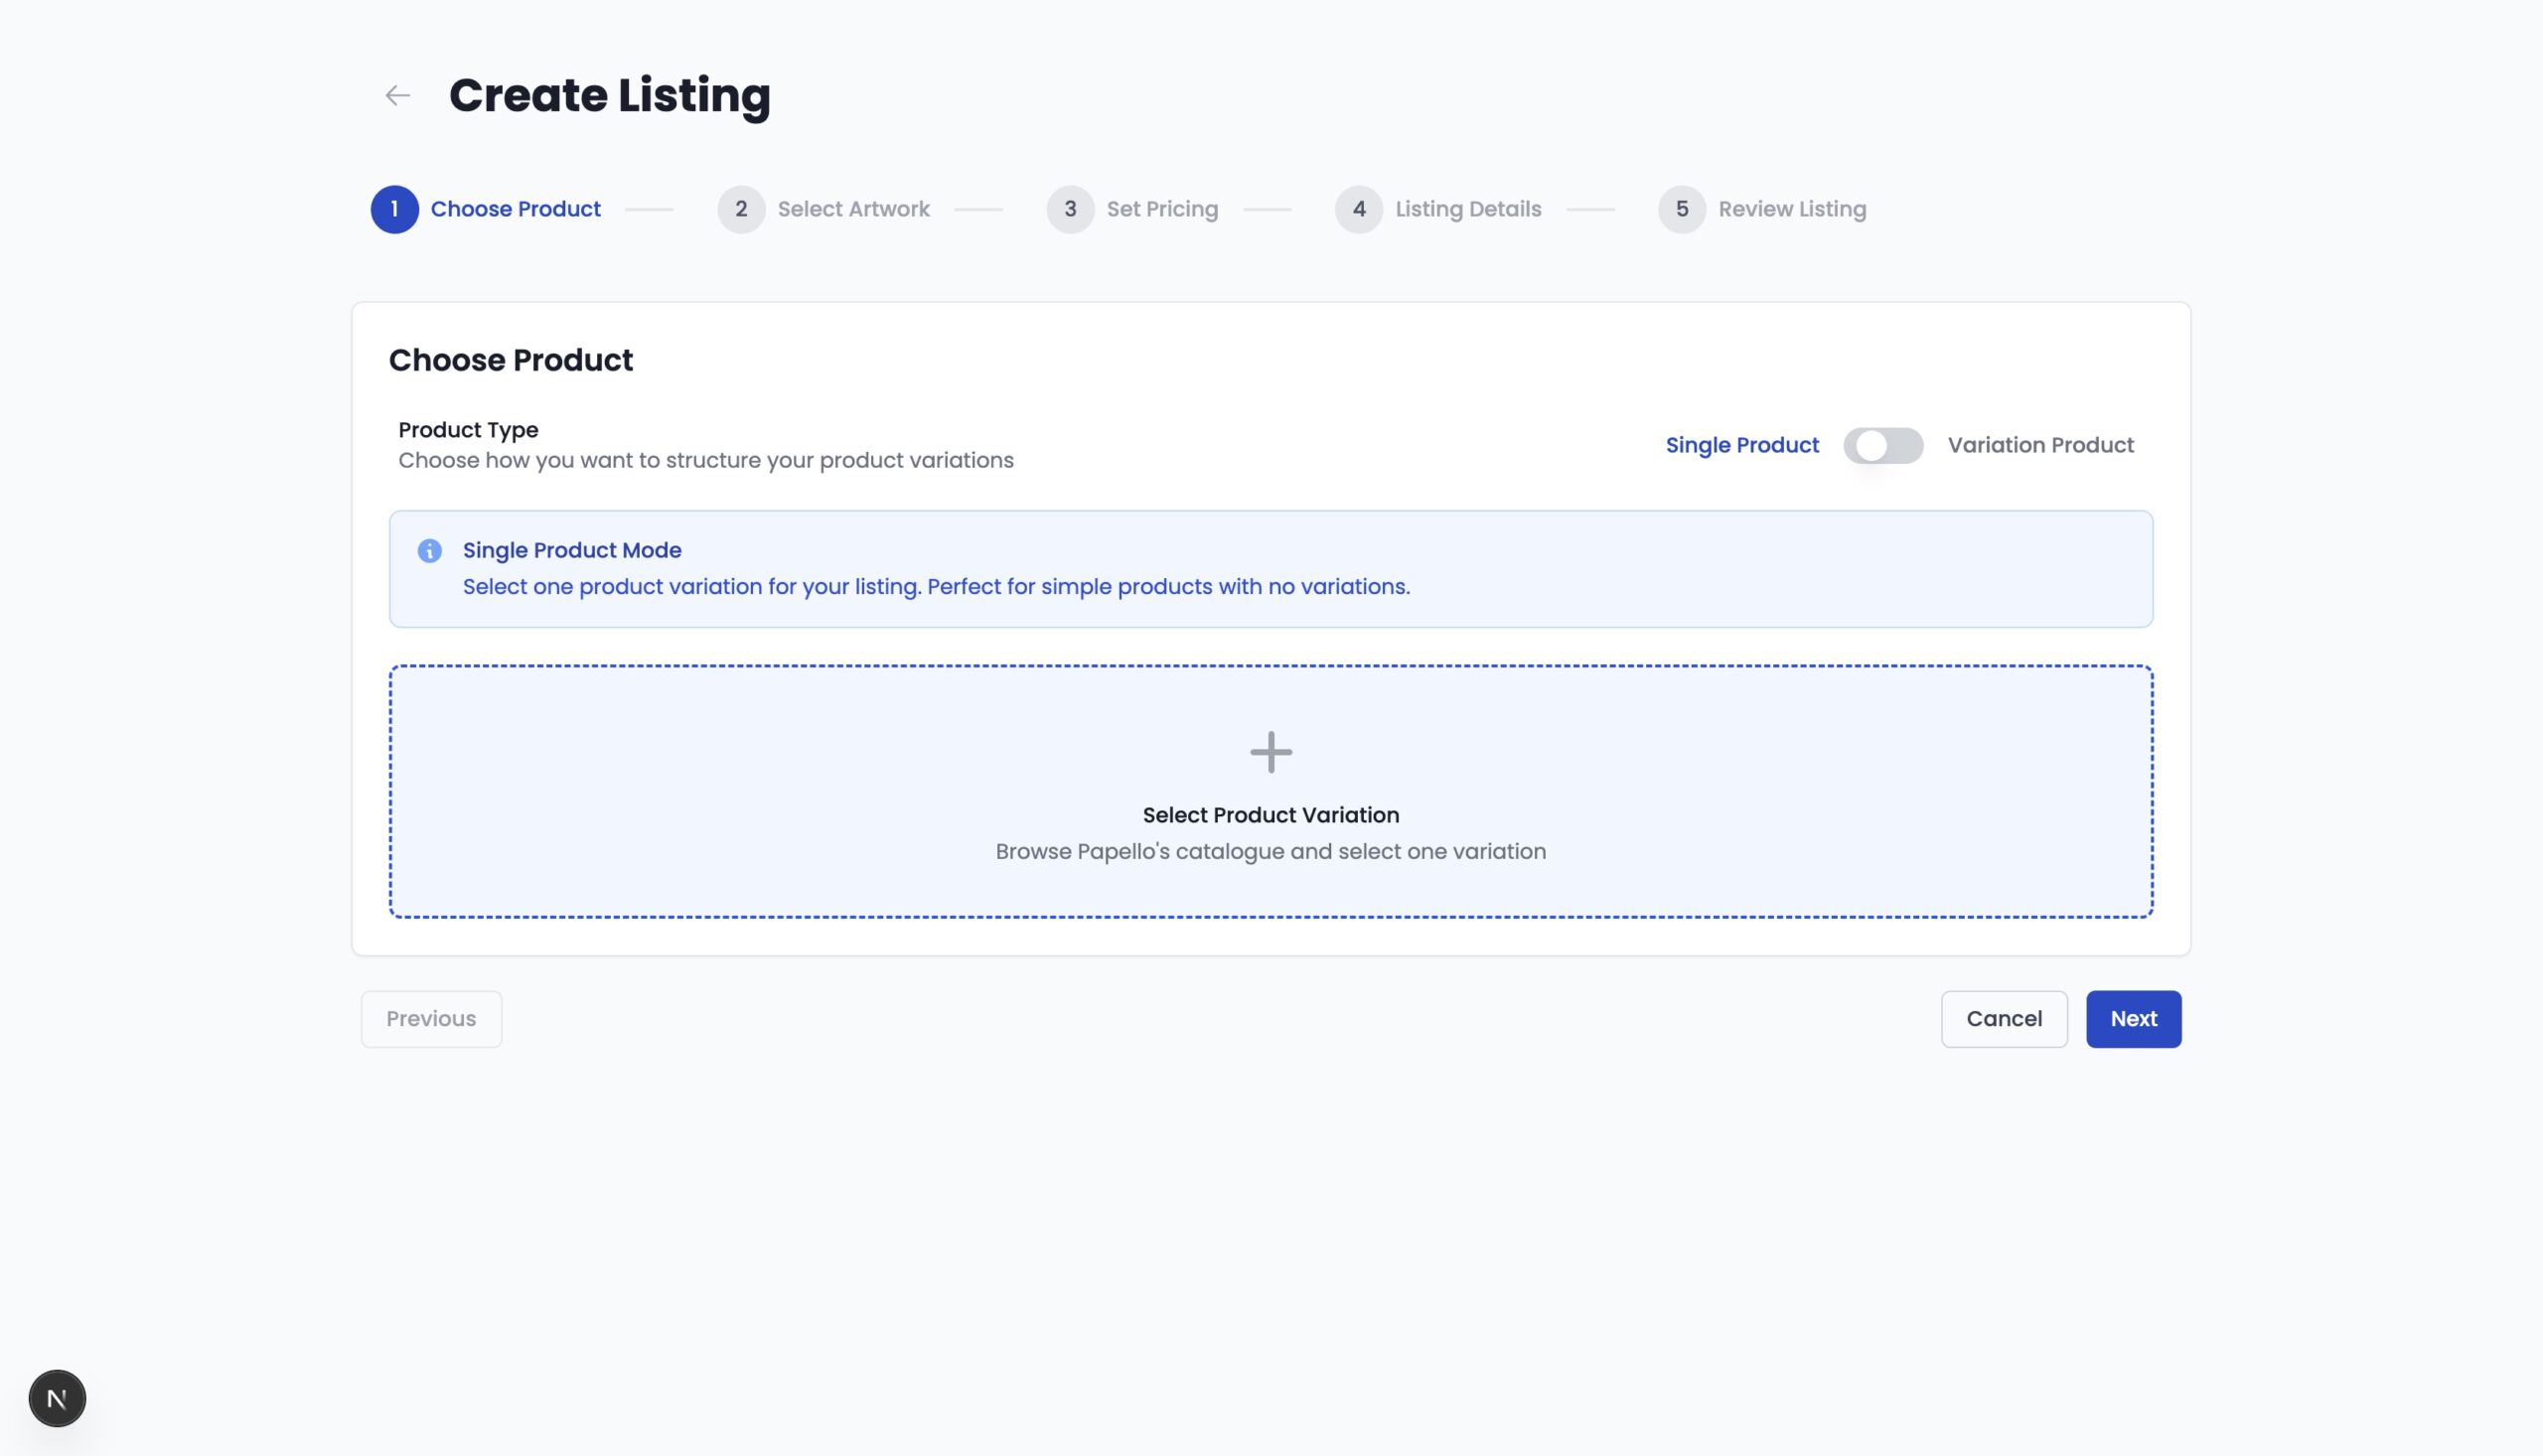
Choose Your Product Listing Type
You can create either:
- Single product listings (e.g. one mug with one design, or a poster in a single size)
- Variation product listings (e.g. products with options such as size, colour, or design)
In this guide, we’ll create a Single product listing – use the toggle to switch between the listing type.
👉 For instructions on creating variation listings, see: Create a Variable Product Listing in Papello
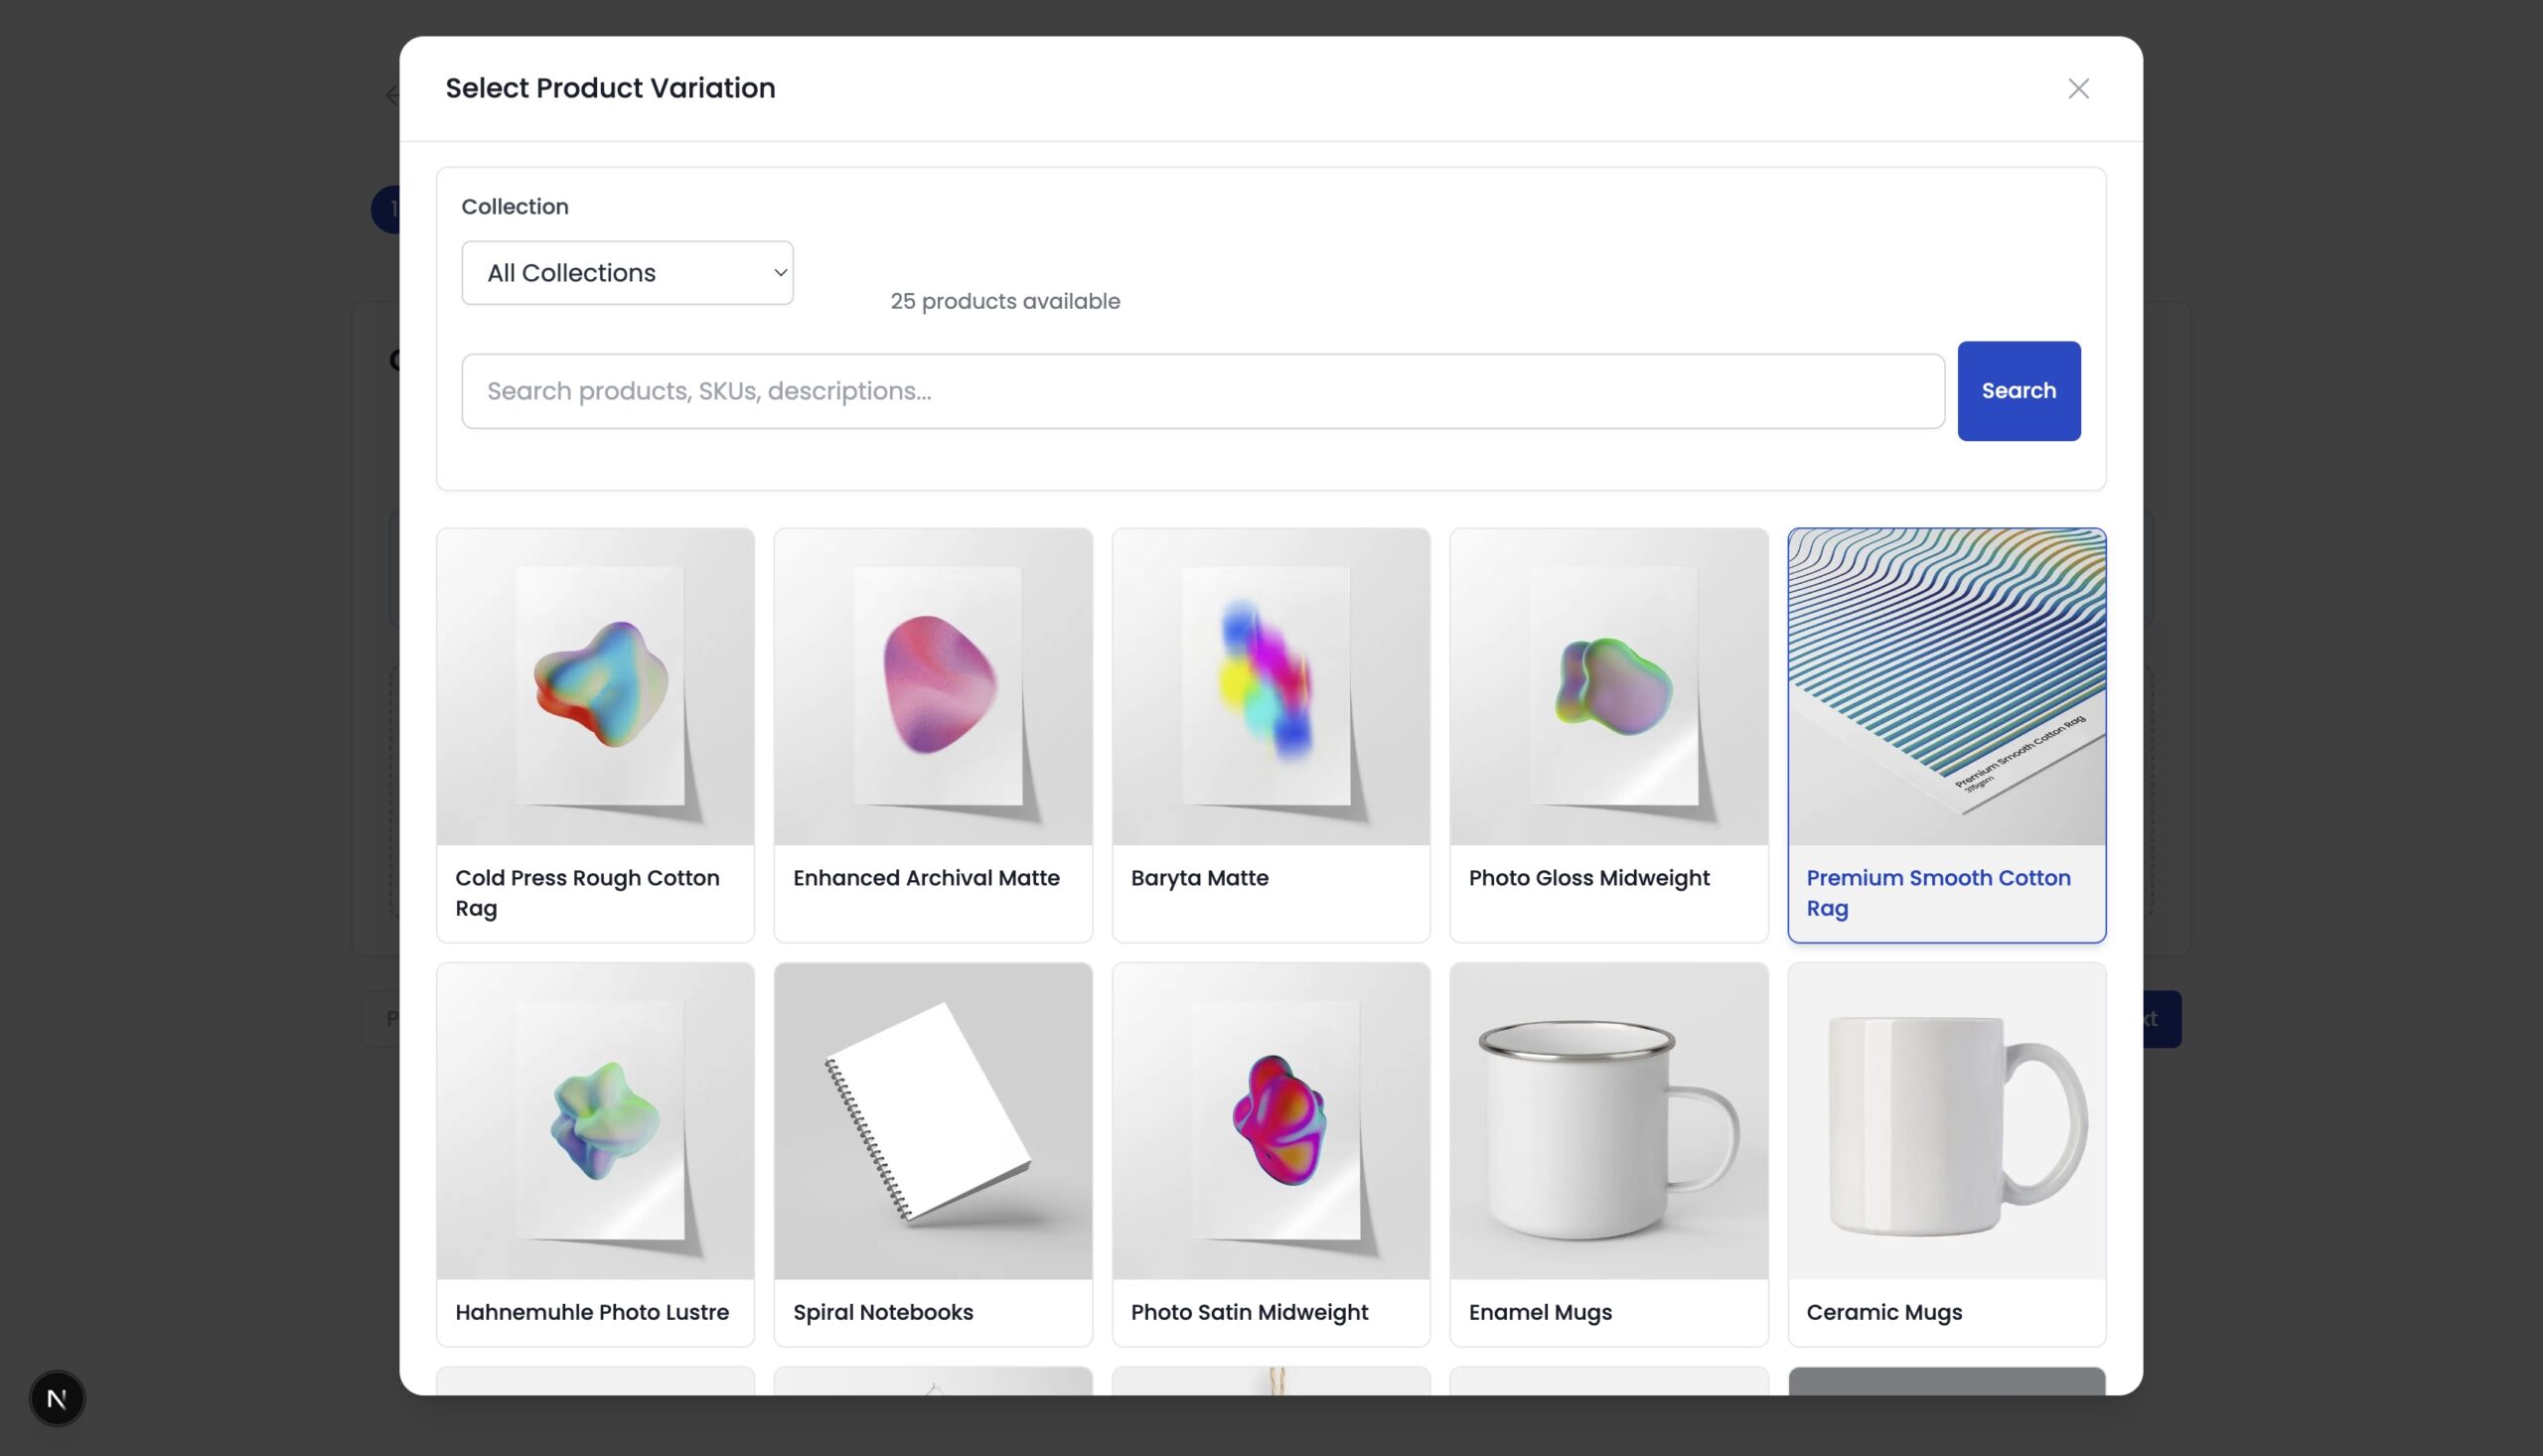
Step 1: Select a Product Variation
Click Select Product Variation to browse the Papello catalogue.
You can:
- Filter by category
- Search for a specific product or variation
In this example, we’ll select a White Ceramic Mug.
Use the filters to find the variation that matches the product you want to sell.
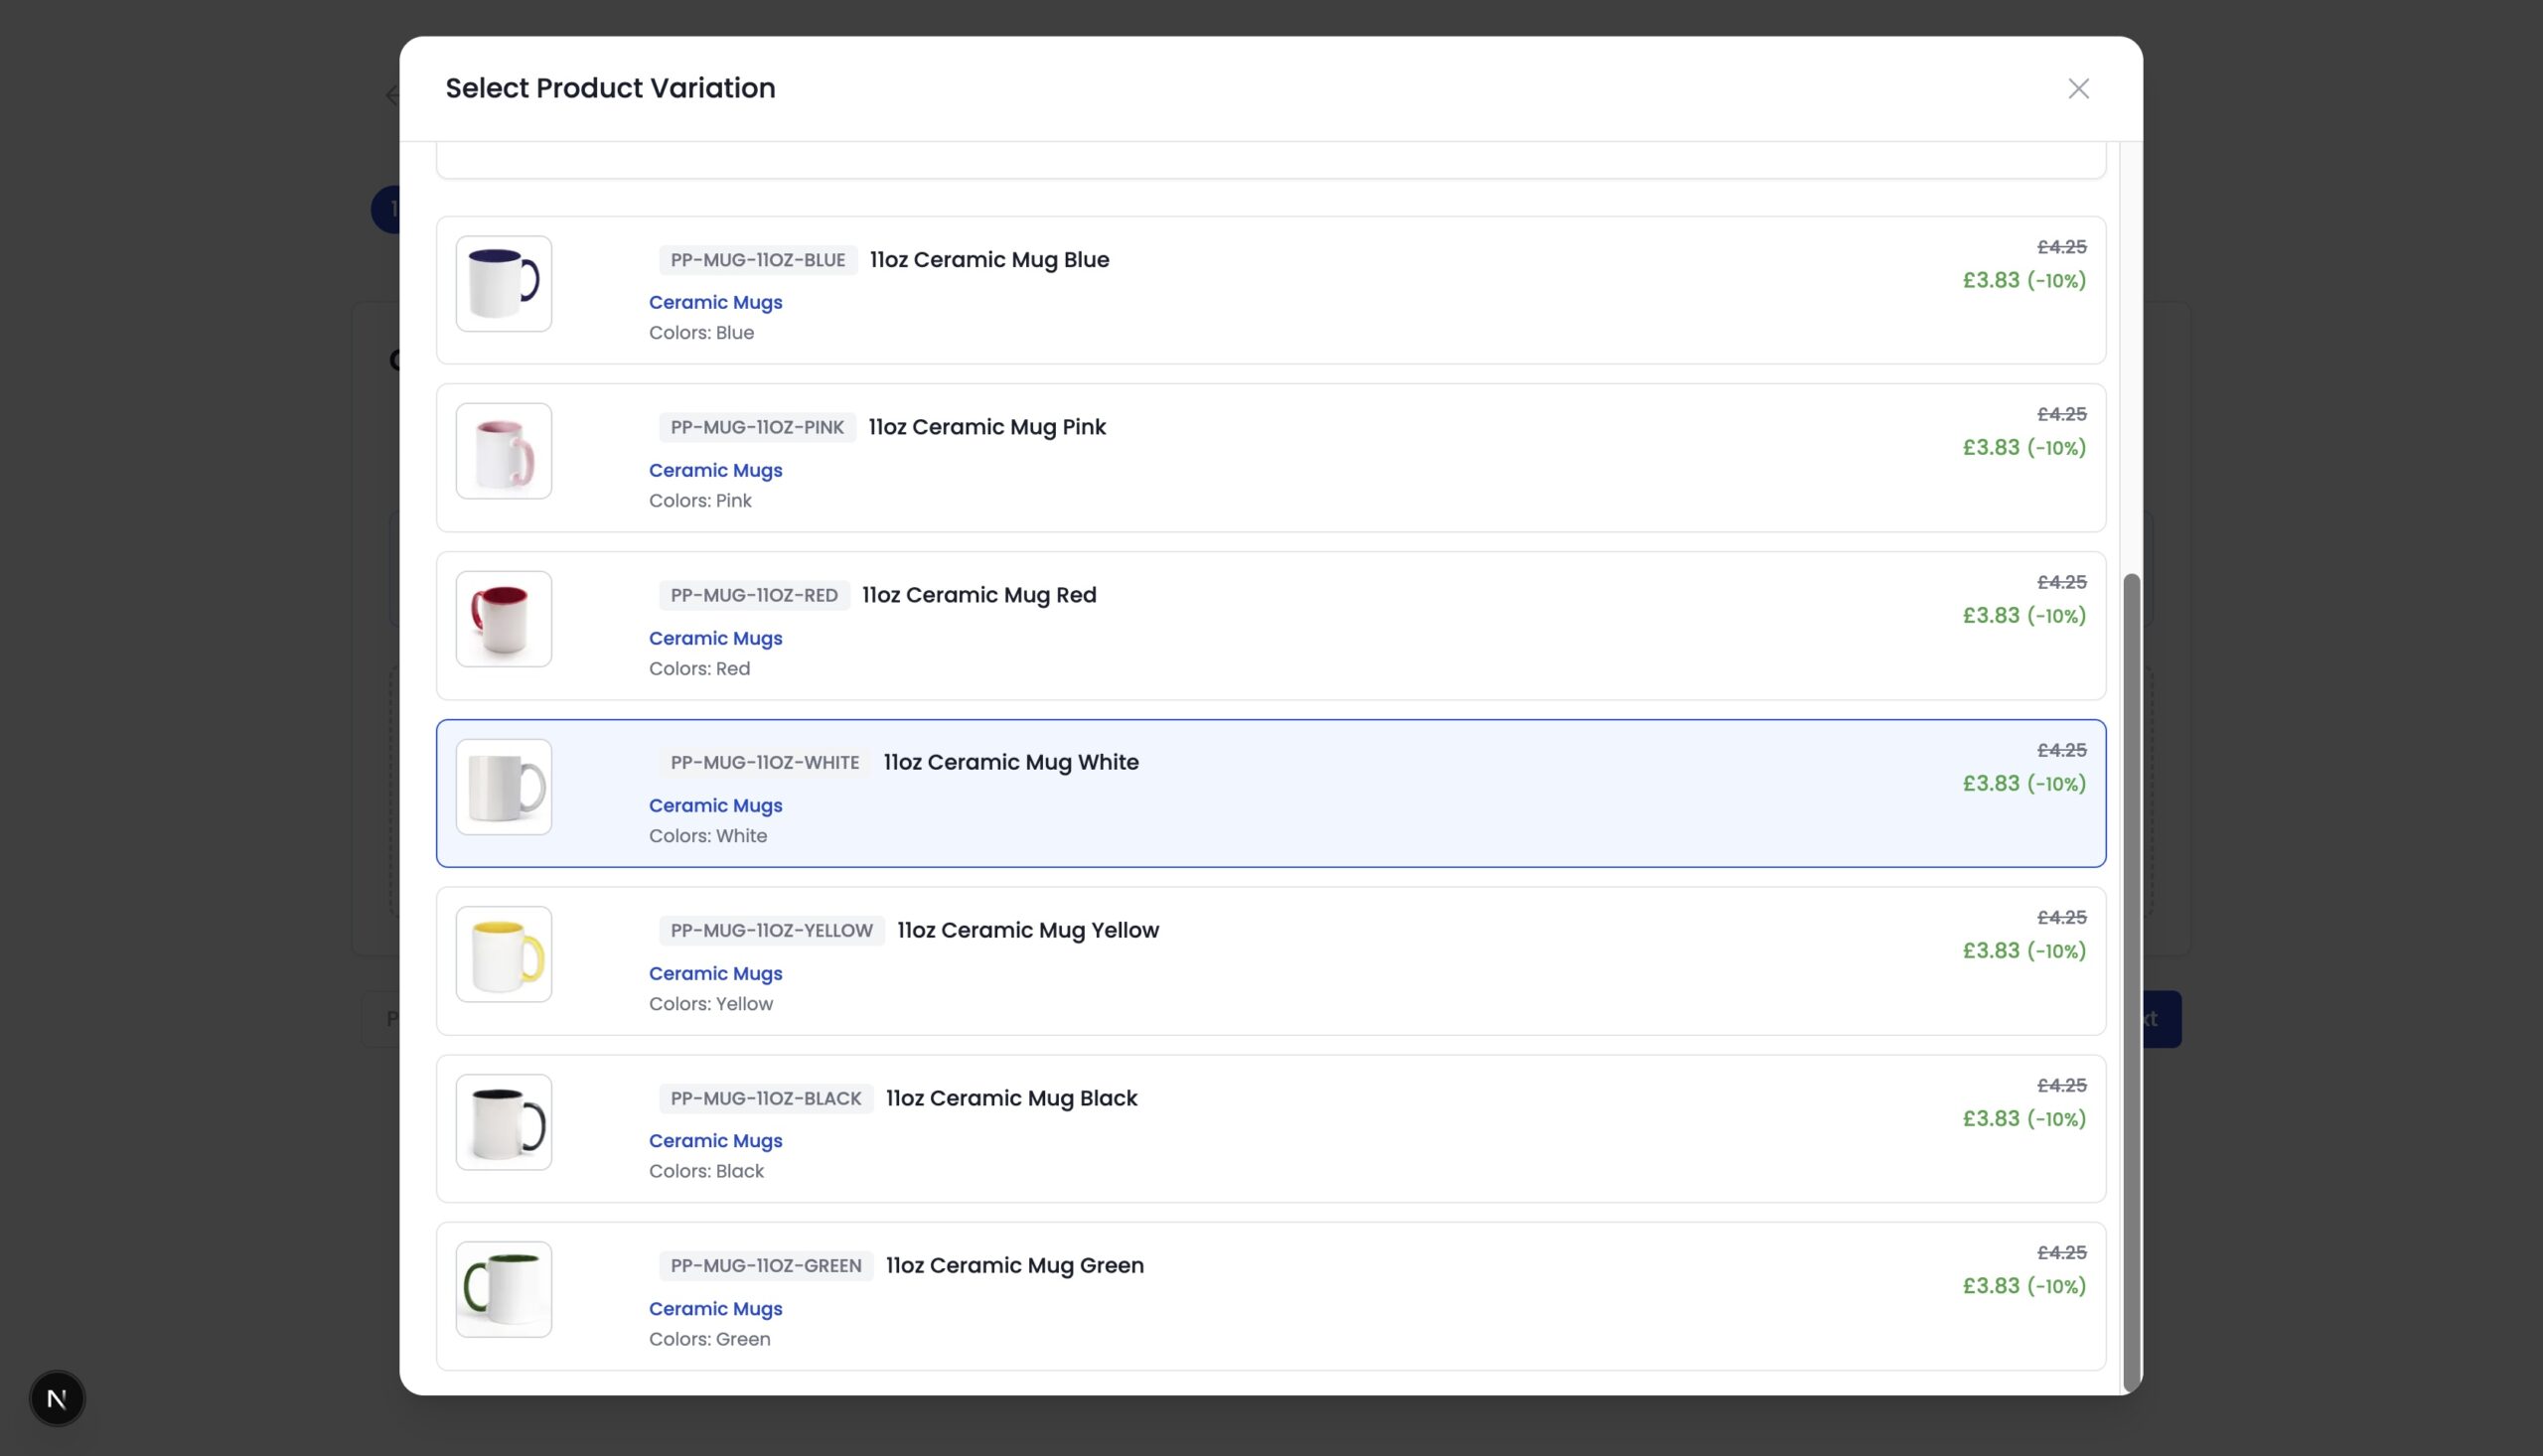
Once selected, click Next to move to Step 2 – Artwork Selection.
Step 2: Select Artwork
You’ll now need to assign artwork to the product variation. This is the artwork that will be printed onto your product.
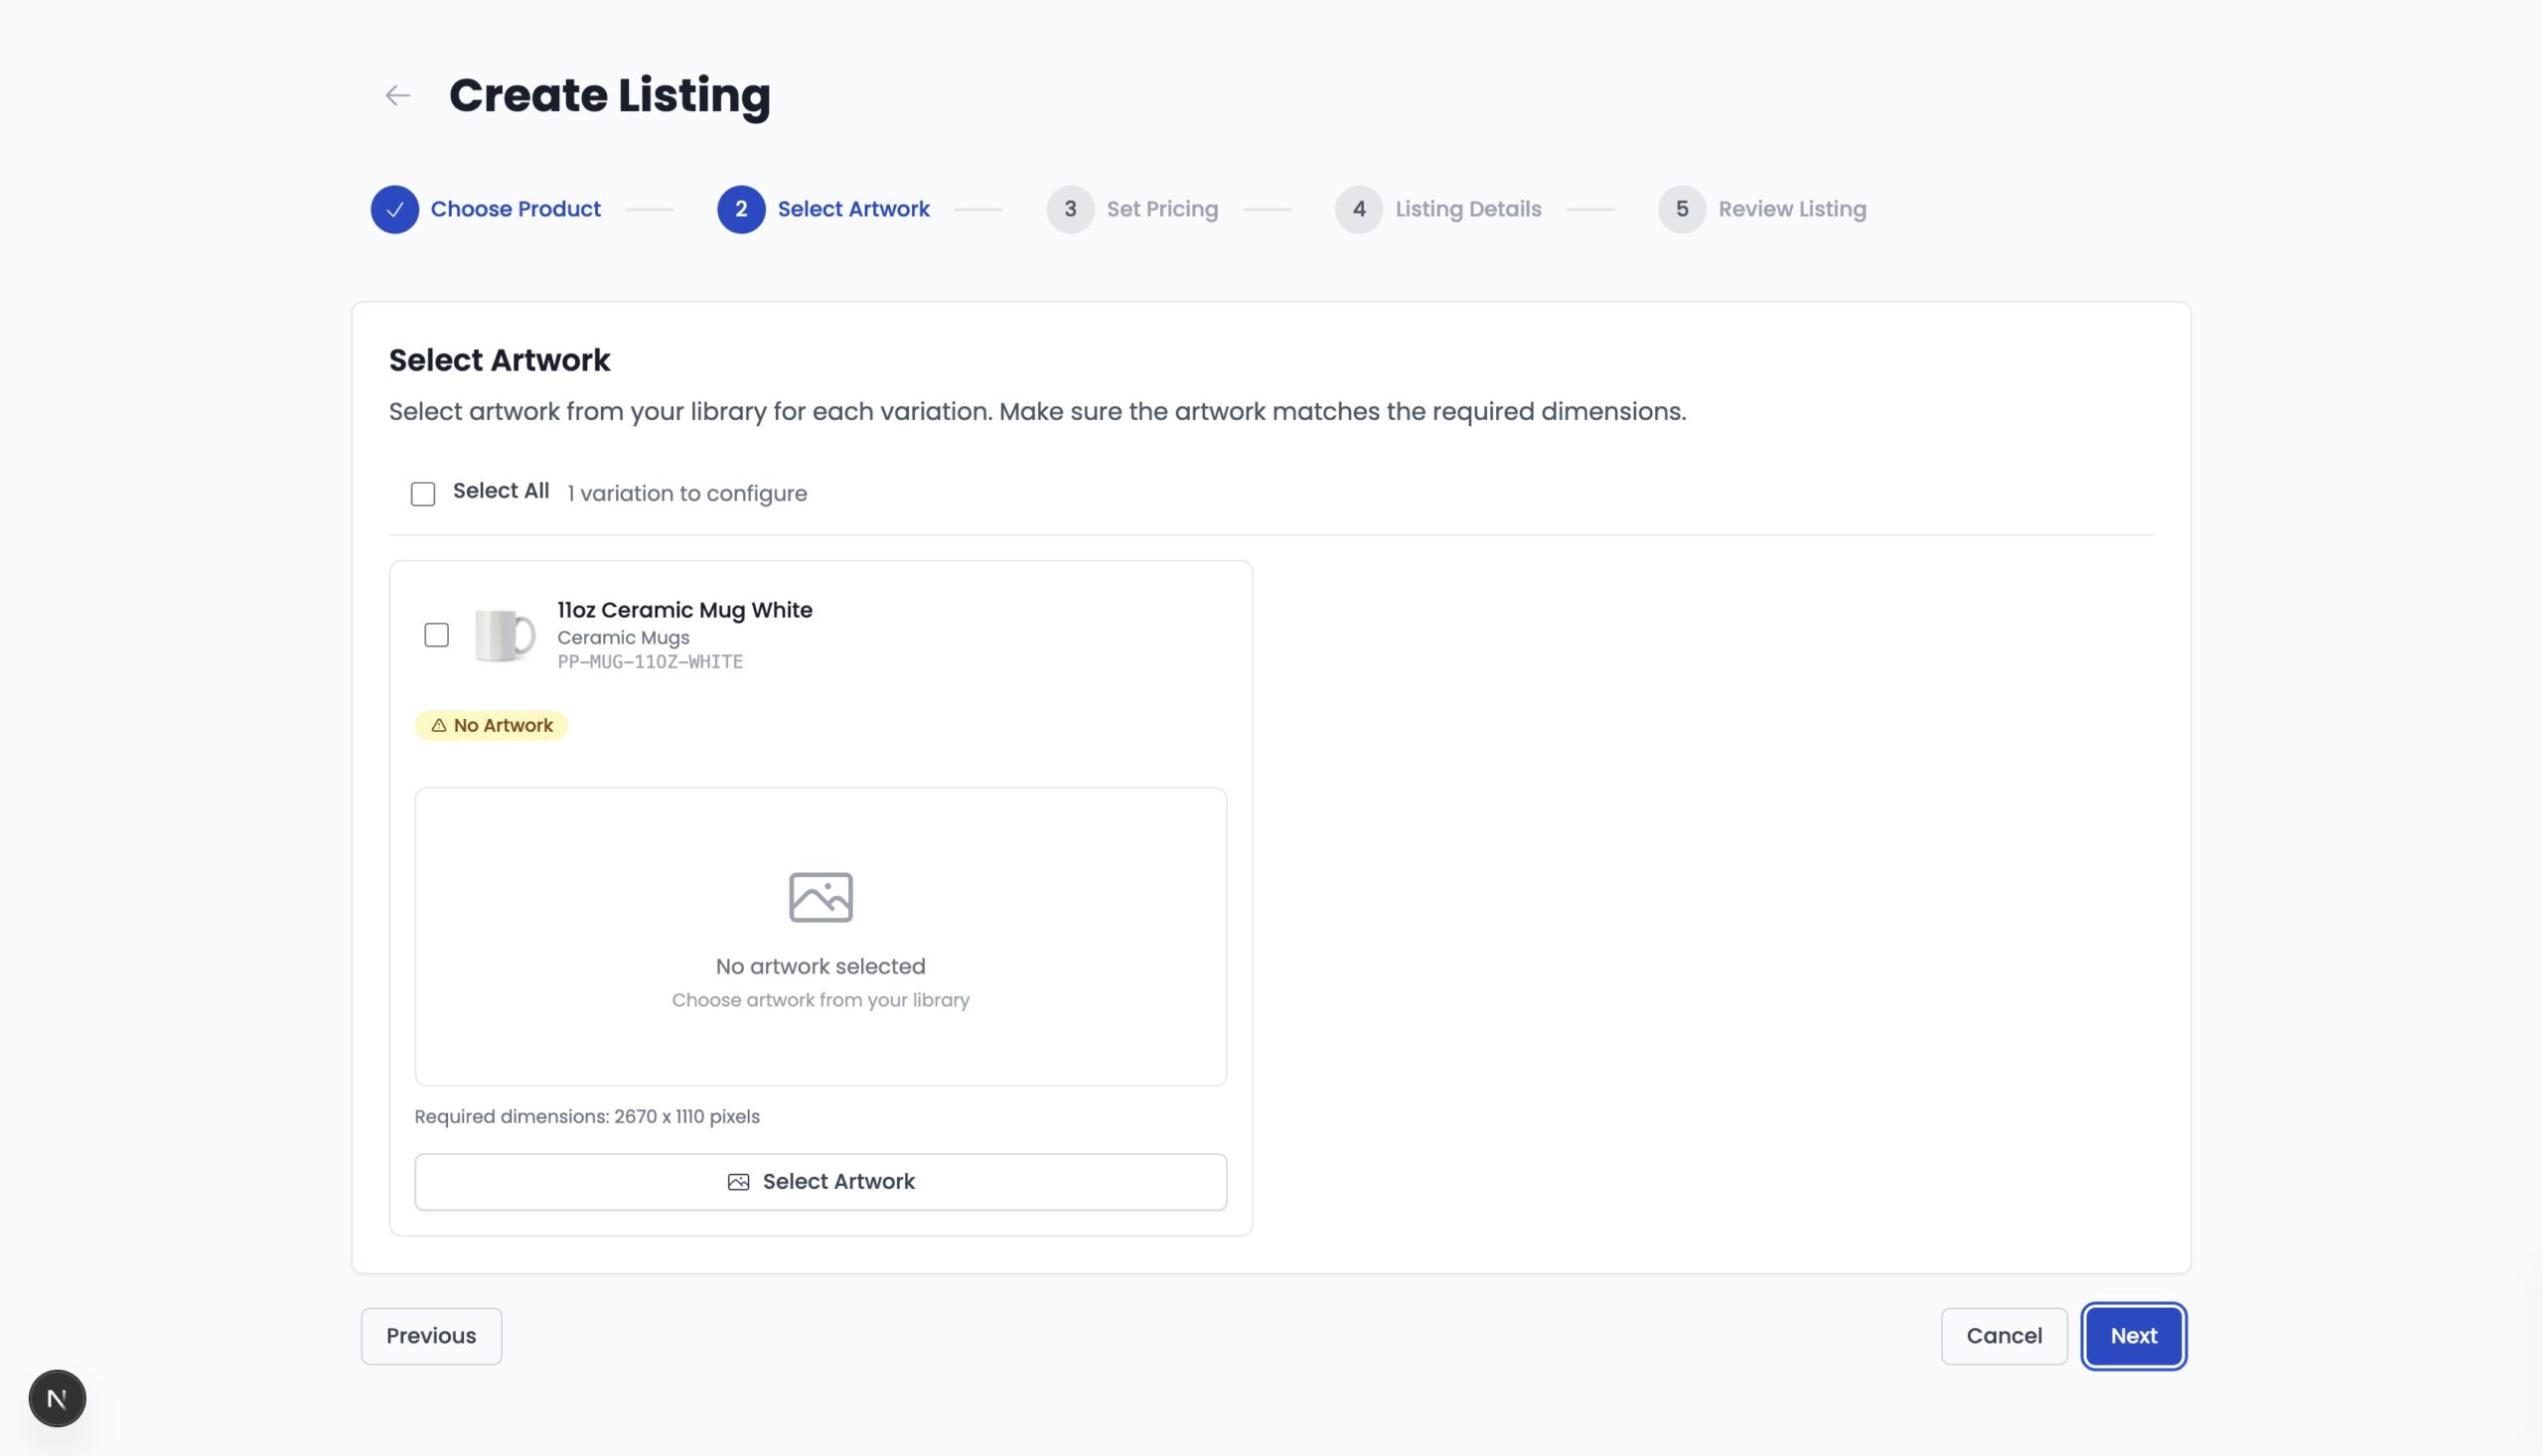
Your artwork must already be uploaded to your Artwork Library.
Important:
If artwork is deleted from your library after publishing, the automation will stop working.
Click Select Artwork and choose a print-ready image from your library.

Once selected, the Artwork Checker will automatically review your artwork for potential issues such as:
- Resolution
- Cropping
- Print suitability
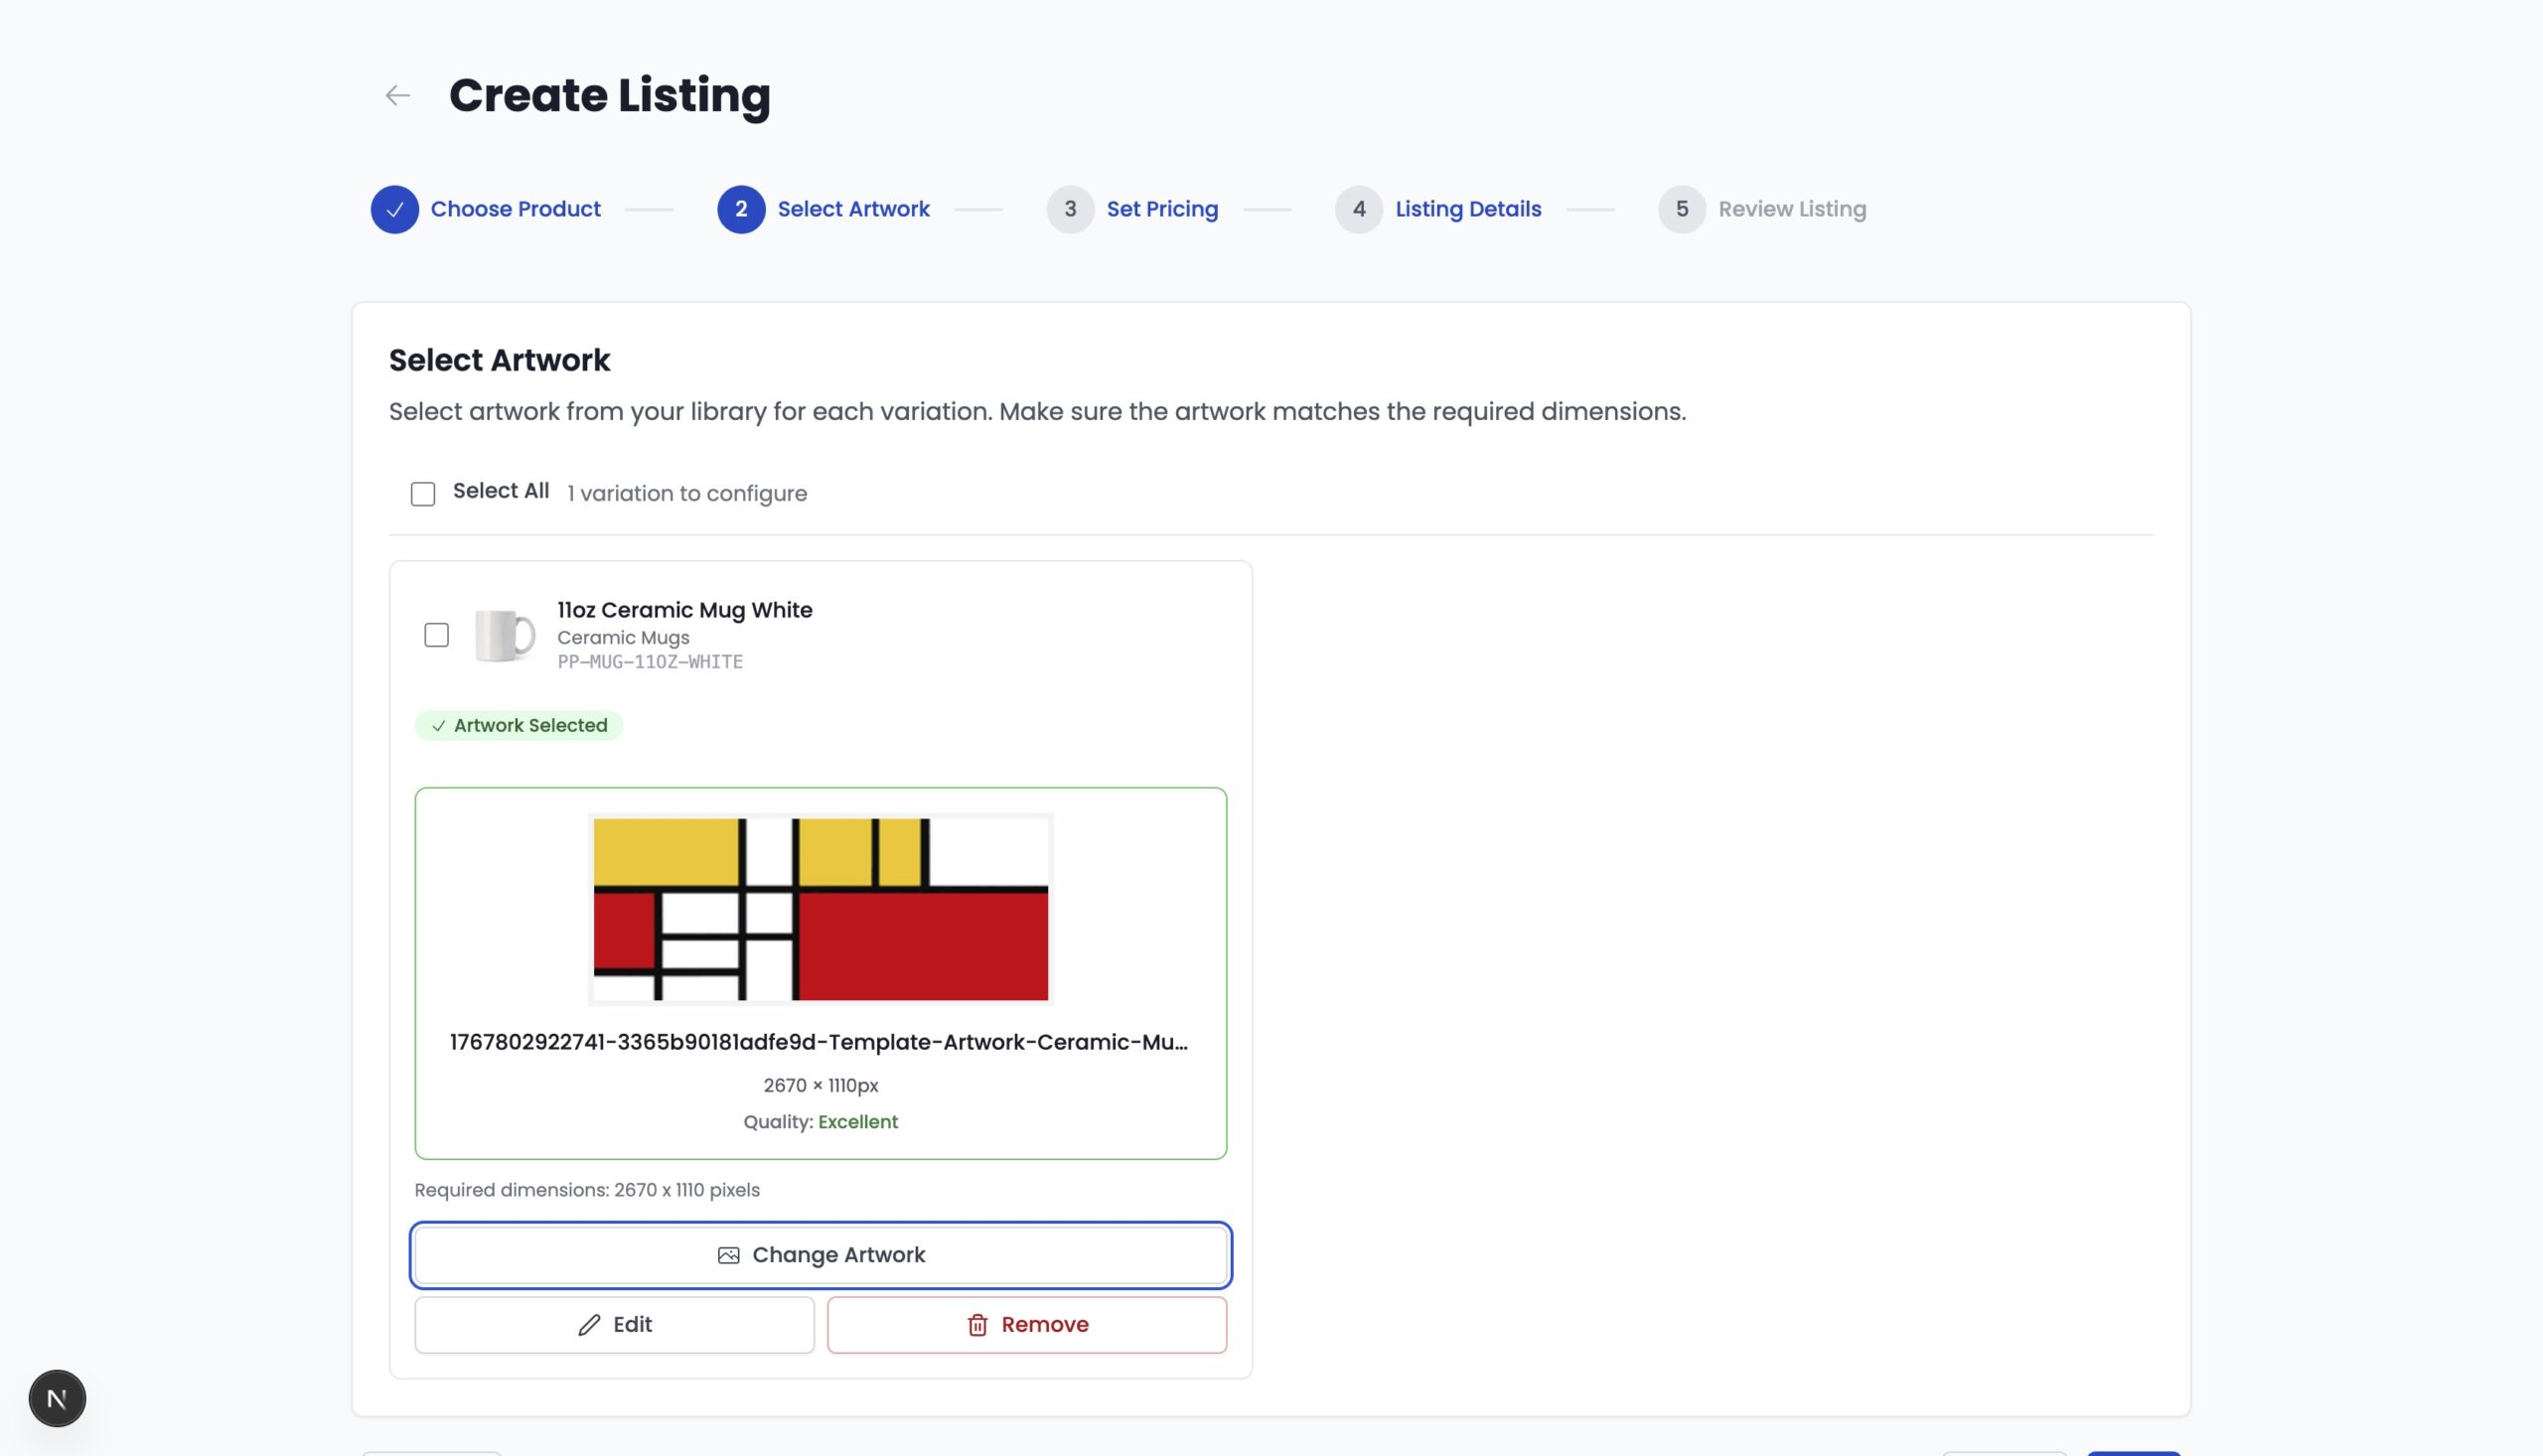
If needed, you can edit or replace your artwork at this stage.
When you’re happy, click Next to continue to Step 3 – Pricing.
Step 3: Set Your Pricing
Here you’ll set the price your product will sell for on your marketplace stores.
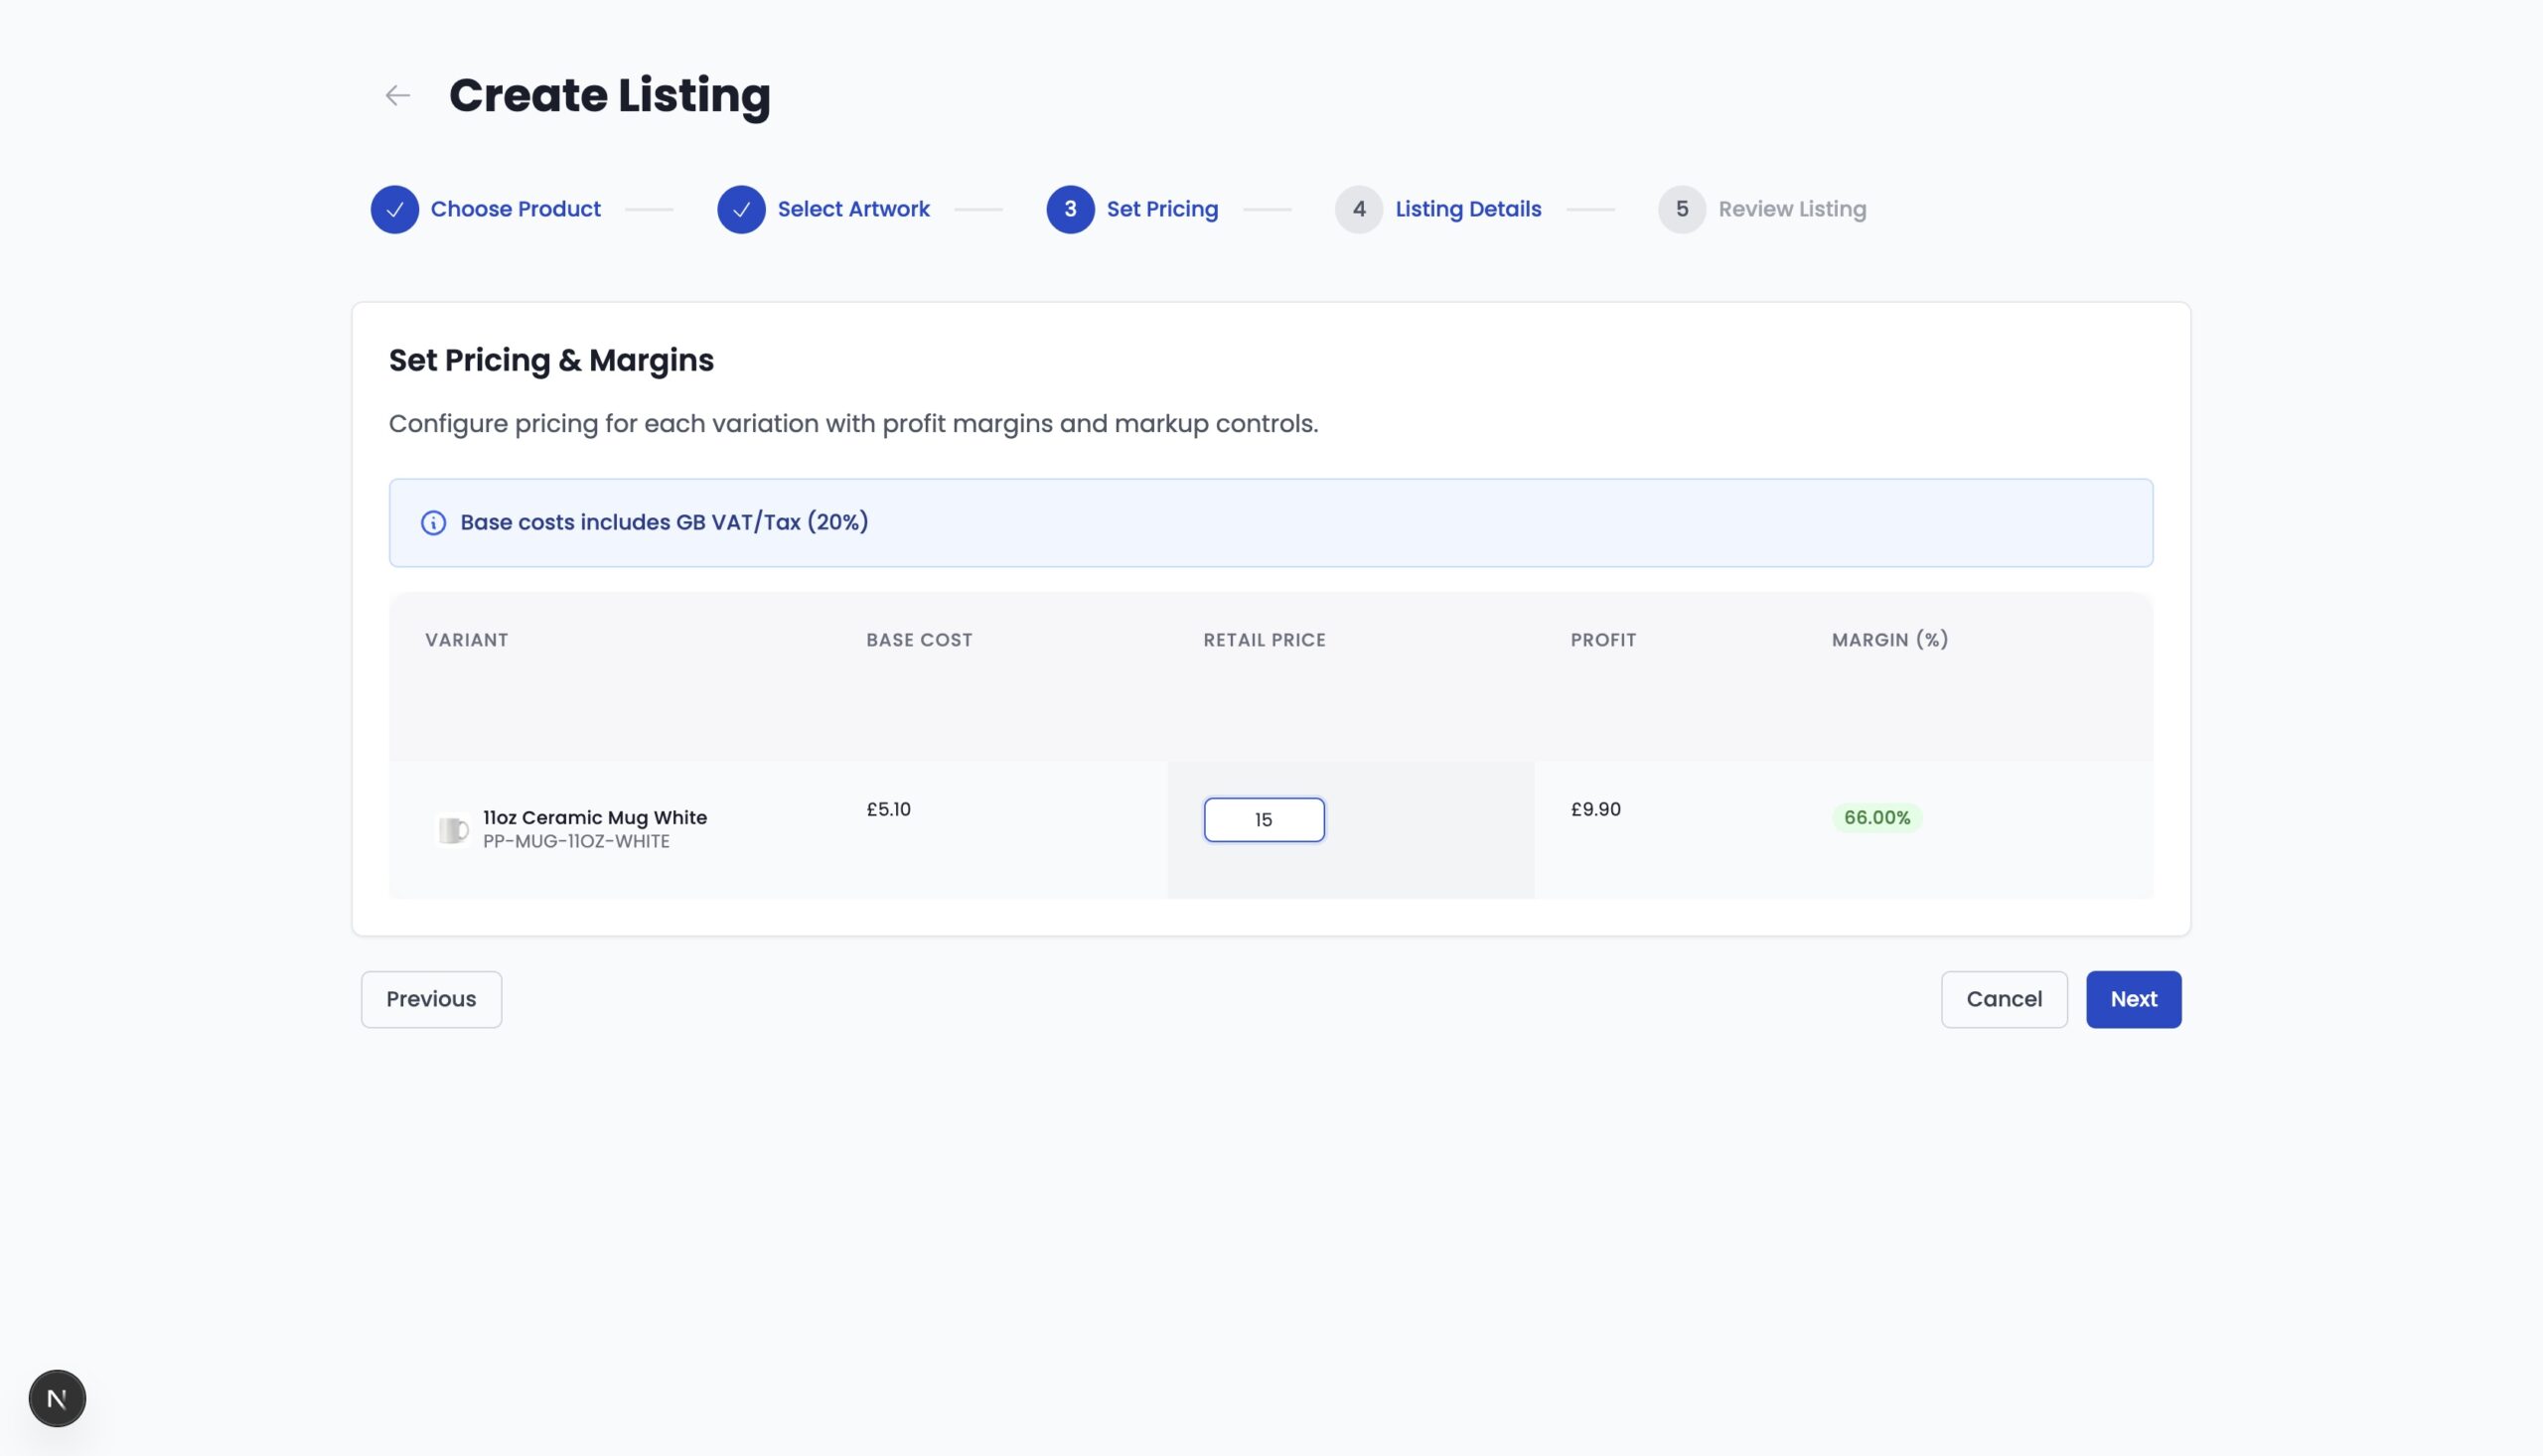
Depending on your location, the base cost may include VAT or tax to help you accurately calculate your retail price.
In the pricing table:
- Adjust the Retail Price field to your desired selling price
- Profit and margin will update automatically as you make changes
When ready, click Next to continue to Step 4 – Listing Details.
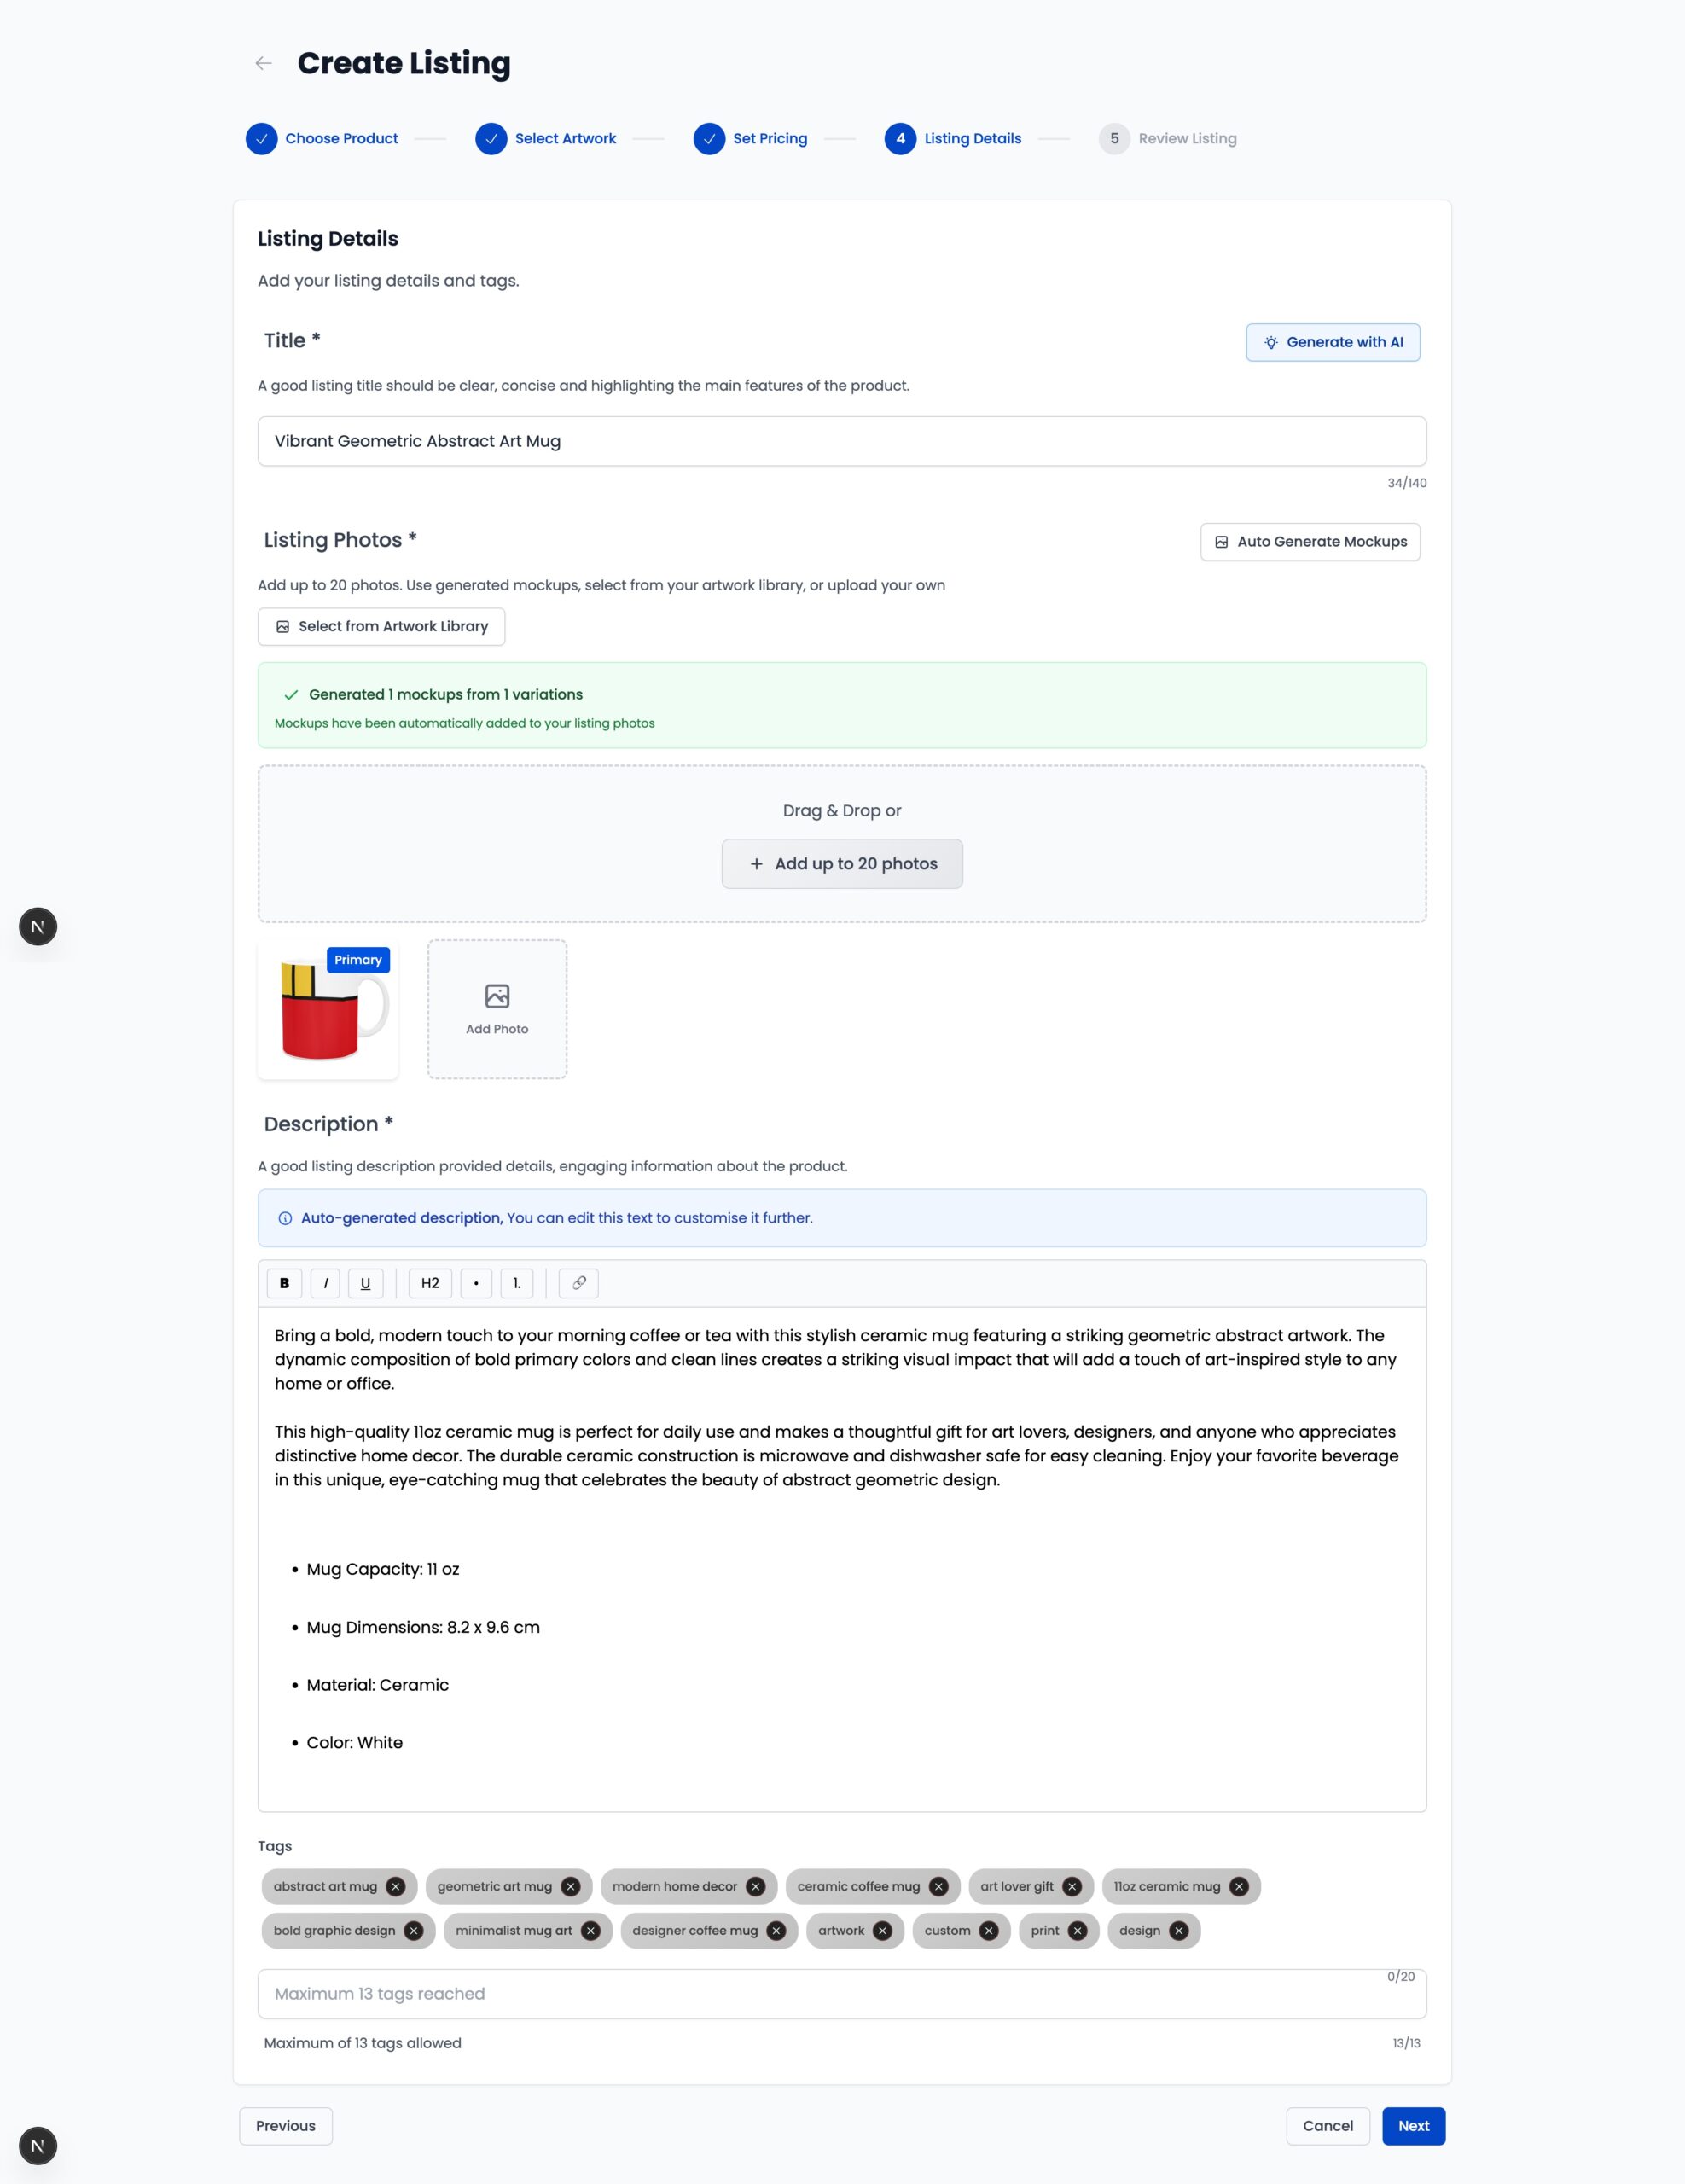
Step 4: Add Listing Details
In this step, you’ll add:
- Title
- Listing images
- Description
- Tags
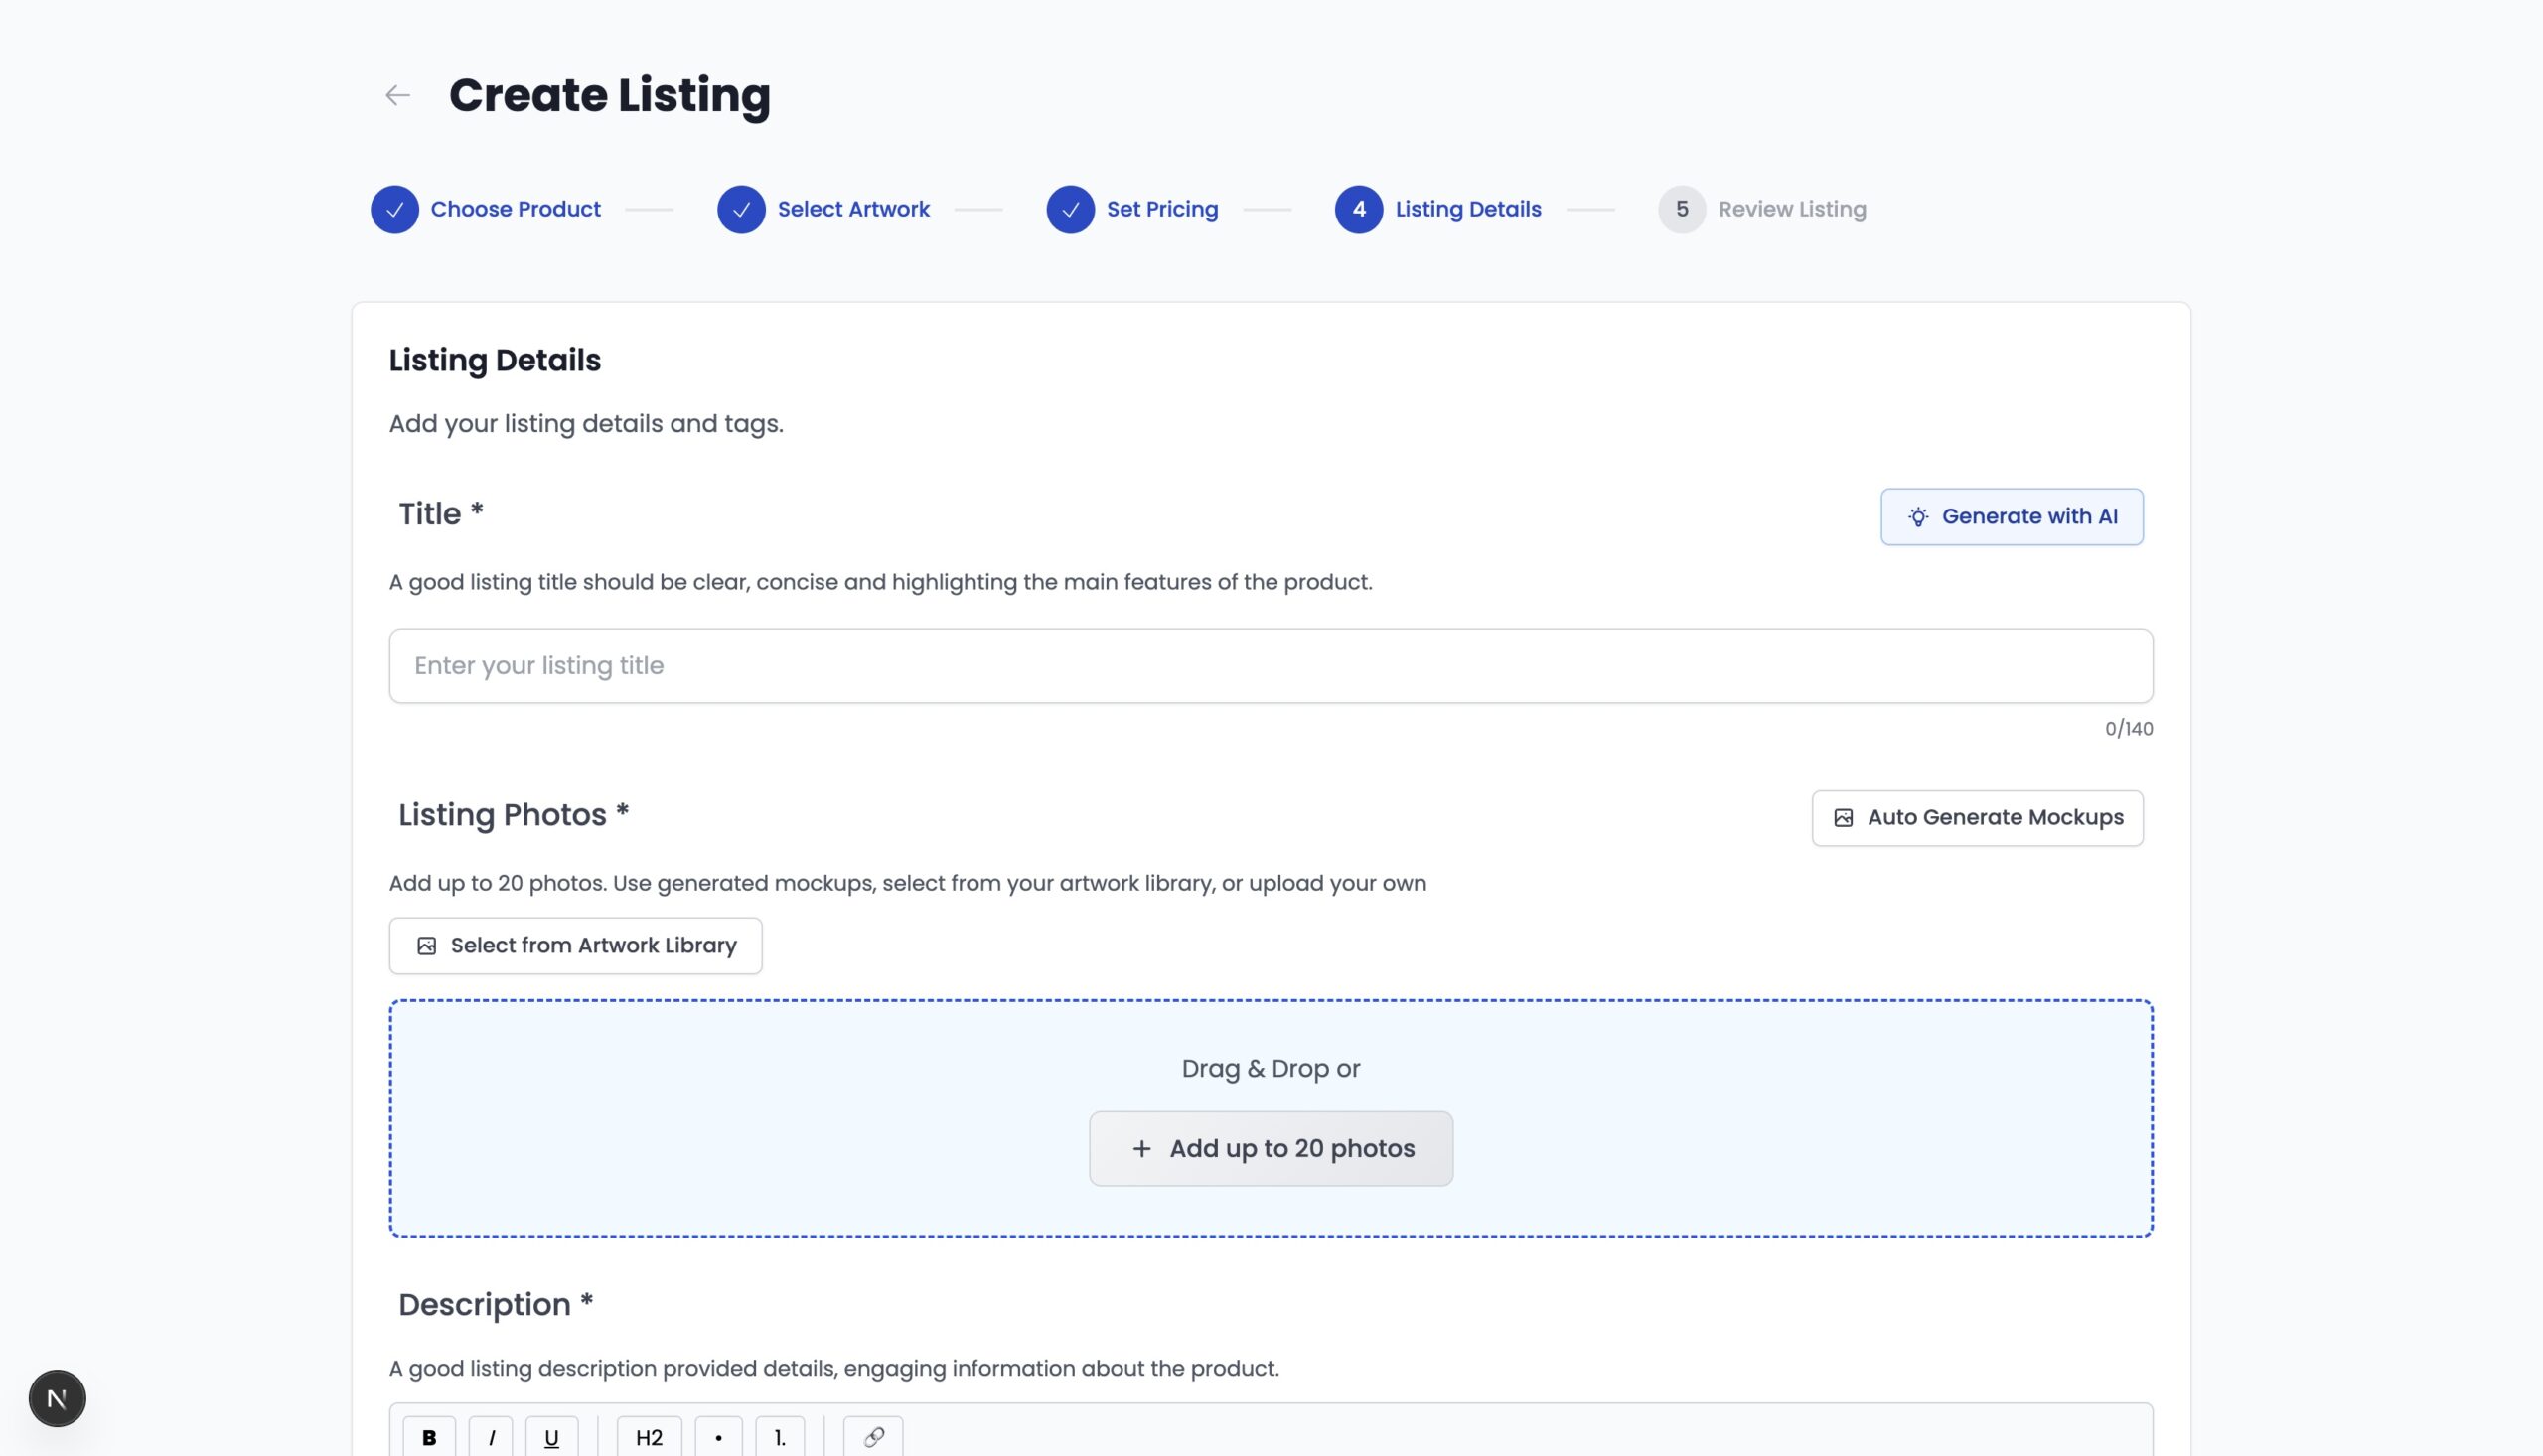
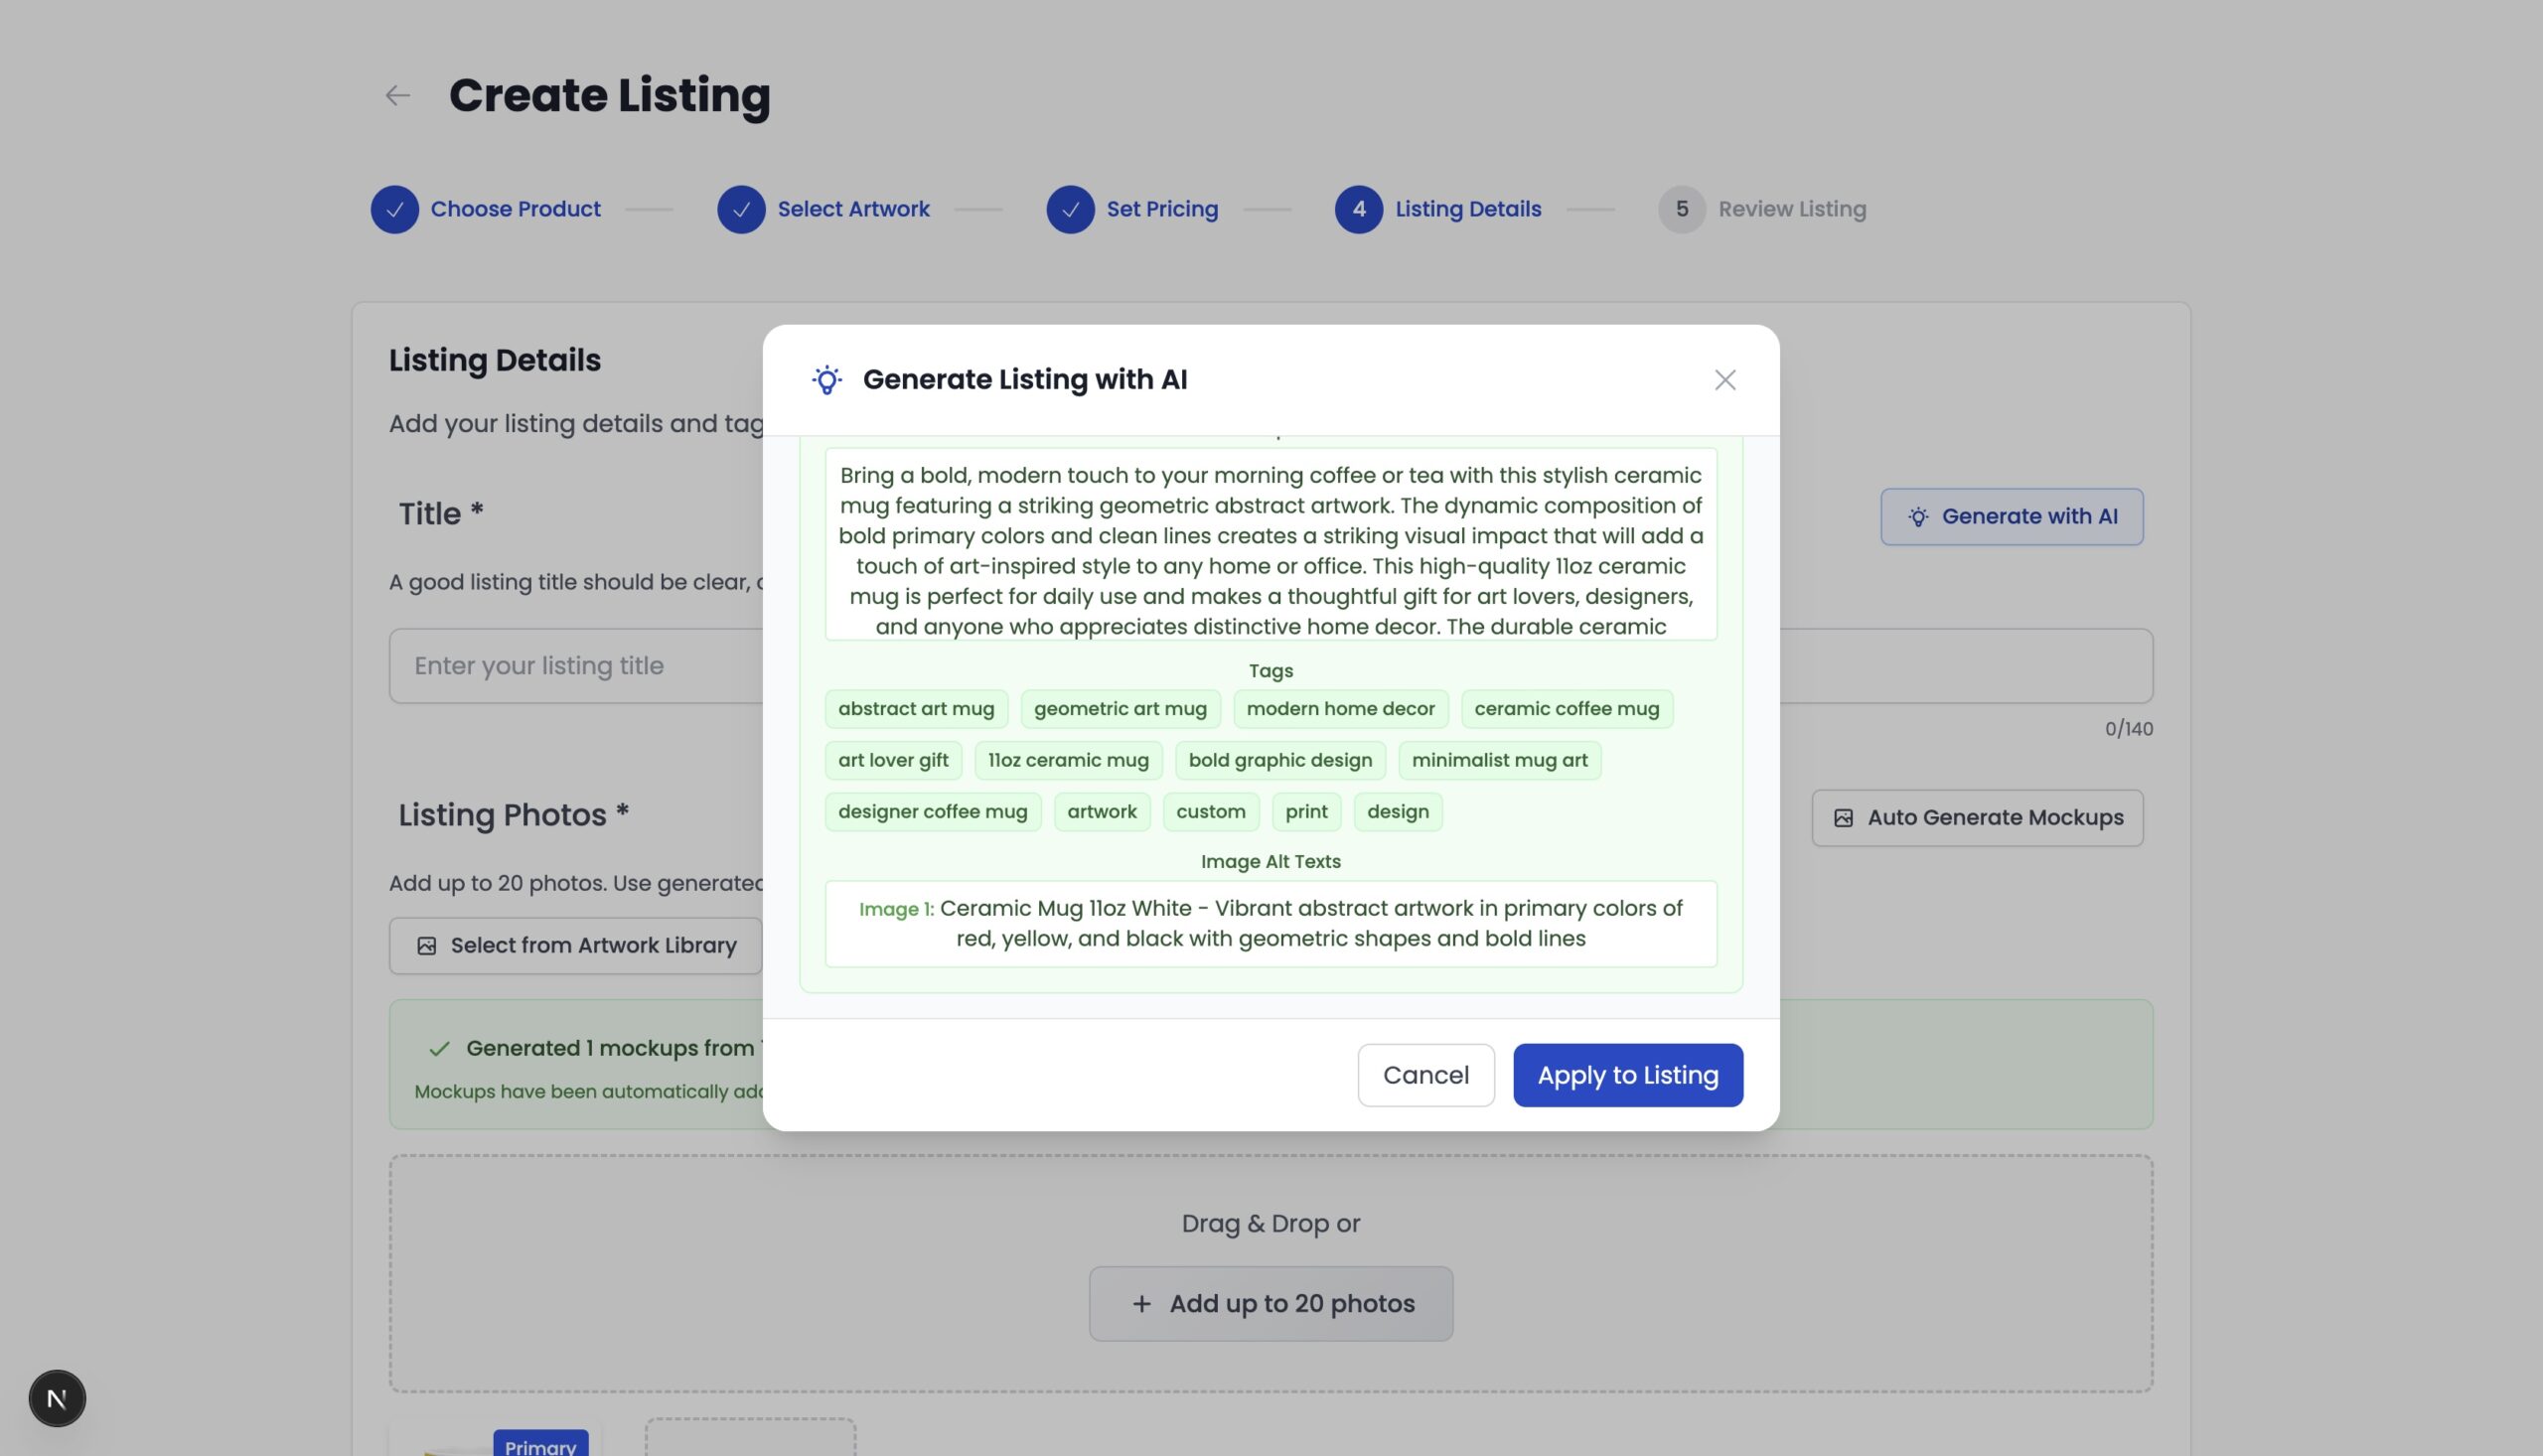
For many products (around 80% of the Papello catalogue), you can:
- Auto-generate mockups
- Use AI tools to help generate titles, tags, descriptions, and image alt text
Use Generate with AI and Auto Generate Mockups where available.
Tip:
Always review and edit AI-generated content to ensure it matches your brand and marketplace guidelines.
You can also upload listing images directly from your computer or select them from your Artwork Library.
Set Your Primary Image and Alt Text
- Hover over an image and click the star icon to set it as the primary image
- Hover over an image and click the pencil icon to edit the image alt text
Once you’re happy with your listing details, click Next.
Step 5: Review and Create Listing
You’ll now see a full overview of your listing.
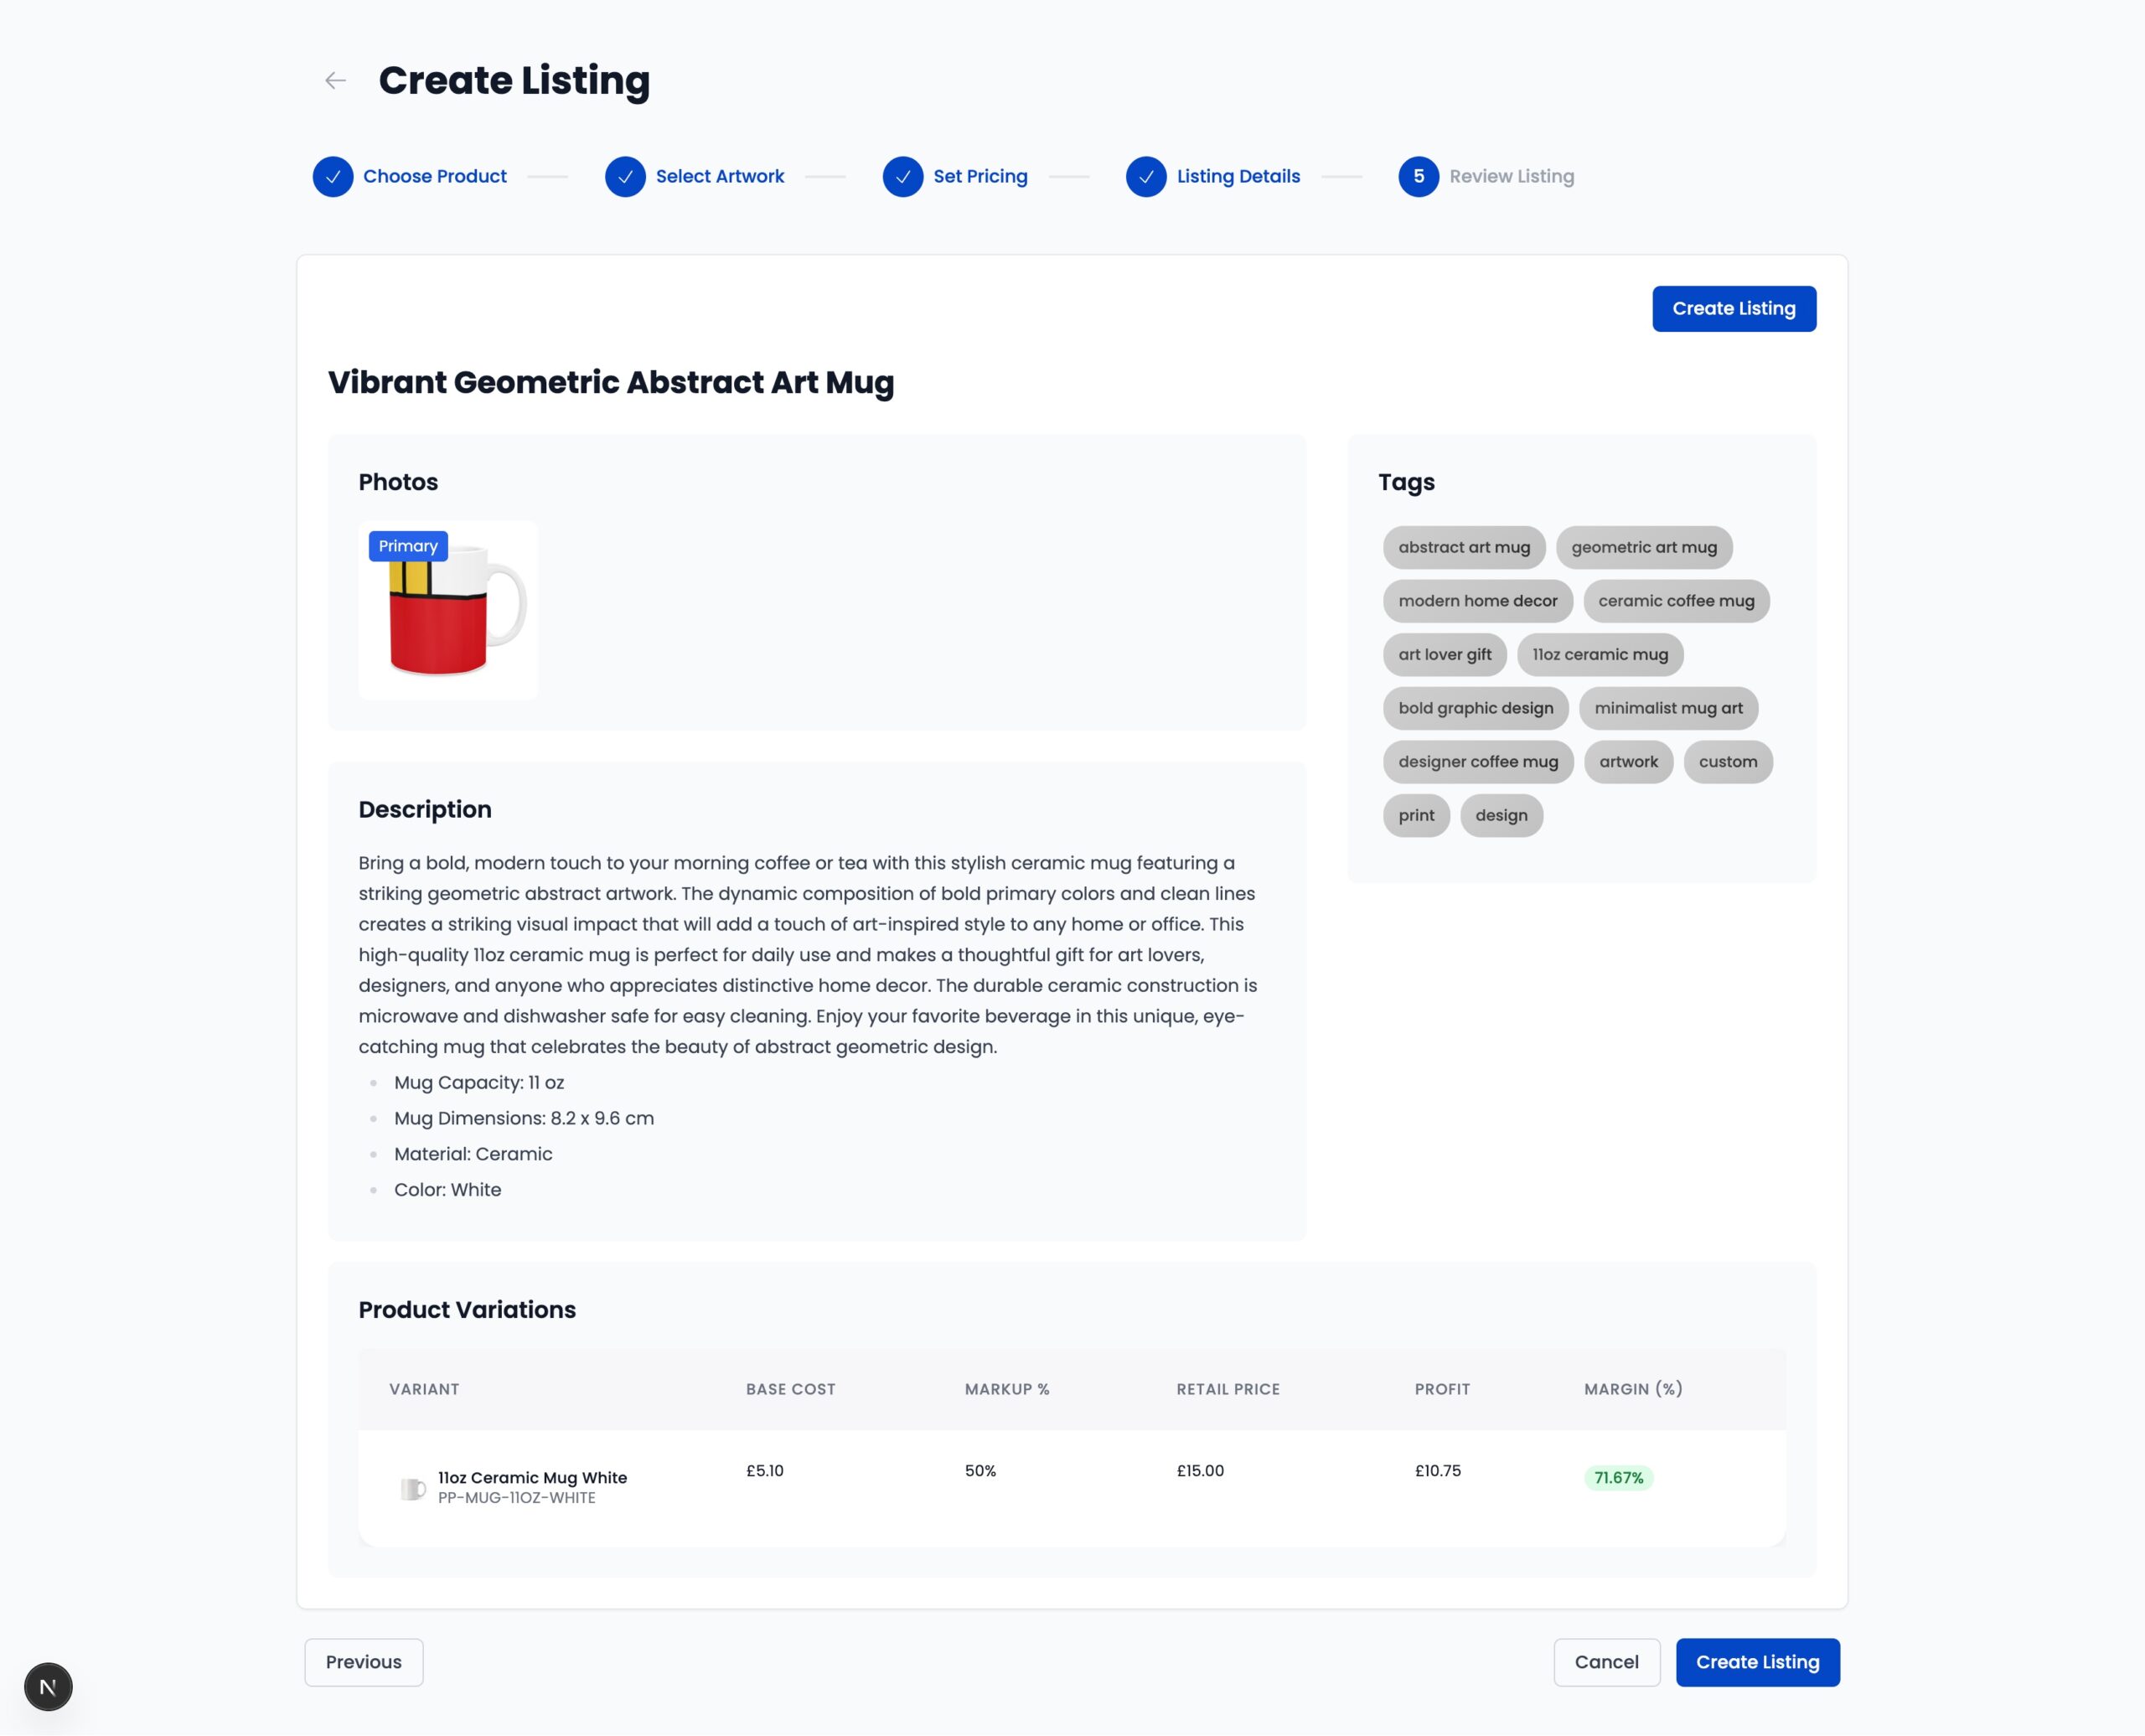
Carefully review all details. When you’re ready, click Create Listing.
That’s it — your product listing has been created in Papello 🎉
Publish Your Listing to Your Store
You can now publish your listing to any connected marketplace store.
Learn how to publish your listing to: