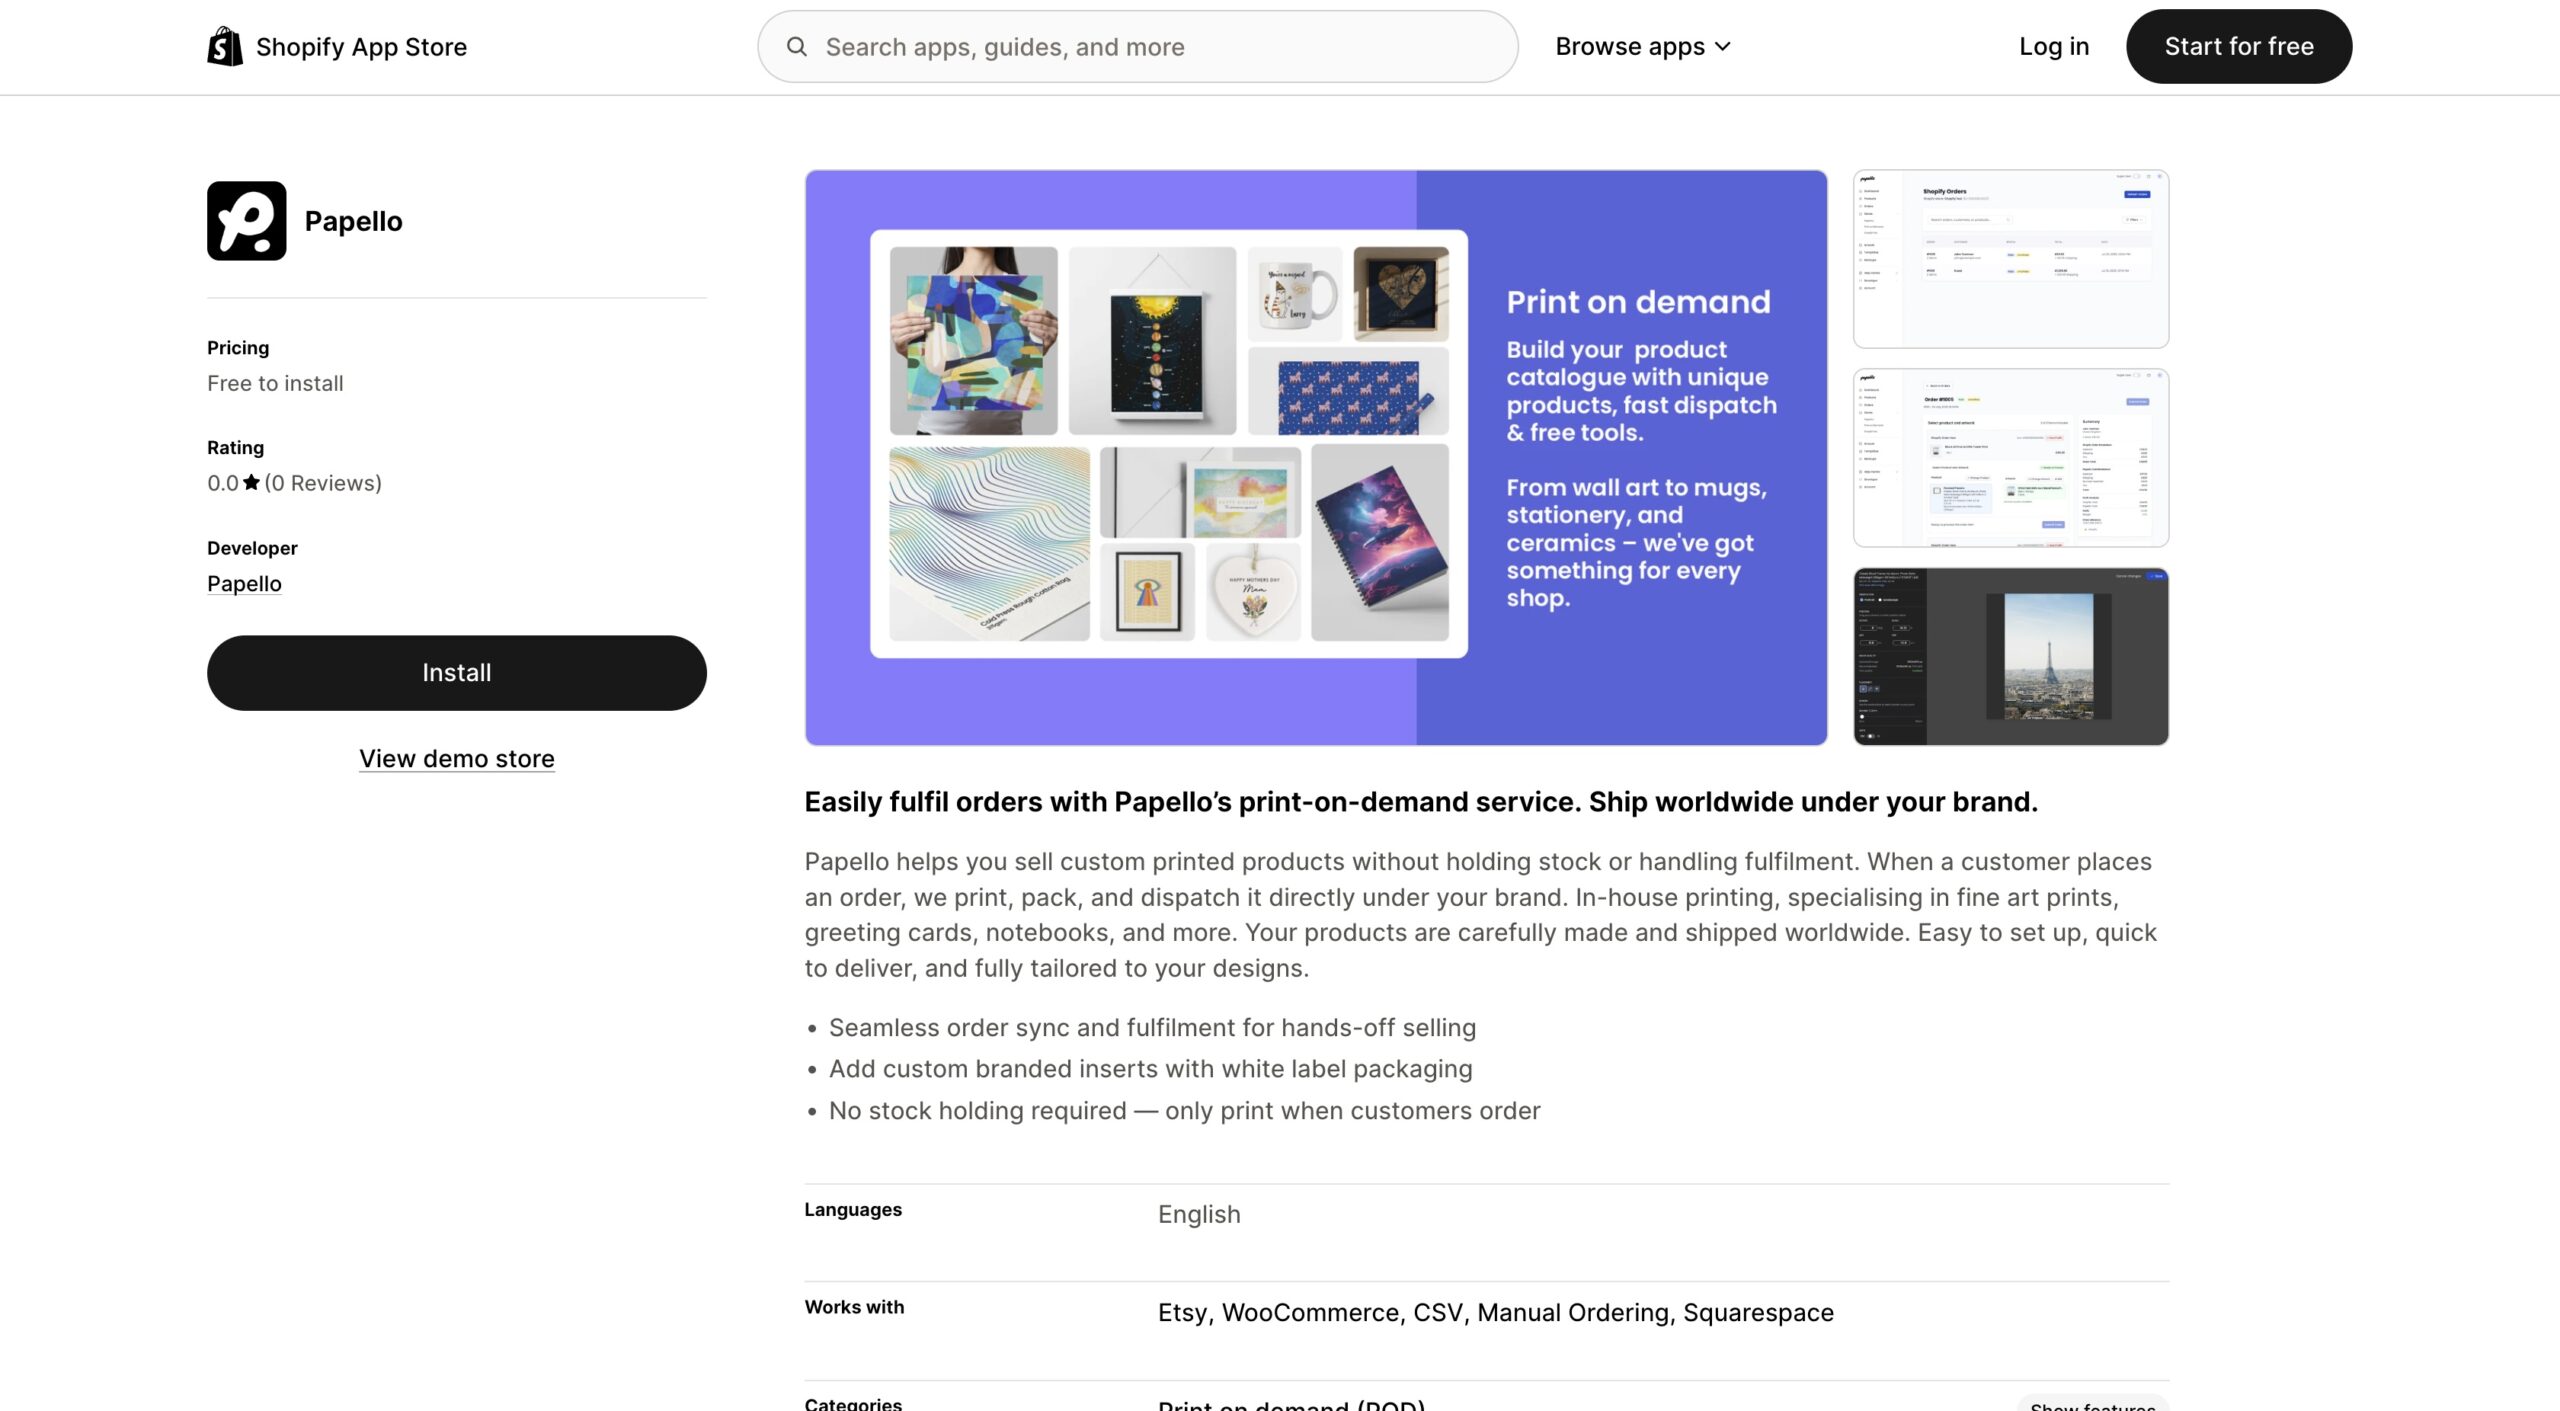
Integrating your Shopify store with Papello is the quickest way to automate your print-on-demand business. Once connected, your orders will flow seamlessly to our production team, and we’ll handle the printing, packaging, and shipping for you.
Follow these simple steps to get started:
1. Install the Papello Shopify App
There are two ways to begin the integration:
- Direct Link: Head straight to the Shopify App Store and click the ‘Install’ button.
- Via the Papello Dashboard: Log into your Papello account, navigate to the ‘Stores’ page, and click ‘Install Shopify App’. This will take you directly to the app listing.
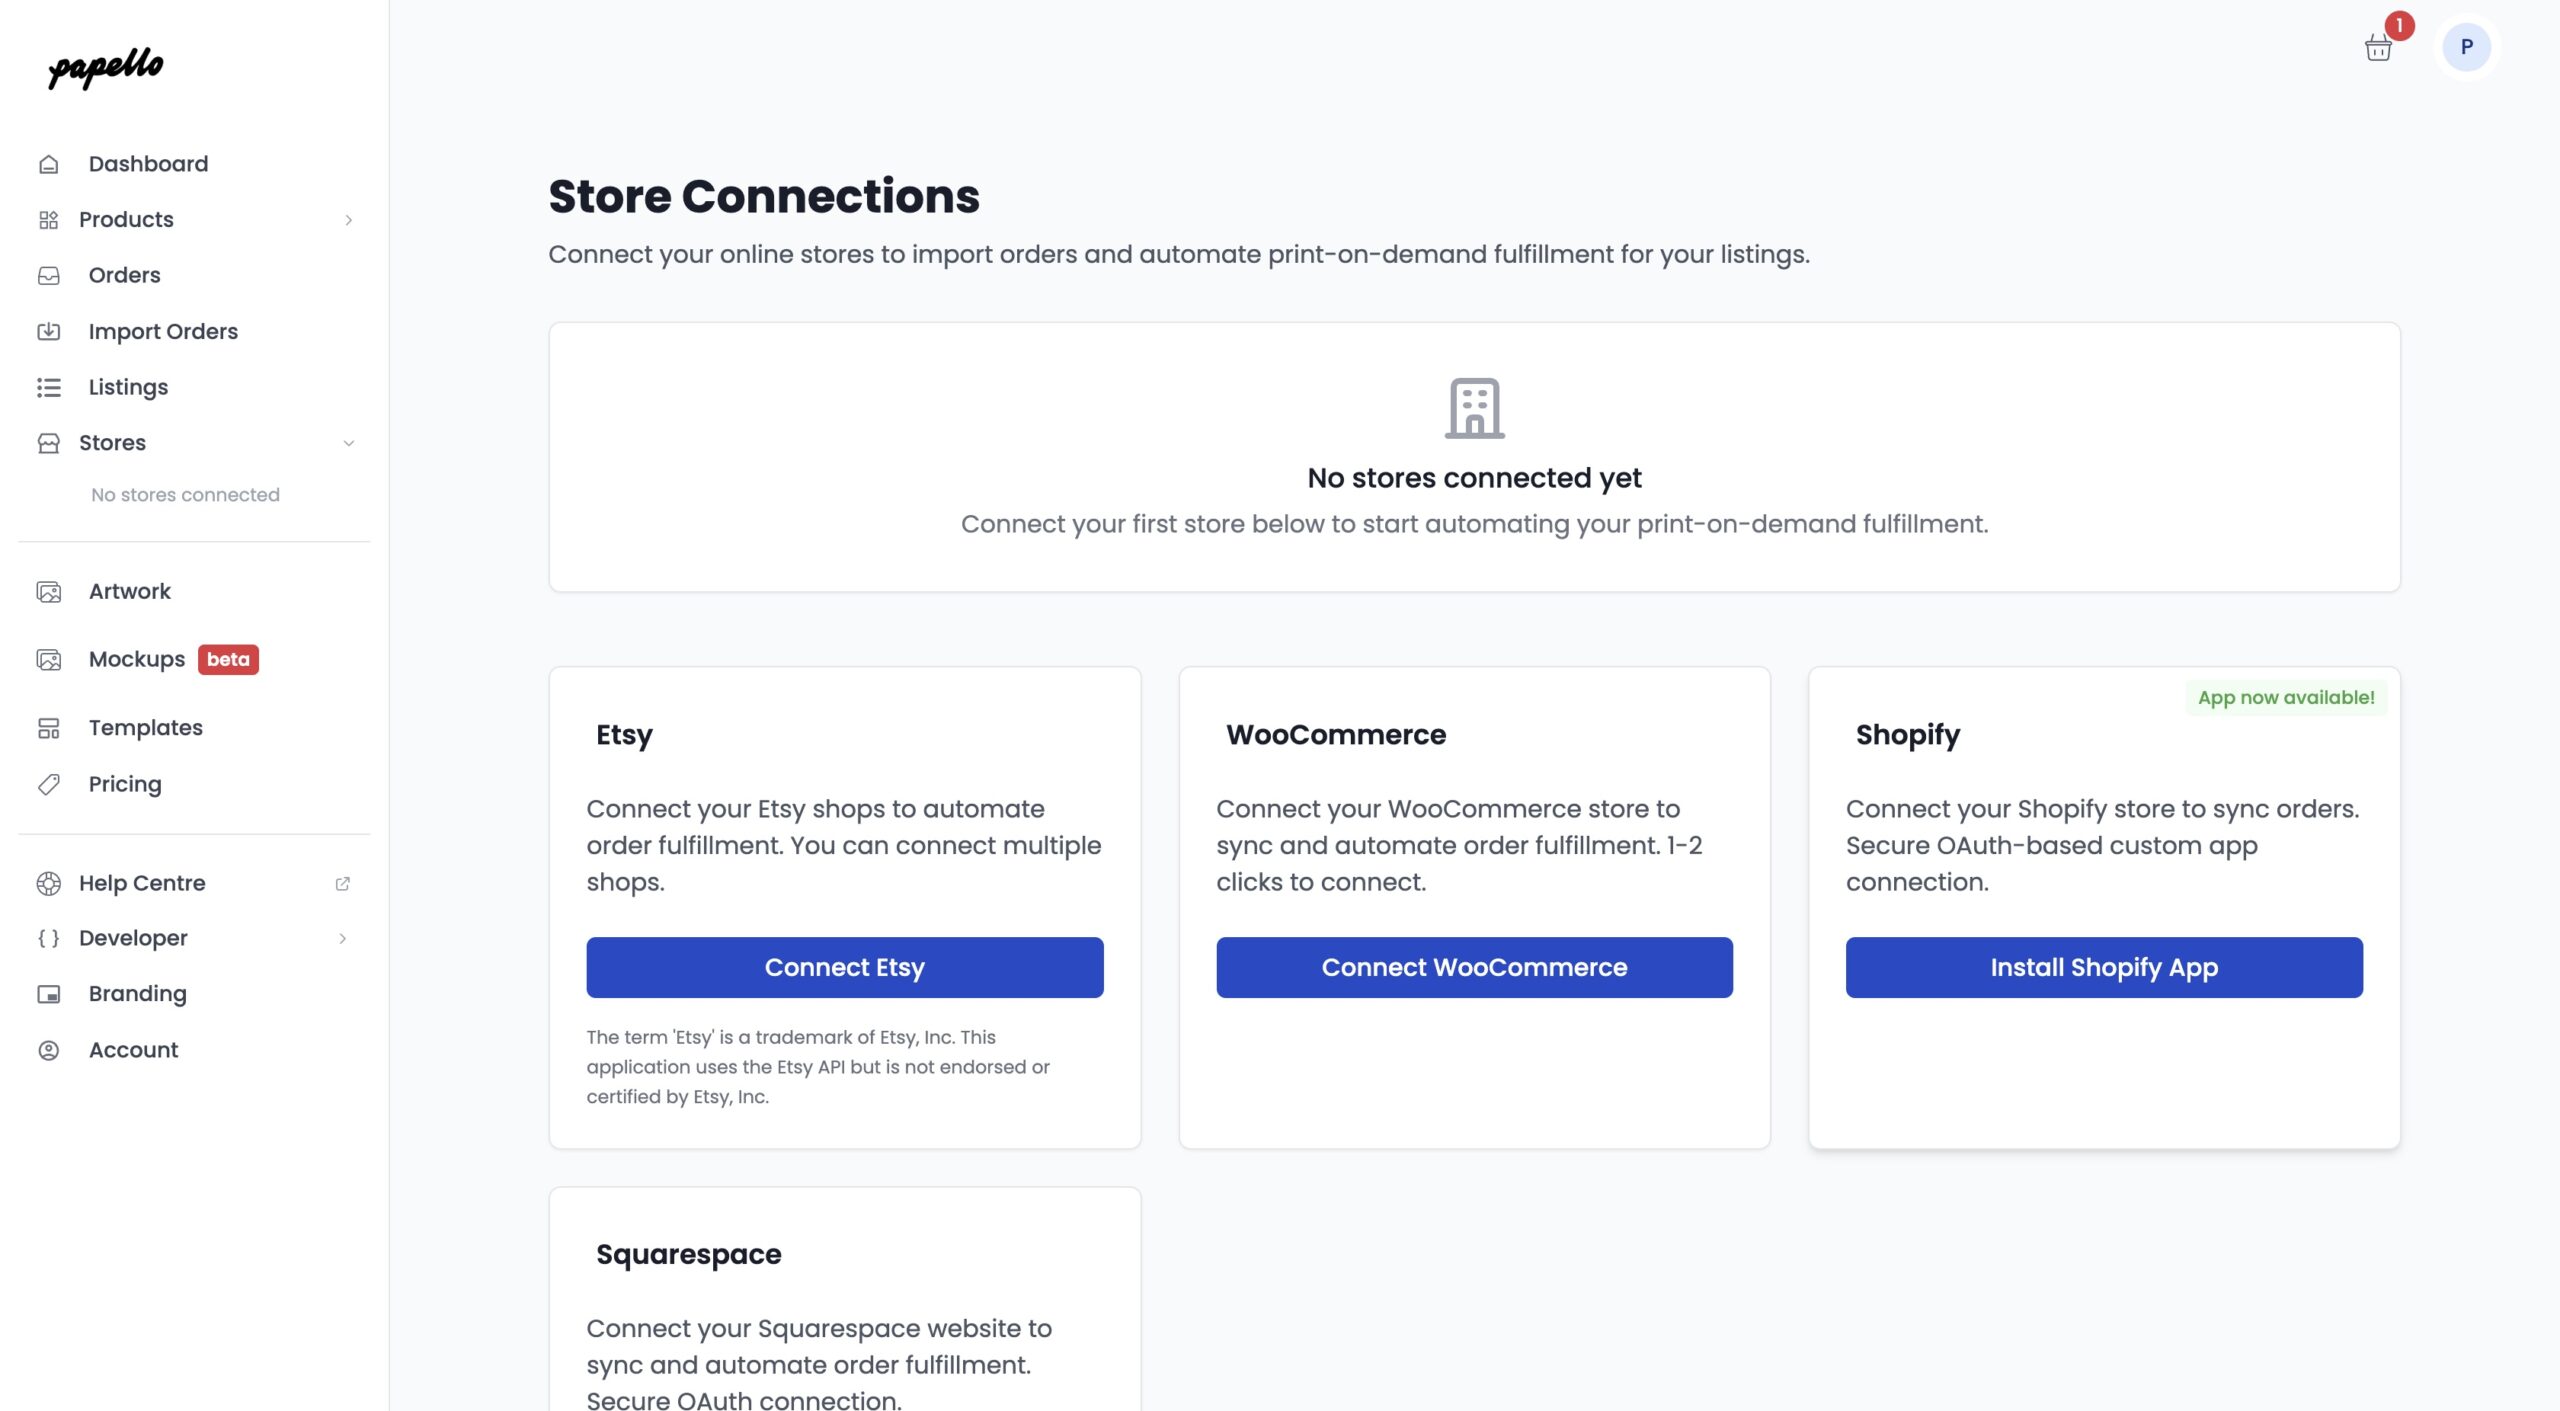
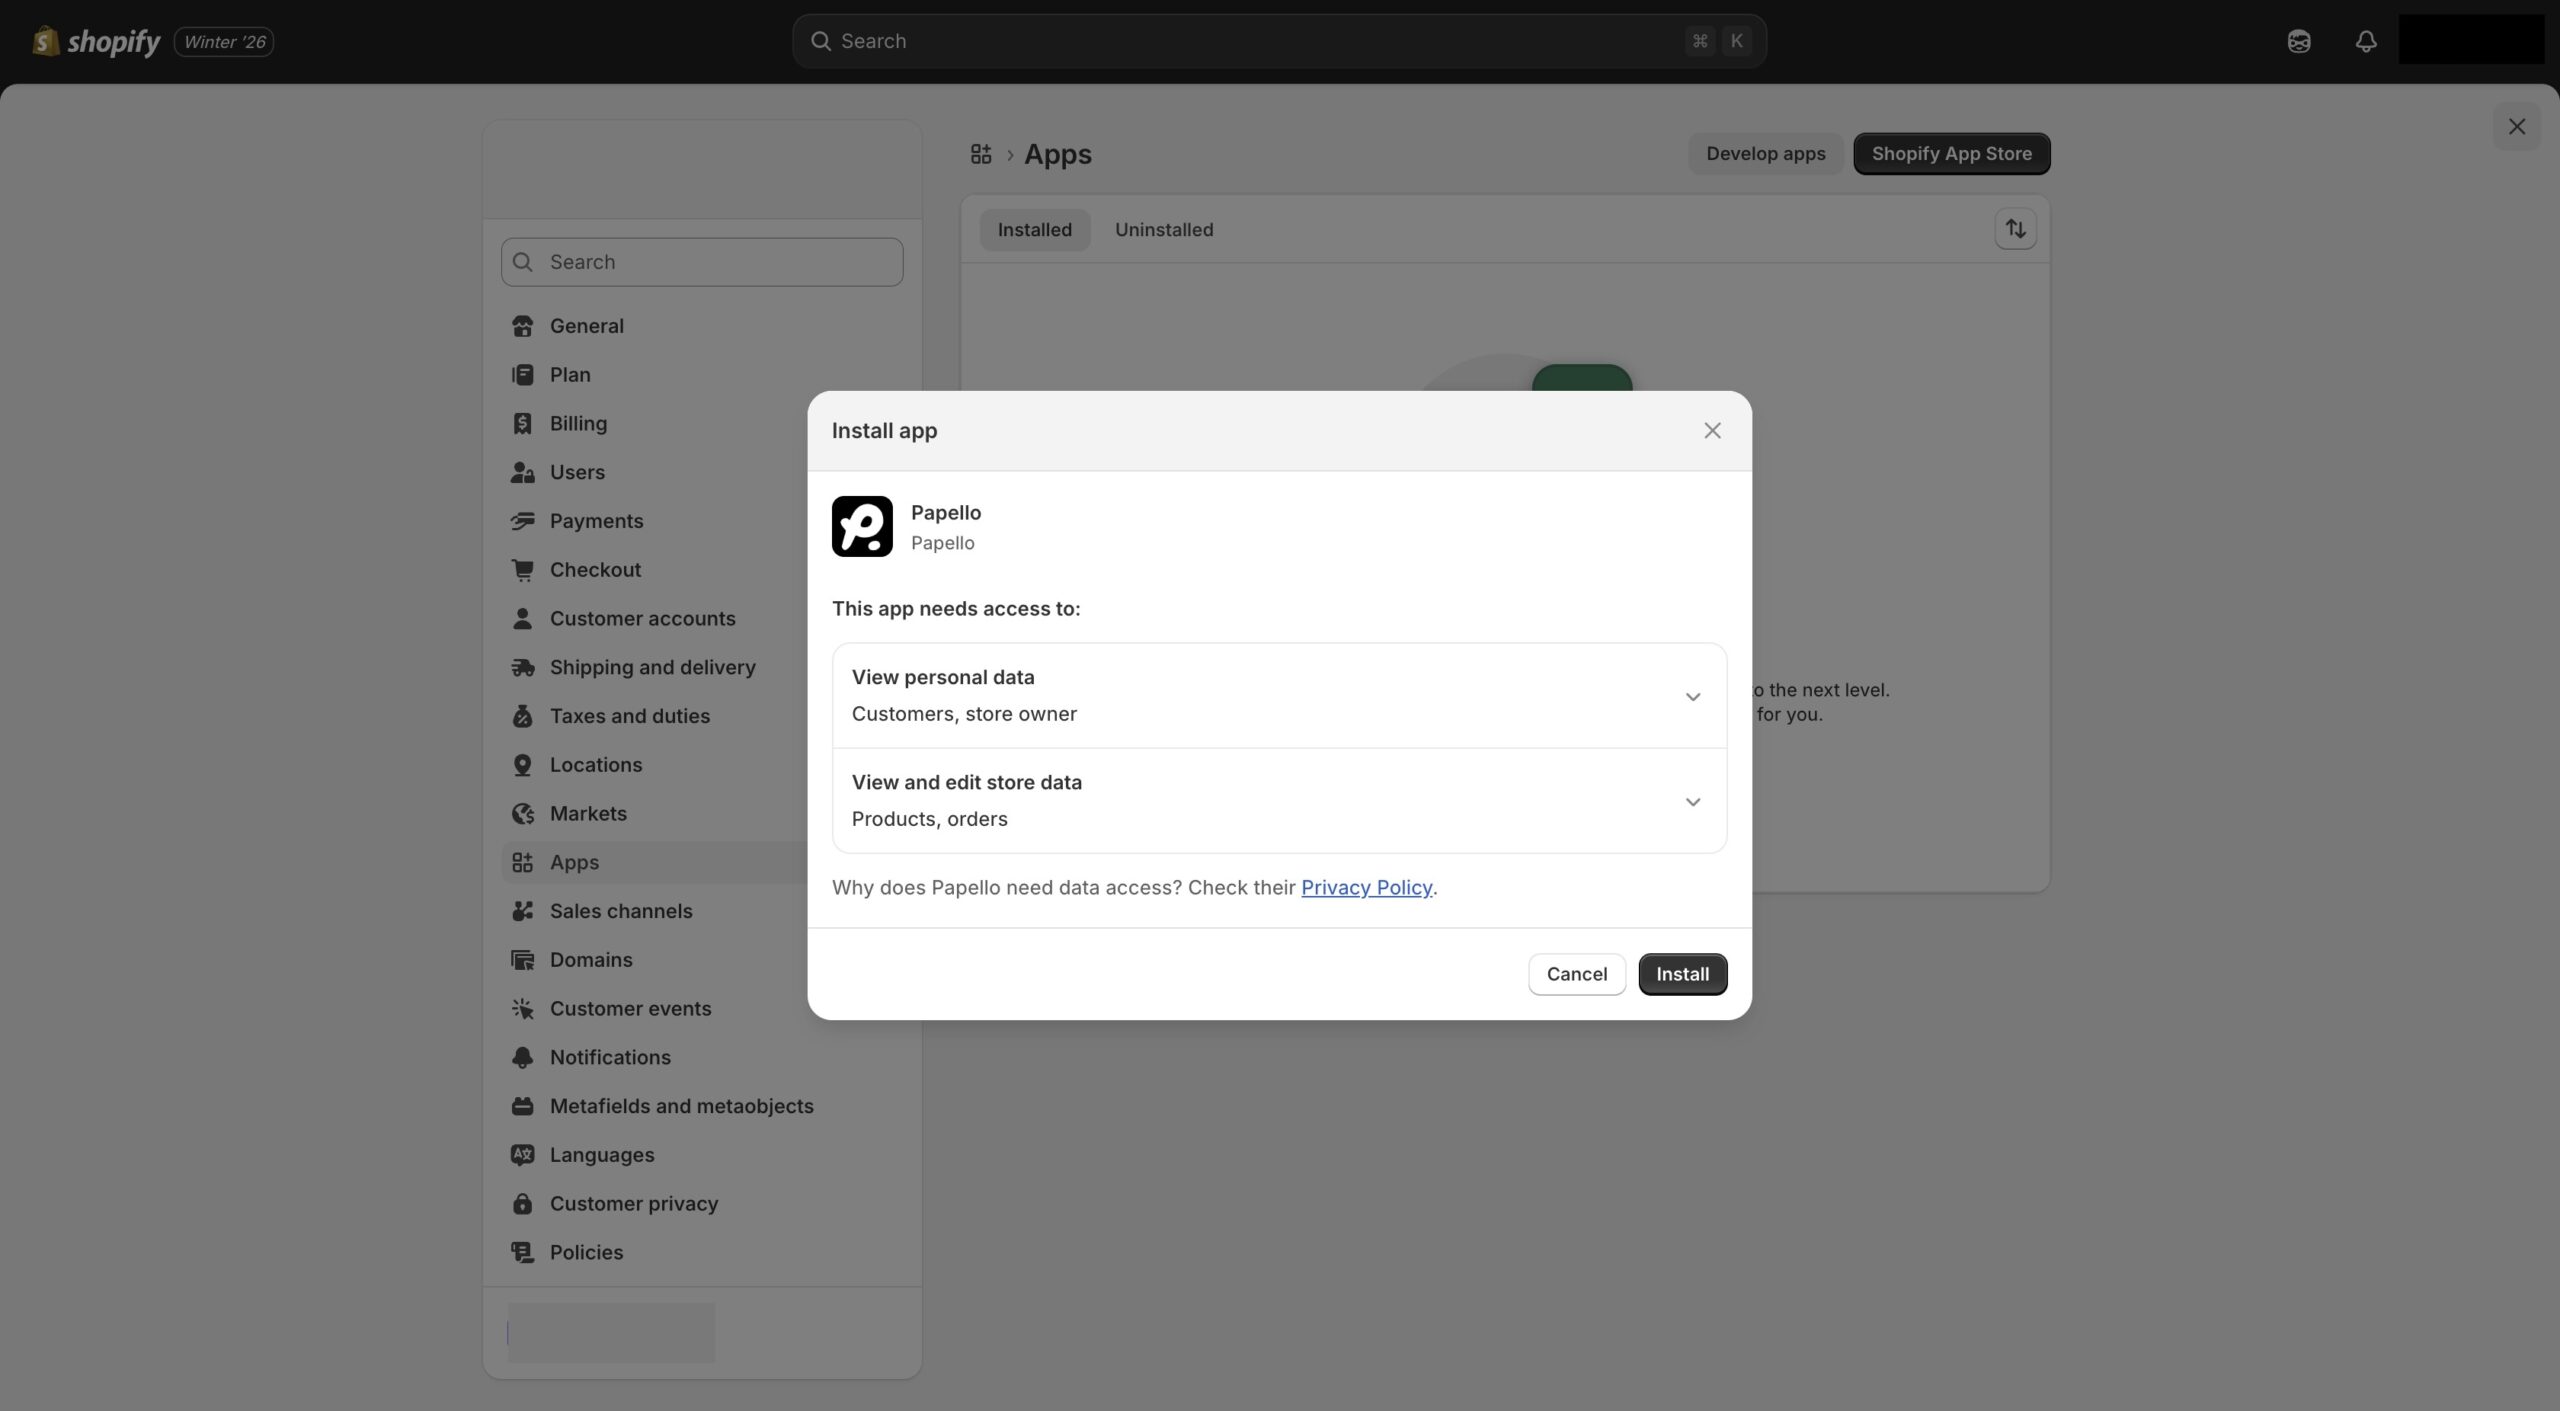
Once you click install, follow the on-screen prompts in your Shopify admin to authorise the connection.
2. Creating and Publishing Products
Once your store is linked, you can start adding products to your Shopify storefront directly from the Papello dashboard:
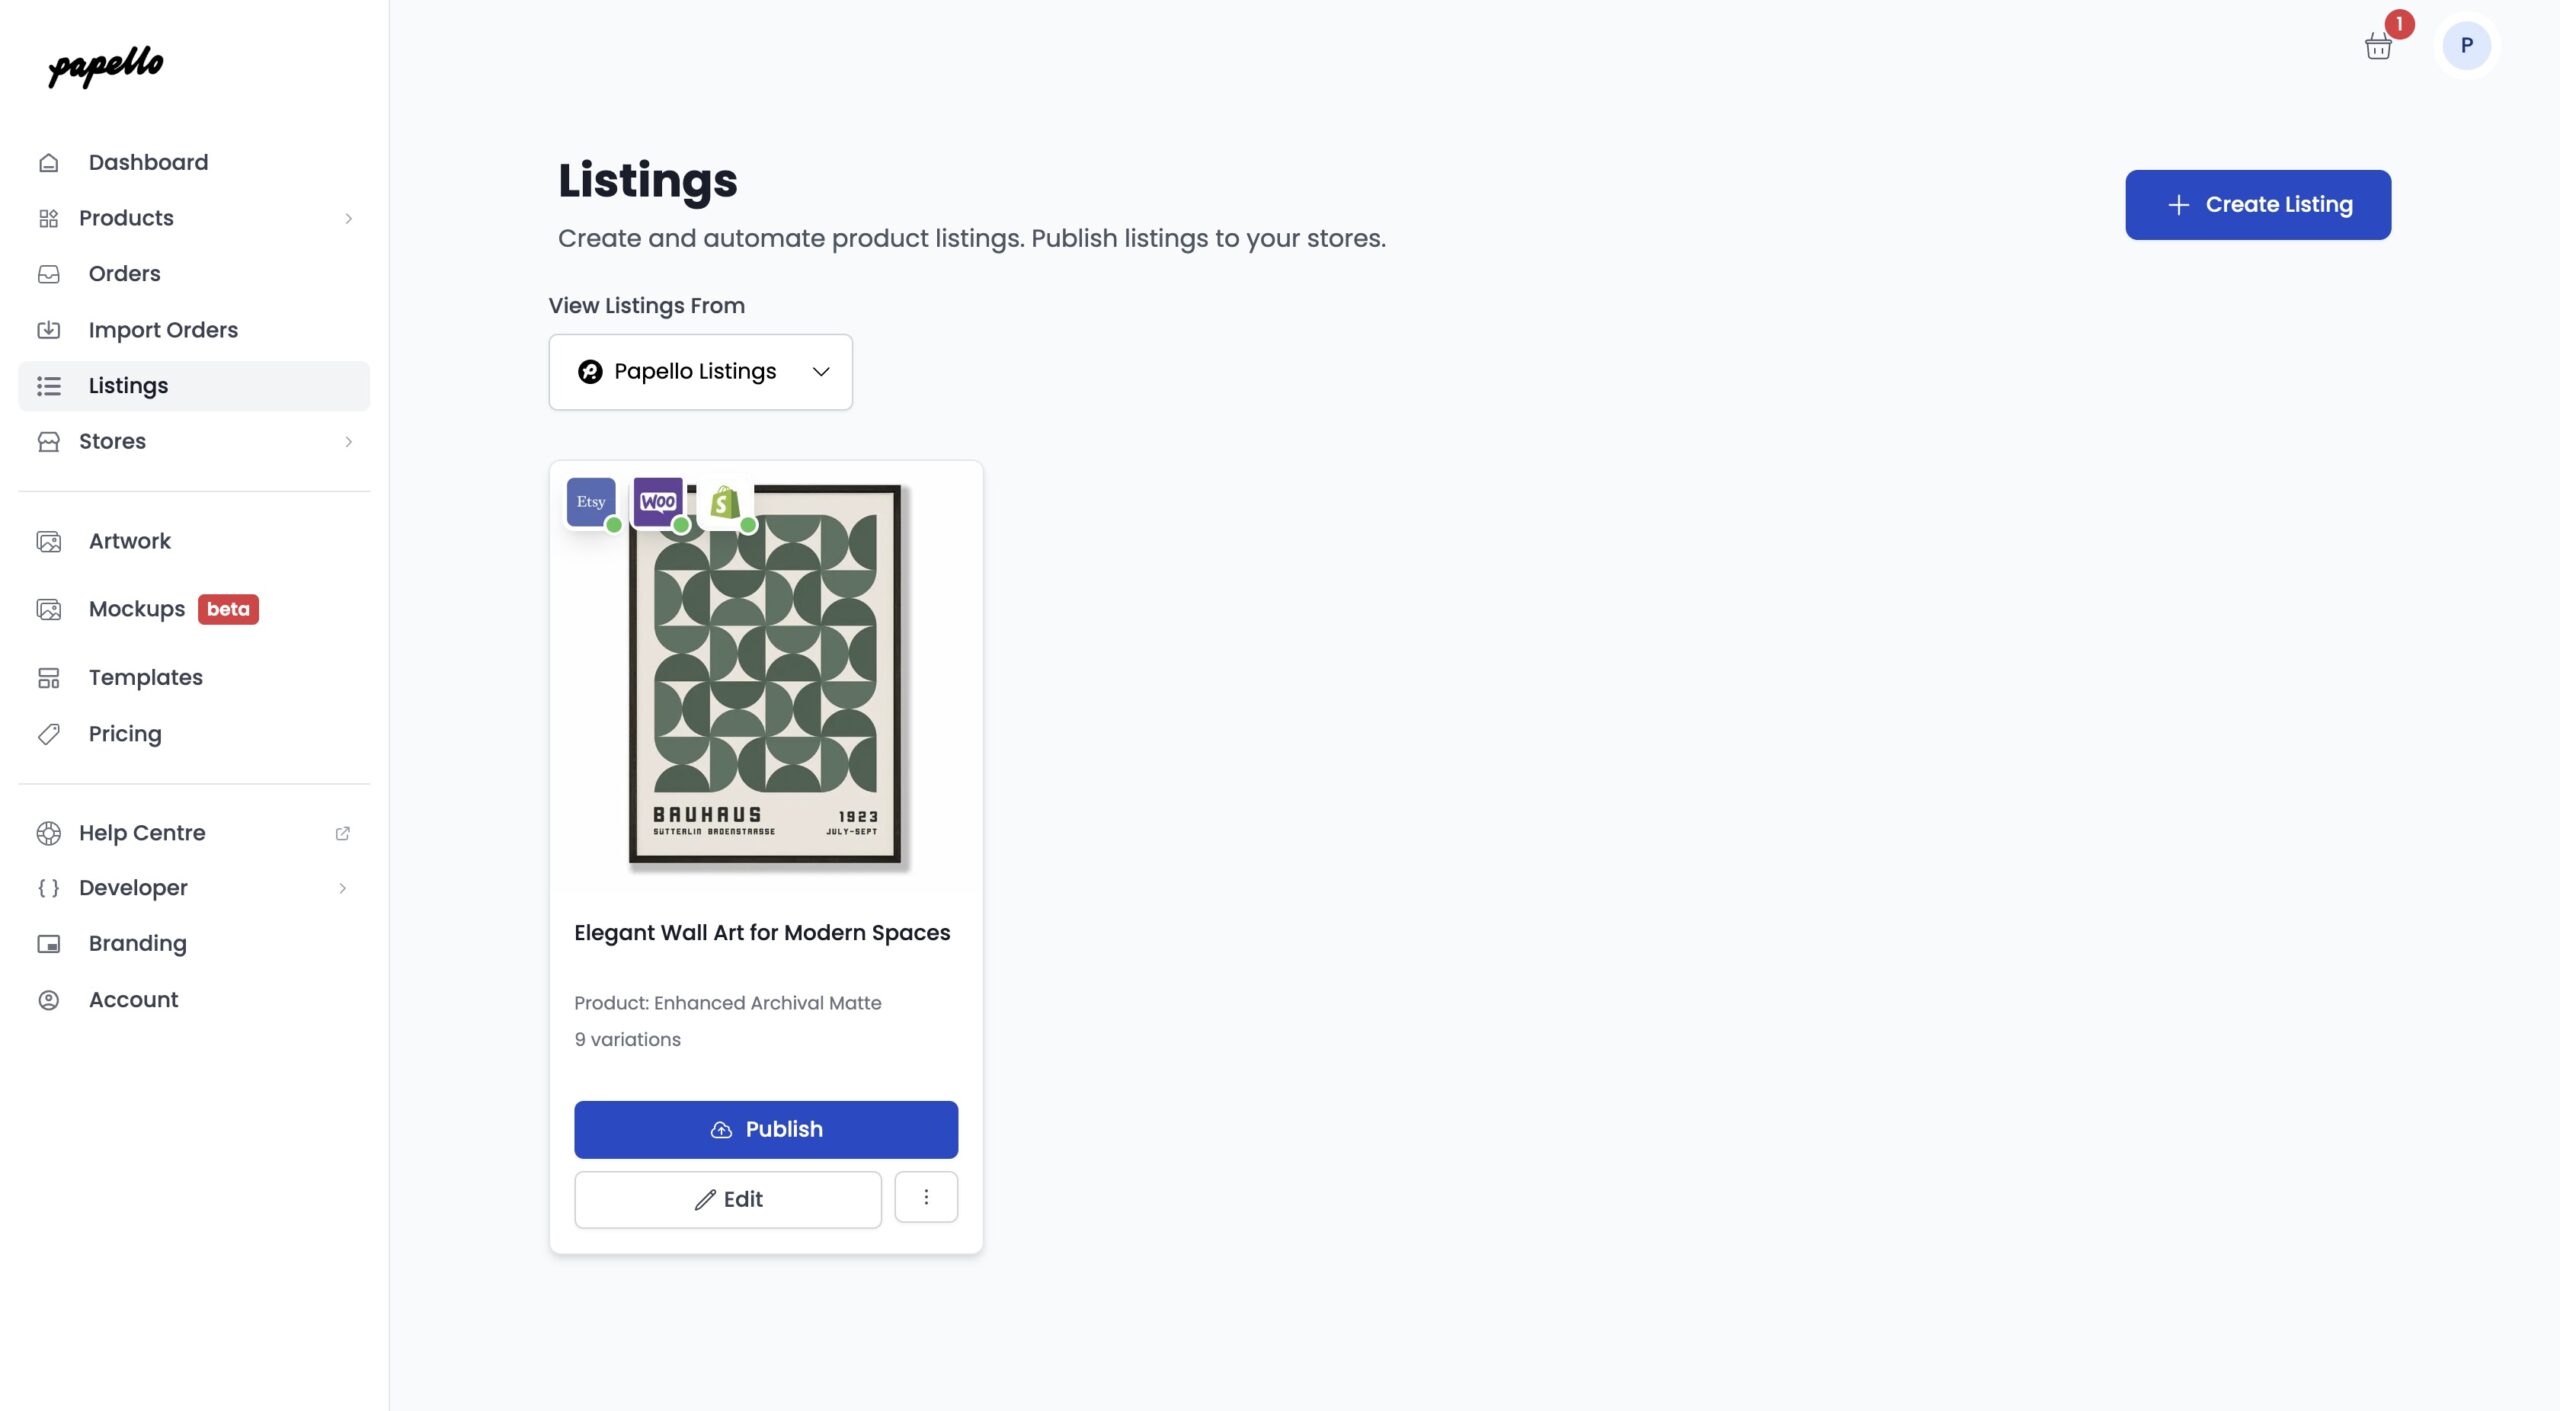
- Navigate to the Listings page in Papello.
- Create your product by uploading your artwork and selecting your garments or items.
- Once you’re happy with the setup, click Publish. This will automatically create the product listing in your Shopify store, complete with descriptions and images.
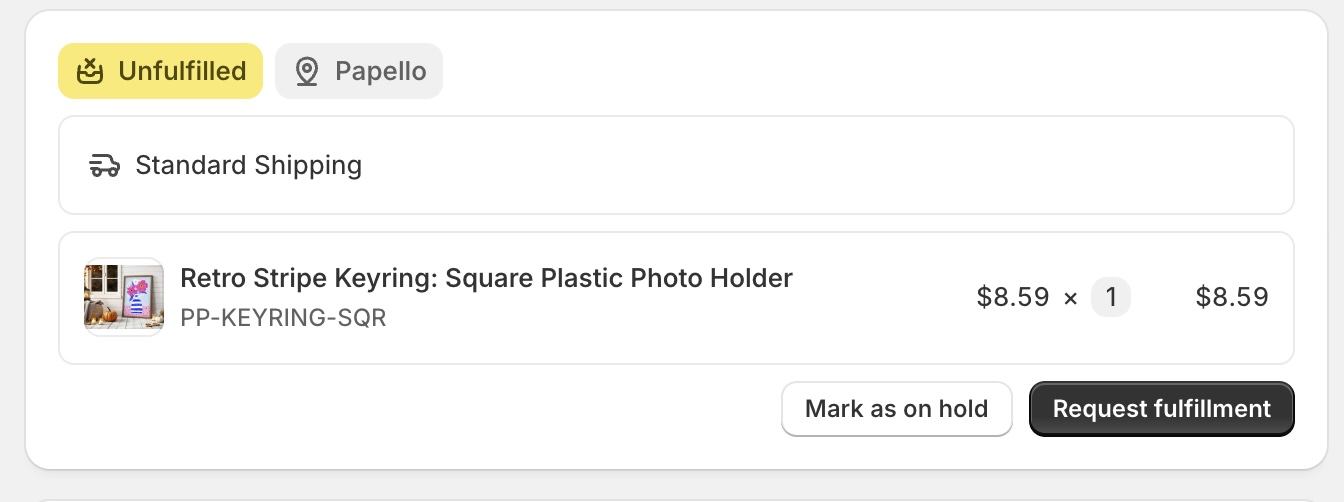
3. Managing Orders and Fulfilment
When a customer makes a purchase, the process is straightforward and gives you full control:
- Requesting Fulfilment: When an order comes into your Shopify admin, simply click ‘Request Fulfilment’. This sends a notification to the Papello team to start production.
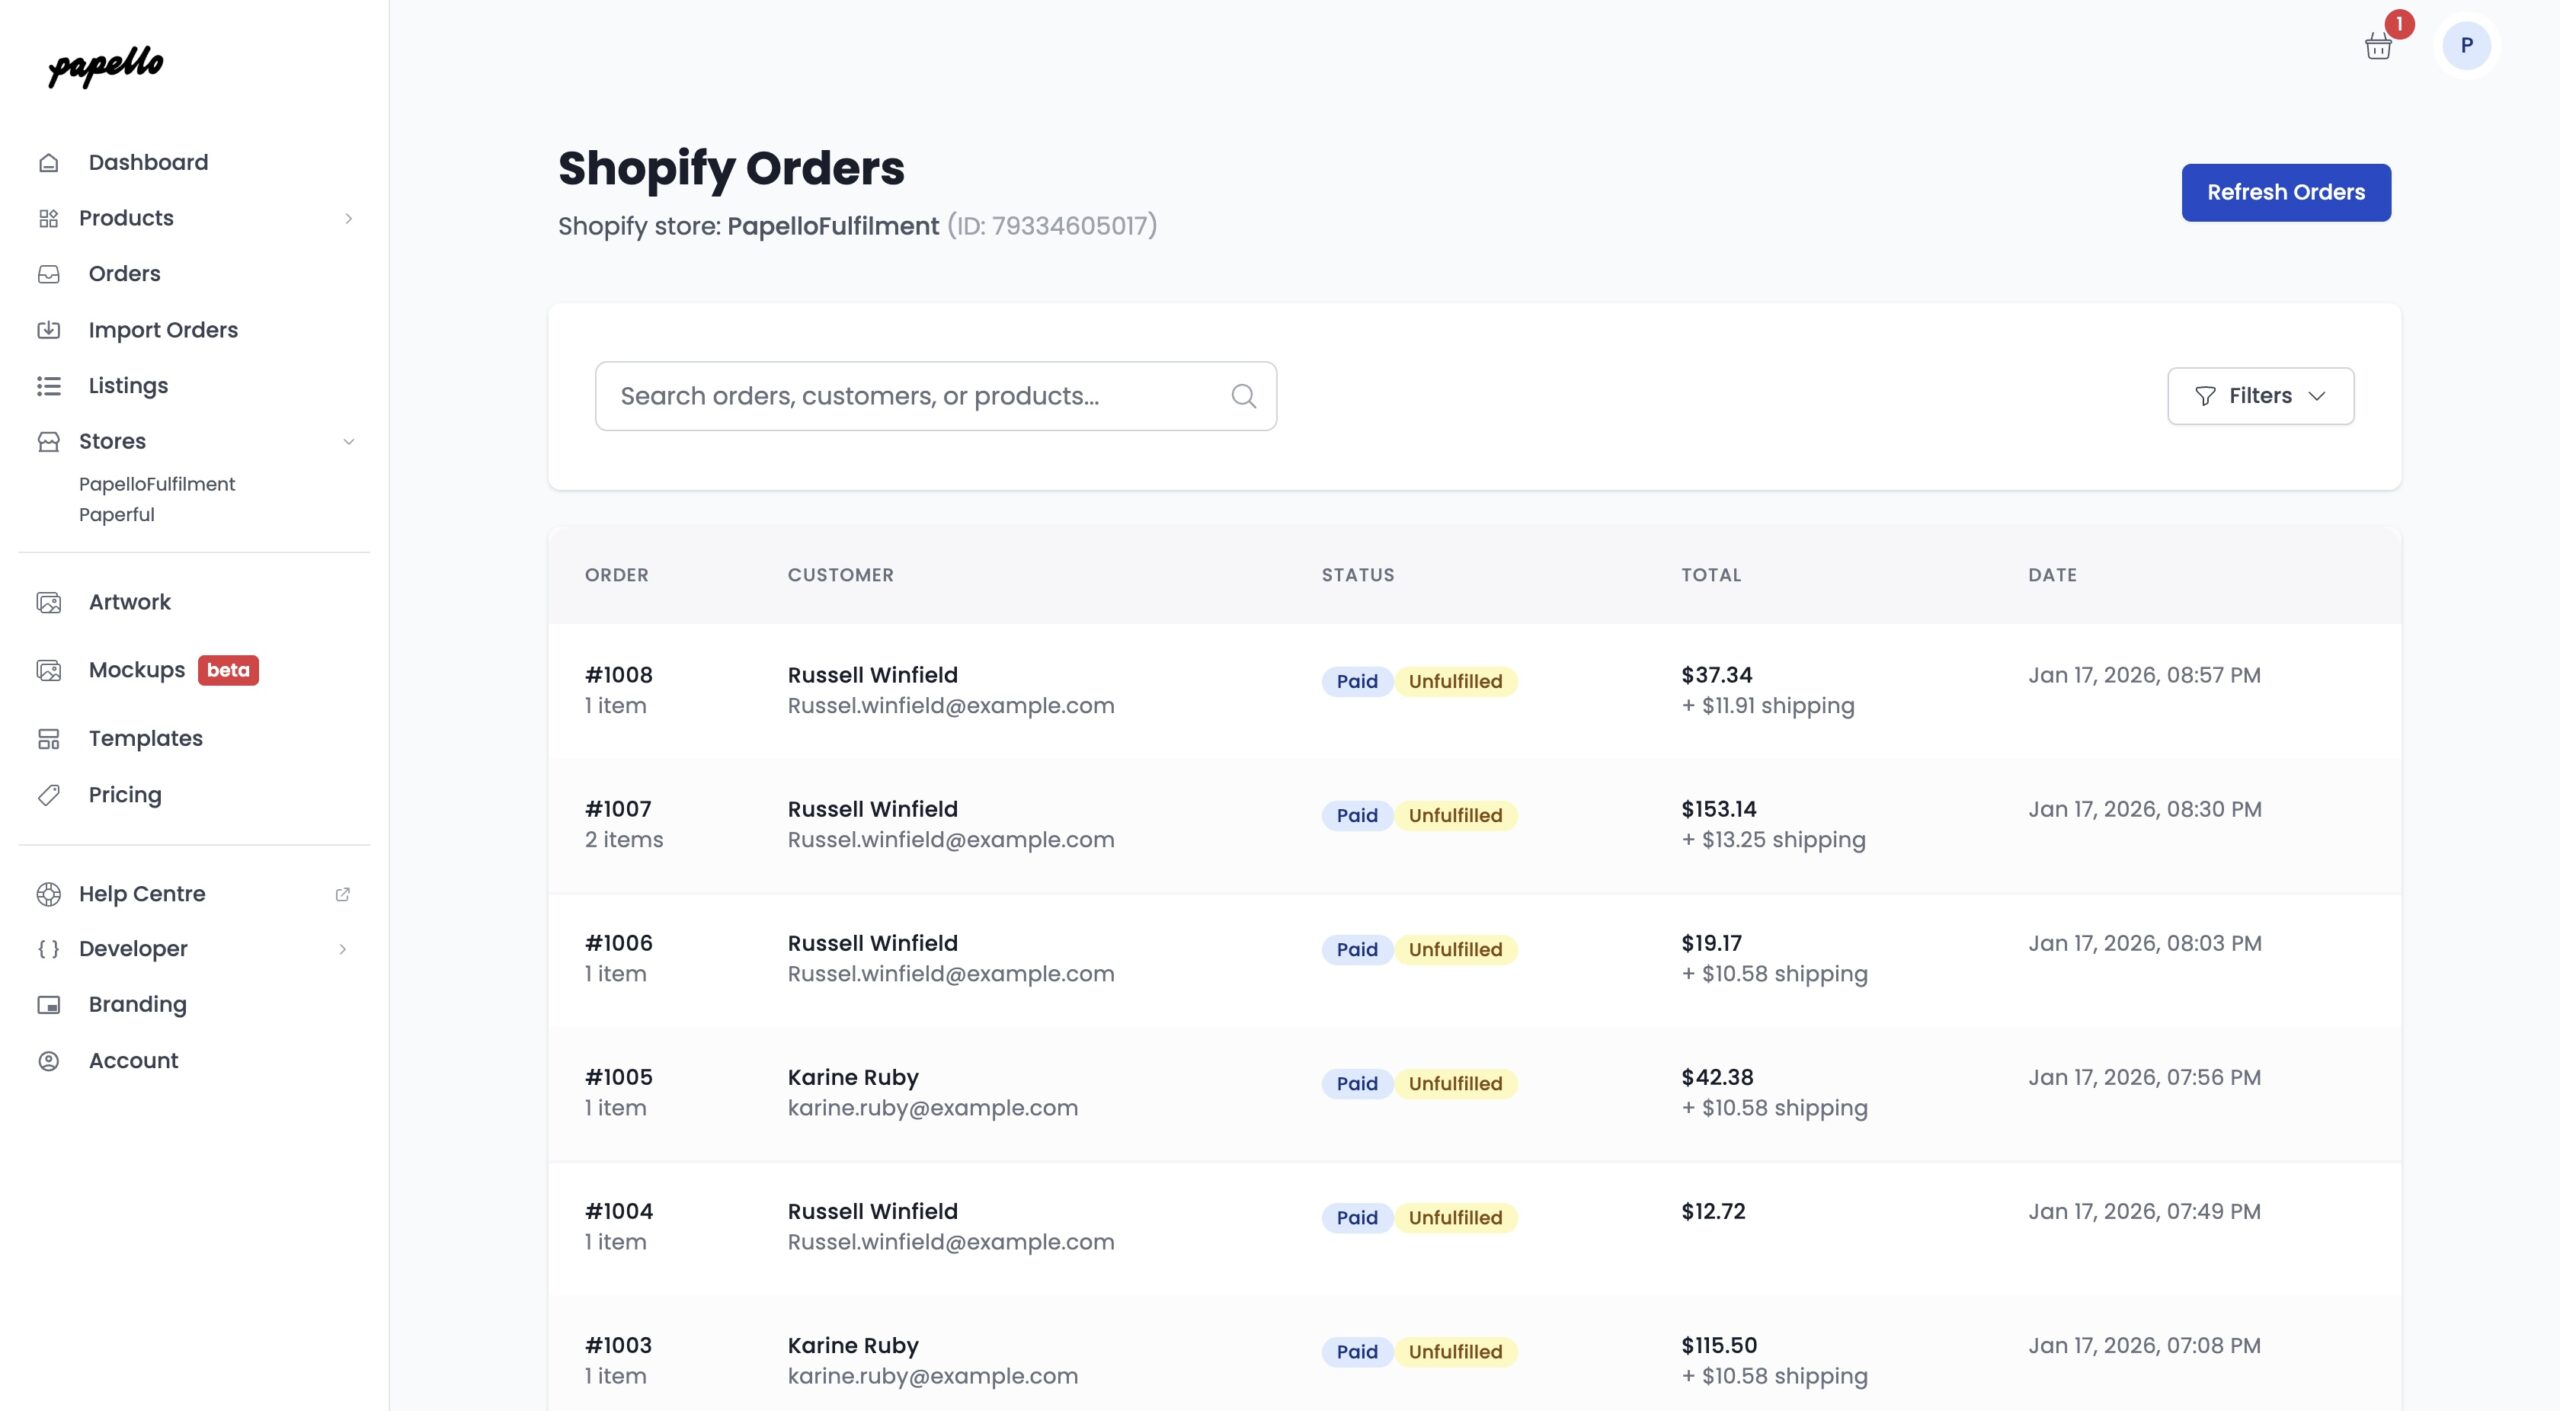
- Manual Sync: You can also view, sync, and submit your orders directly from the Stores Orders page. Find your store and click “View Orders” within the Papello dashboard if you prefer to manage them from our side.
- Shipping & Tracking: As soon as we’ve printed and dispatched your order, we will automatically update your Shopify order page with the courier tracking details. Your customer will be notified, and the order will be marked as fulfilled.
Benefits of the Shopify Integration
- No Manual Entry: Eliminate the risk of typos by syncing customer addresses directly.
- Automated Tracking: Your customers are kept in the loop without you having to lift a finger.
- Centralised Control: Manage your entire product catalogue and order history from one place.
Need a hand getting set up? If you run into any hitches during the installation, please reach out to our support team via the help bubble on your dashboard.