The Process
We use state-of-the-art foiling machines that foil on uncoated cardstock for a premium look and finish. Perfect for fully foiled artwork & prints.
A layer of toner is first printed onto our premium smooth cardstock. Selecting the correct type of stock is crucial to achieving a flawless finish. We work with multiple card stocks including Sense & GF Smith.
When preparing your files it’s important to remember that foil will be pressed anywhere that toner is present, no other graphics can be printed underneath or above the artwork as everything will be foiled.
When uploading your files, you should ensure that all fill and stroke lines are turned to 100% black. Everything else should be white or transparent in your file. The white or transparent areas will be left unfoiled, revealing the colour of the cardstock.
If you have any specific requirements for colours or stock type, please get in touch.
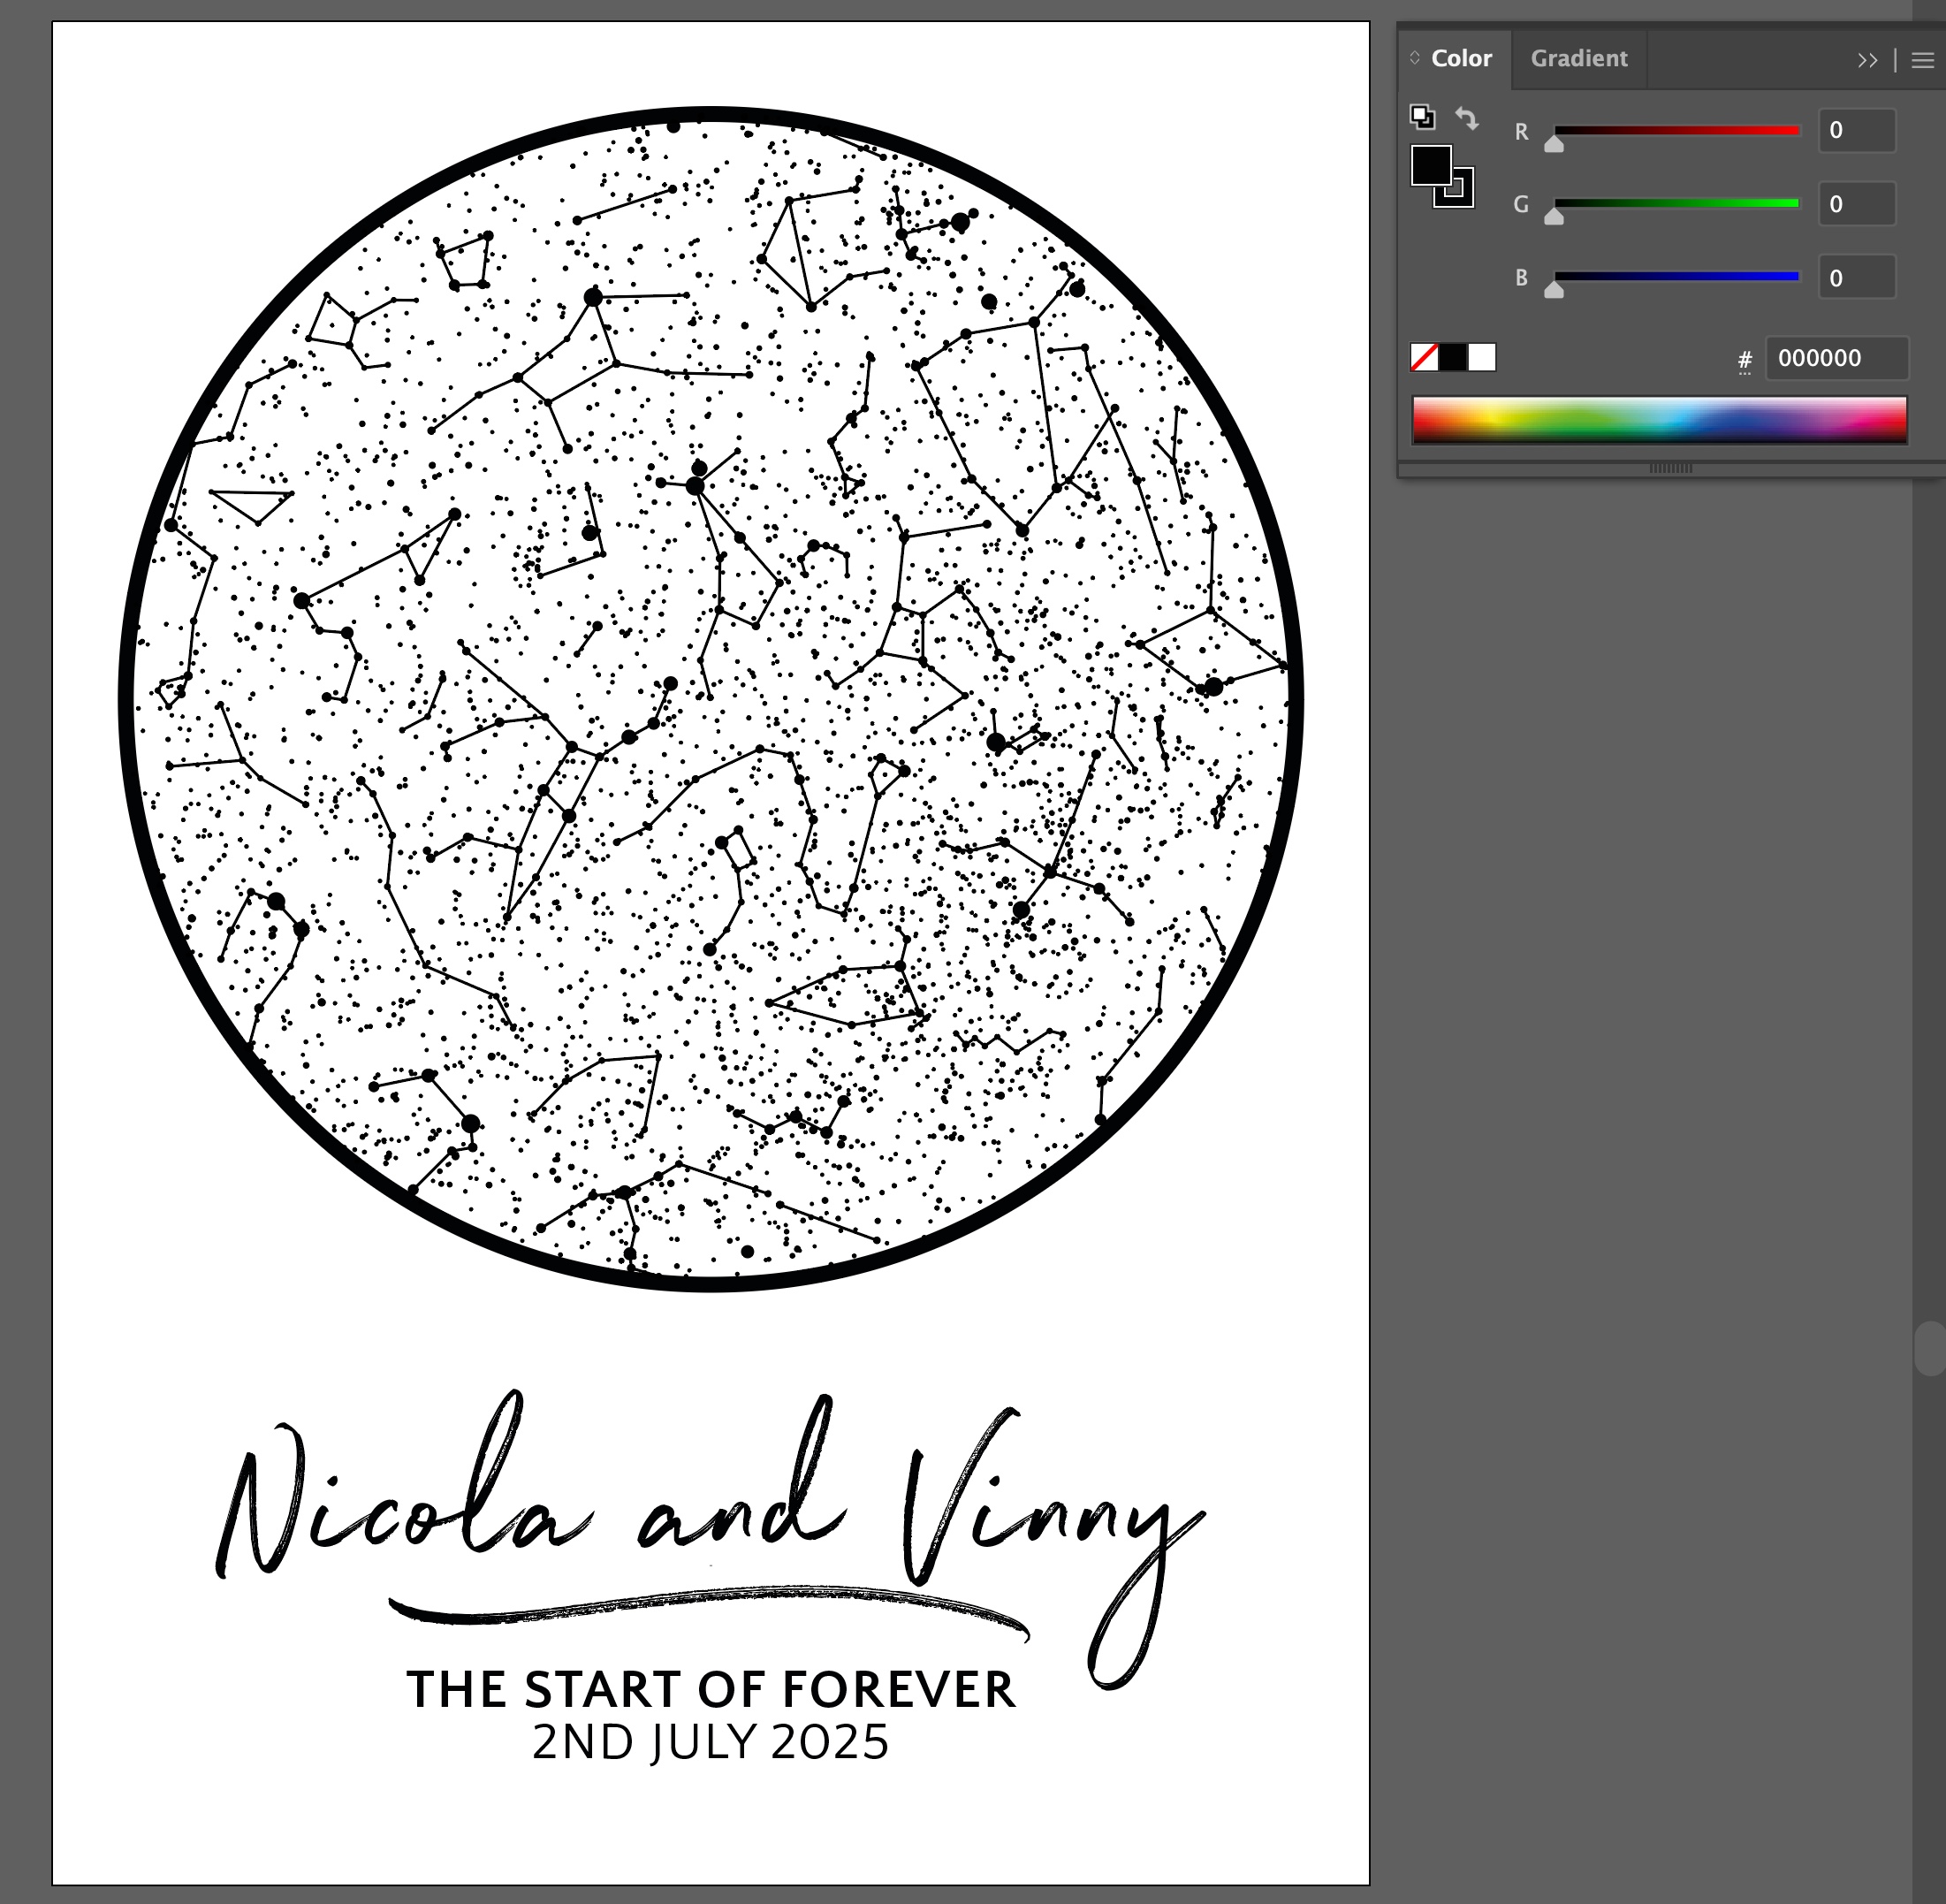
Step 1. Turn your artwork 100% black and white.
In Illustrator, this is as simple as ensuring your stroke and fill is set to 100% black (#000) for anything to be foiled and 100% white (#fff) (or transparent) for areas that will be left unfoiled.
Light greys or any other colour other than 100% white (#fff), will be foiled. The reason for this is, foil is pressed onto any toner that is printed, no matter the colour or density.
Turning your artwork 100% black is important as black toner, in general, will adhere better to the foil. This is an essential step for ensuring the desired look ad finish.
If you’re working in photoshop, we’ve found this guide by Creative Pro useful in turning images into a pure black and white foil ready files.
We recommend not using fonts smaller than 10px and strokes smaller than 2px.
Step 2. Check your file.
Before uploading your artwork, it’s worth checking that your colours are correct.
Use the eye-dropper tool and patch check your artwork.
This is especially important of any areas where you don’t want foil to be printed. Ensuring they are 100% white (#fff) or transparent.
In Illustrator, you can use the image trace option to convert your whites transparent for a true representation.
Depending on your screen’s colour profile, it’s worth noting that your black hex code may not always show as #000000.
Whilst this isn’t an issue when foiling, you can check this is in the “Appearance of Blacks” tab in preference panel and change your preferences.
Step 3. Save & Upload your artwork.
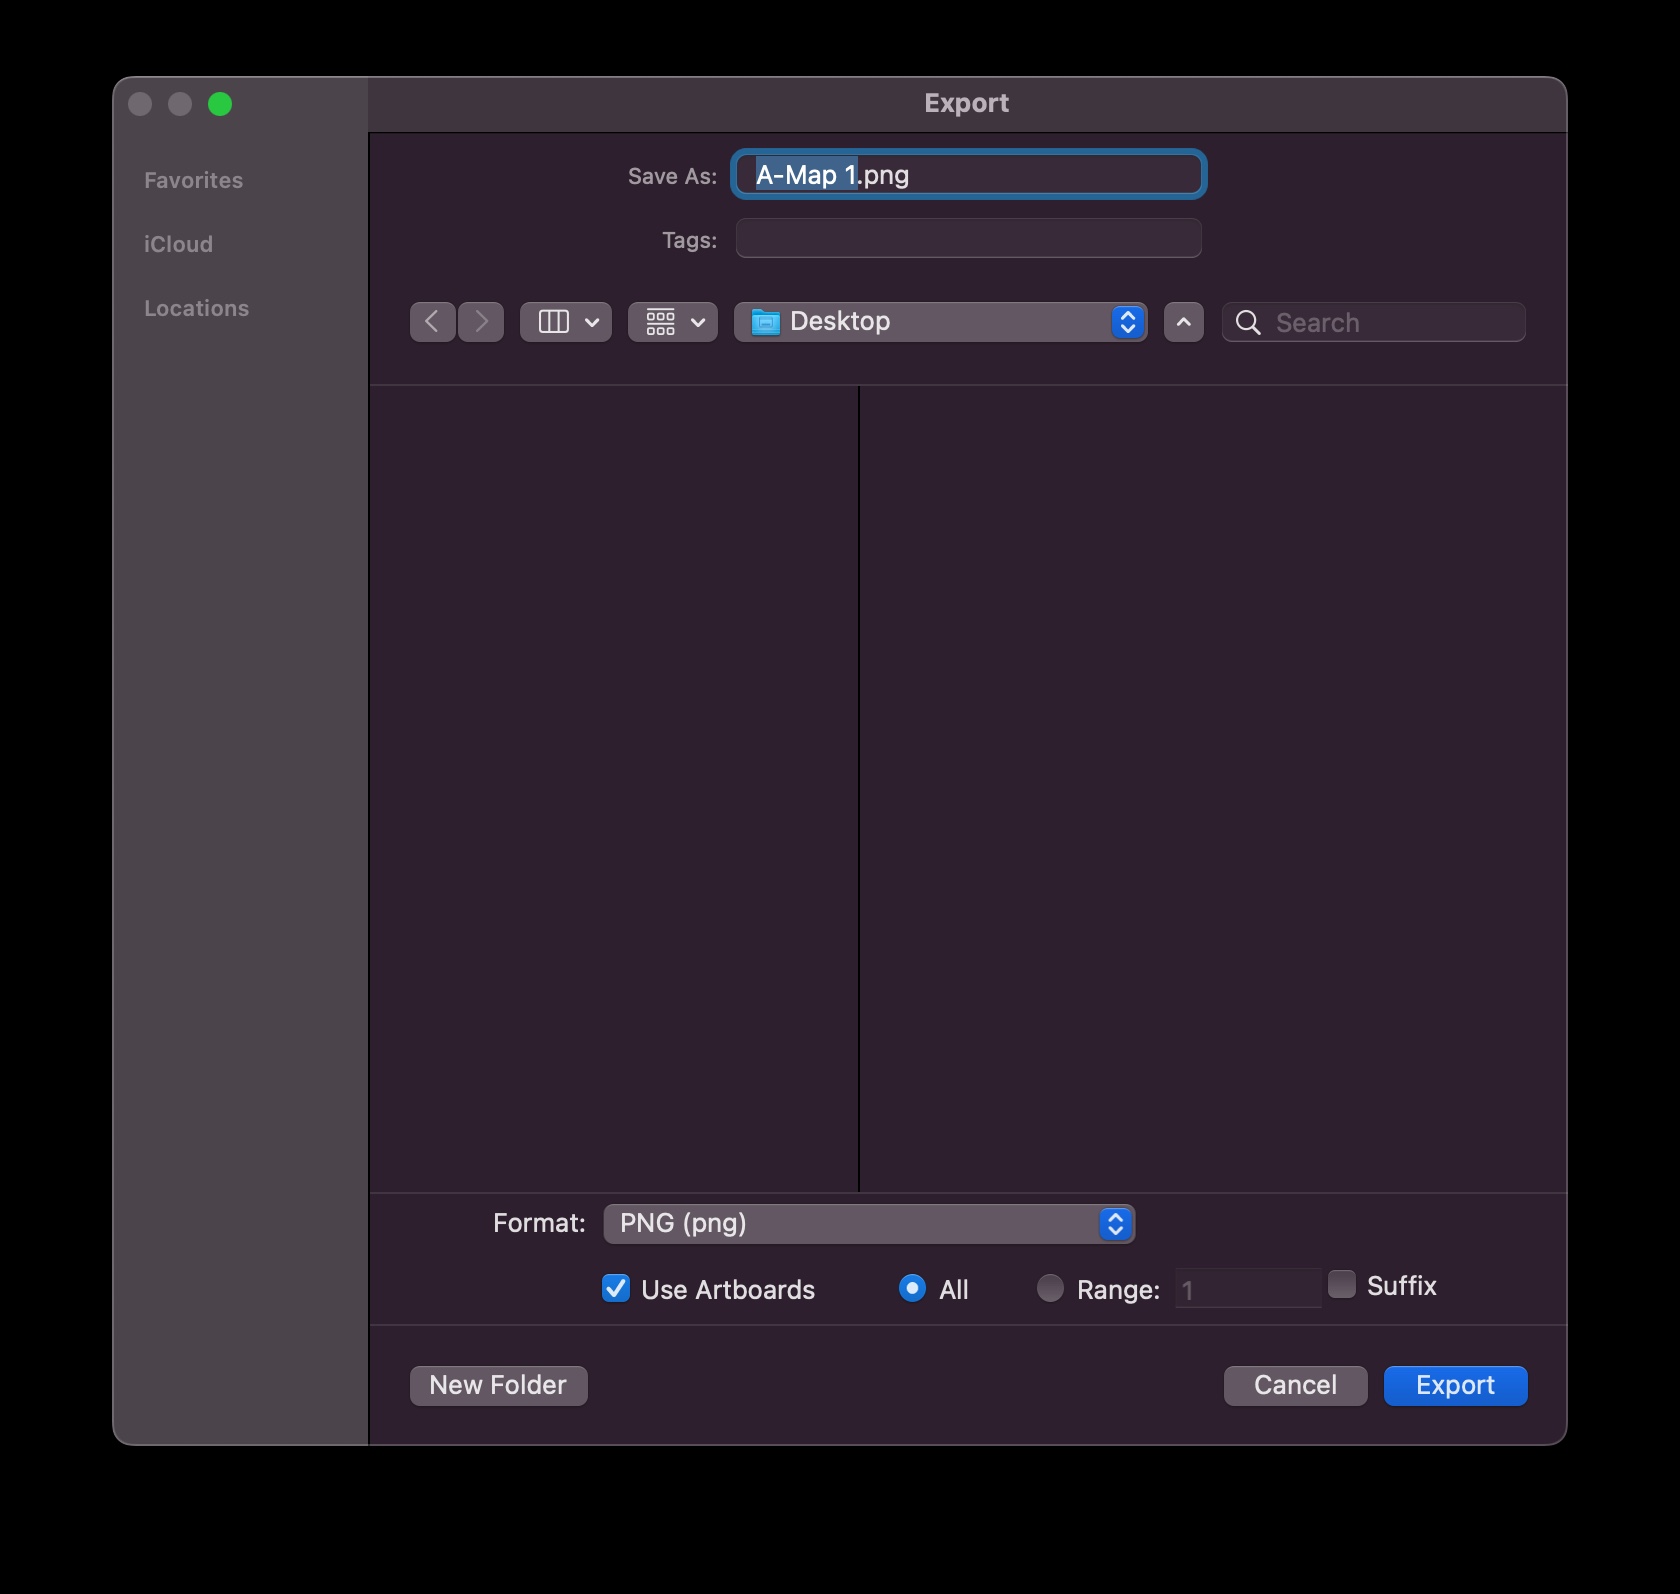
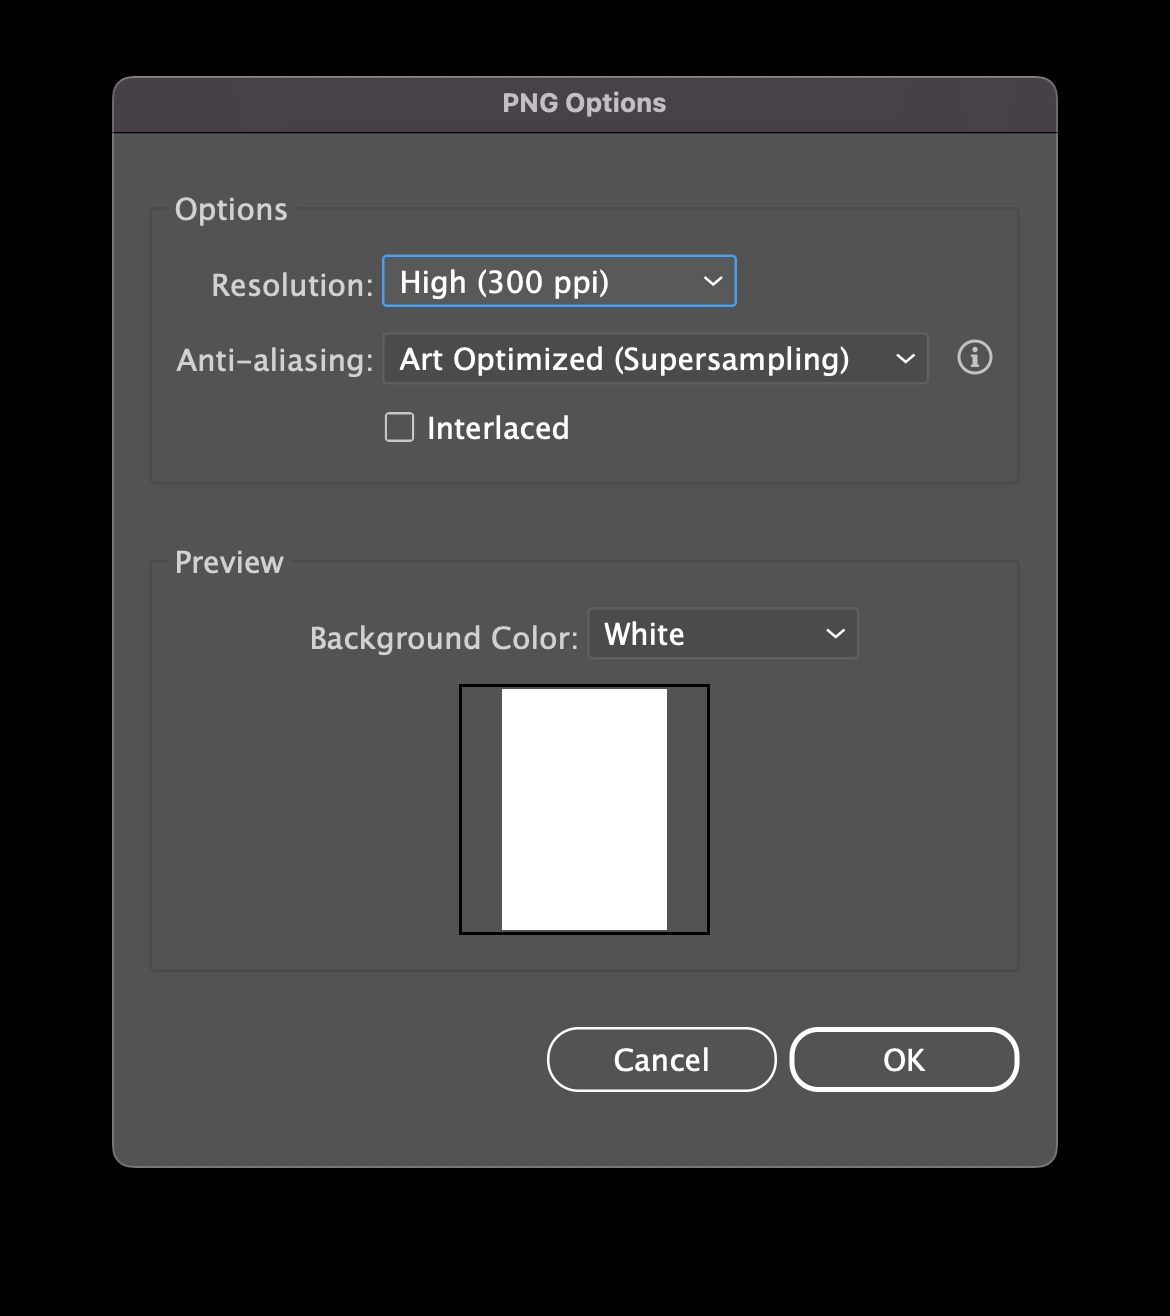
Save your file as either a PNG OR JPG, ensuring that your artboard background is set to transparent or white.
Now you’re ready to upload your artwork.
The result will be perfectly foiled artwork and prints.
Endless possibilities, now on demand!